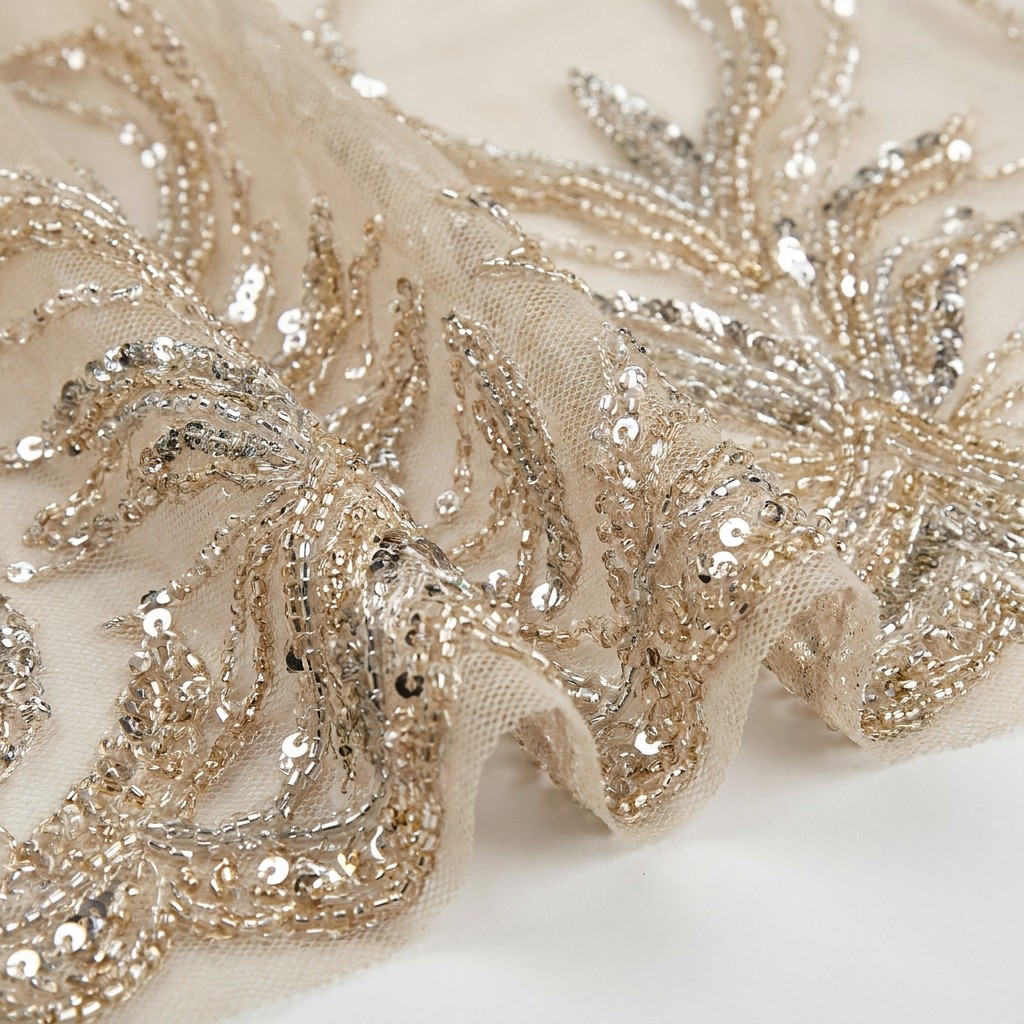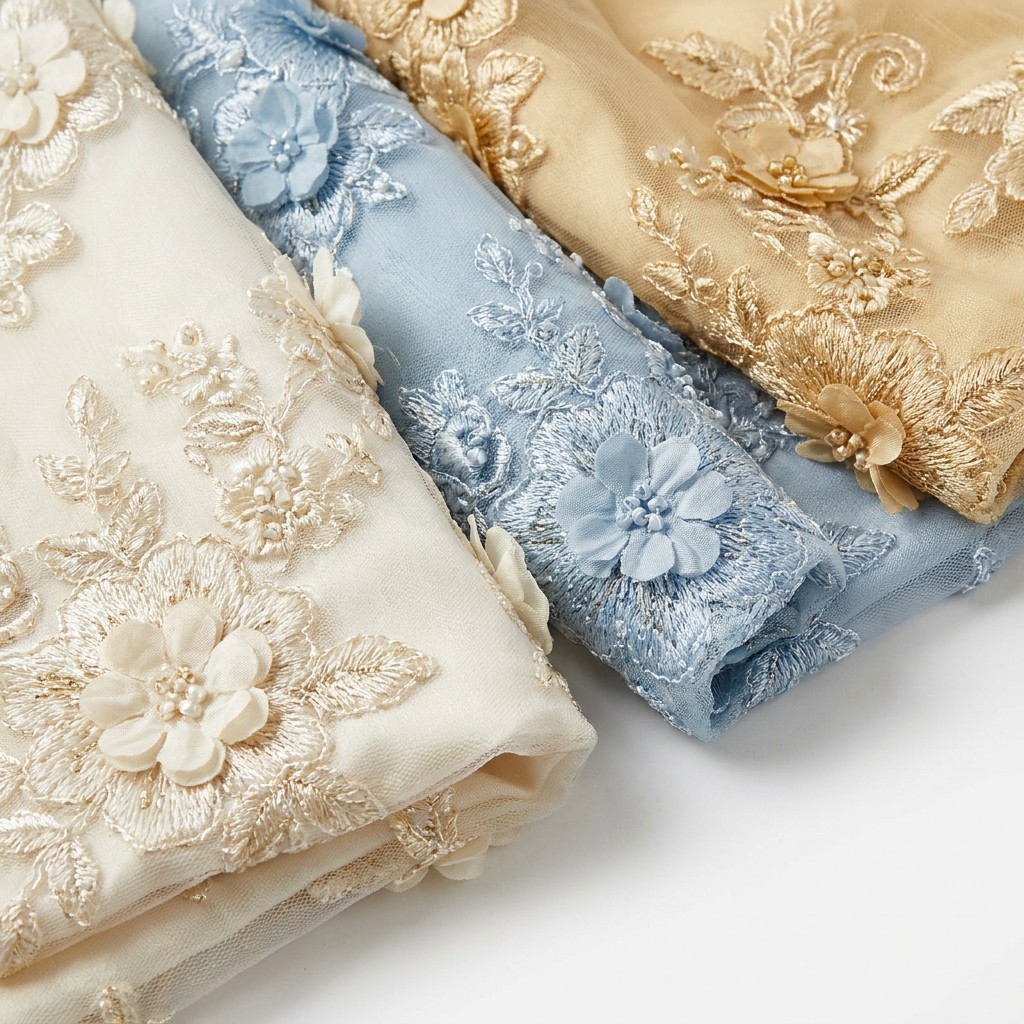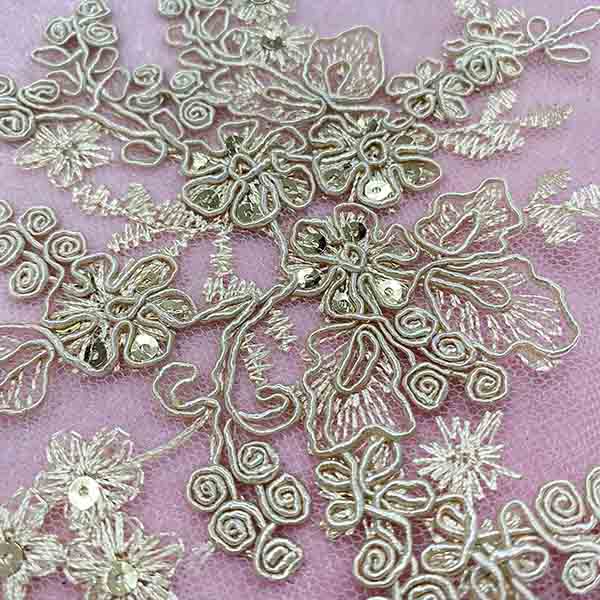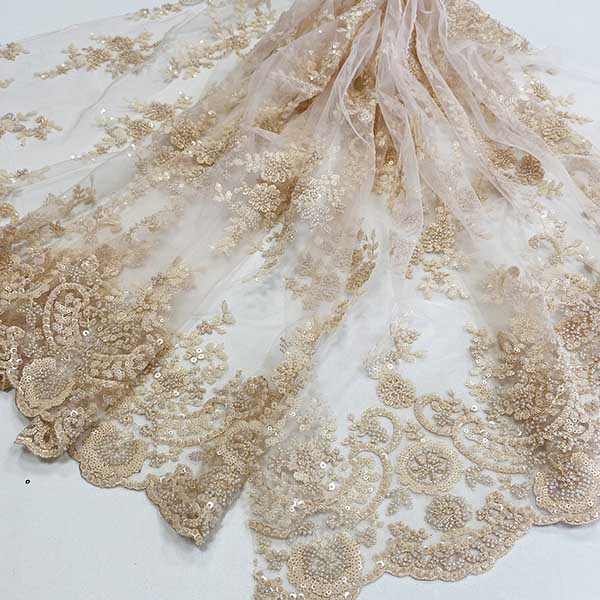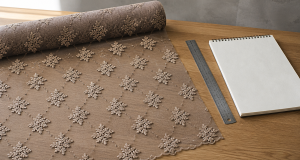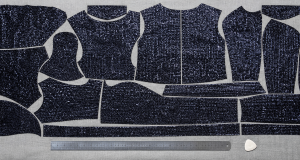
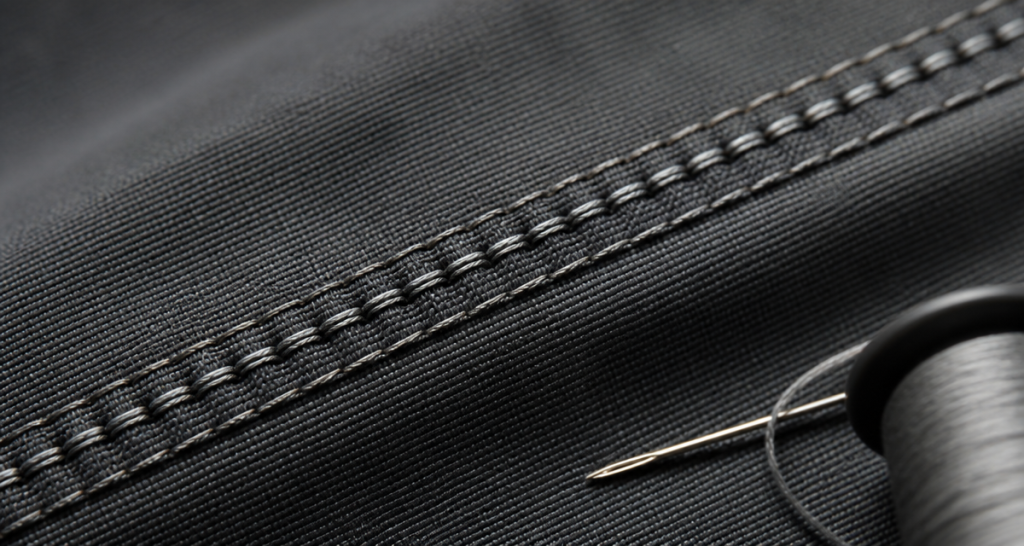
Embroidery stitch density should be specified in stitches per inch, then validated on a physical sample at the exact fabric, thread, and backing you will use in bulk. For most decorative embroidered fabric, 6–8 stitches per inch (SPI) on fine motifs and 8–12 SPI on dense satin fills deliver clean coverage without puckering, while heavy sequinned or lace bases should be tested at the lower end. Approve the density on a signed swatch before you commit 200 yards, because density is the single most common cause of puckering, thread breaks, and distorted motifs.
What Is Embroidery Stitch Density?
Embroidery stitch density is the number of stitches packed into a given length or area of a design. Buyers usually meet it as SPI (stitches per inch) for running and satin elements, and as coverage percentage for filled or layered motifs. Density, stitch length, and underlay together decide how a motif sits on the fabric.
Density is a balance, not a maximum. Push stitches too close and the needle punctures the same spot repeatedly, weakening the base fabric and causing puckering. Space them too far apart and the base shows through, edges look frayed, and the motif loses definition. Embroidery stitch density standards exist so that buyer, designer, and factory all measure the same thing on the same base.
Key Takeaways
- Specify embroidery stitch density as SPI plus coverage, never as a vague "dense" instruction.
- Lightweight and sequinned bases need lower density and stronger underlay to avoid puckering.
- Change one variable at a time: density, then thread tension, then backing.
- Approval must happen on a physical sample under neutral light, not on a digital render alone.
- Record density, stitch length, underlay type, needle size, and thread ticket number on the spec sheet.
- Our decorative fabric minimum order quantity is 200 yards per colour.
Embroidery Stitch Density Standards by Fabric Base
Use this table as a starting point, then confirm it with a test sew. Values are typical ranges for commercial multi-head machines.
| Fabric base | Typical density | Stitch length | Underlay | Watch for |
|---|---|---|---|---|
| Fine mesh / organza | 6–8 SPI | 1.5–2.0 mm | Light edge walk | Puckering and needle holes |
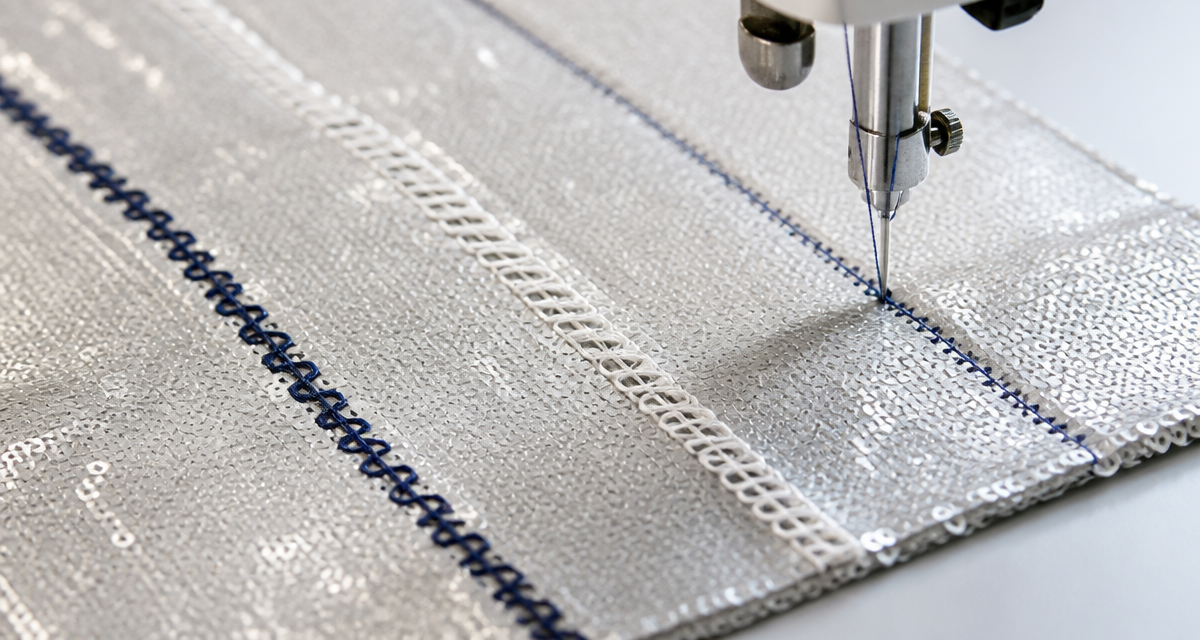
| Sequinned mesh | 5–7 SPI | 2.0–2.5 mm | Double edge walk | Broken sequins and thread shredding |
| Mid-weight satin | 8–10 SPI | 1.2–1.6 mm | Centre run plus edge walk | Motif shadowing and shine loss |
| Heavy jacquard | 9–12 SPI | 1.0–1.4 mm | Full coverage underlay | Needle deflection and stiffness |
| Stretch knit | 7–9 SPI | 1.5–2.0 mm | Stretch film plus edge walk | Waviness and recovery loss |
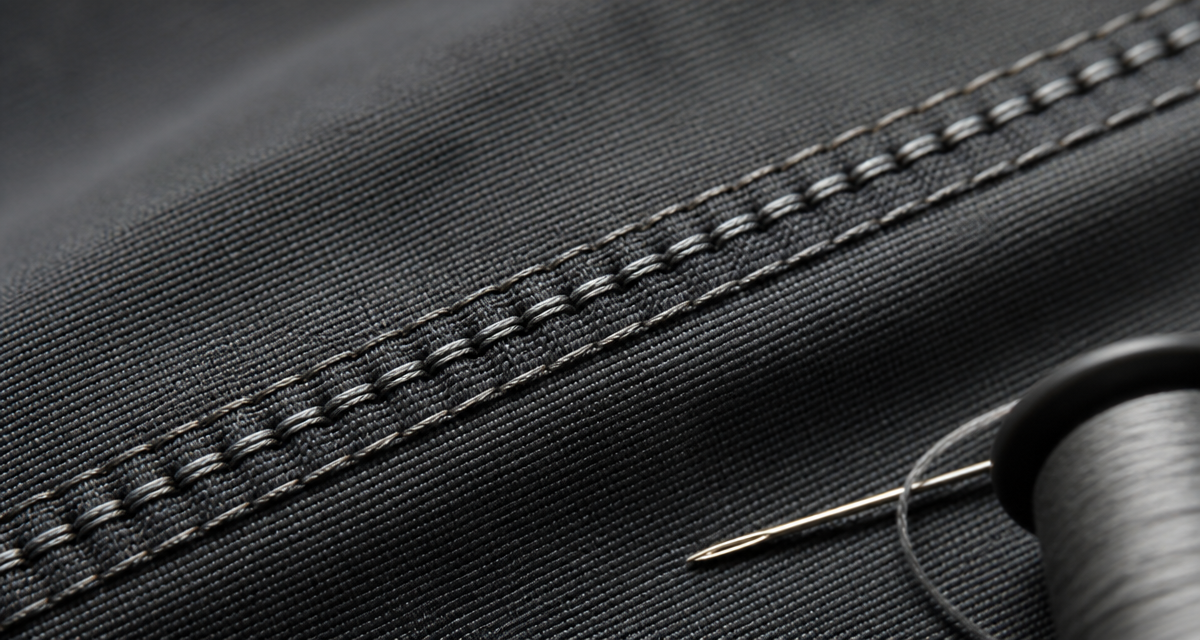
How to Set and Verify Stitch Density: Step-by-Step
- Define the motif and fill type. Separate running, satin, and fill elements; each has its own density target.
- Set the underlay first. Underlay controls stability before density; confirm it using our embroidery underlay stitching guide.
- Digitise at baseline density. Start at the low end of the range for the base fabric, then increase in single steps.
- Sew a test on production fabric. Use the exact base, backing, needle, and thread you will run in bulk.
- Check coverage and puckering. Inspect 30 cm of stitching under neutral light and tactilely across the motif.
- Adjust tension before density. If the motif looks tight, correct thread tension first using our embroidery thread tension guide.
- Confirm hooping stability. Re-test density once hooping pressure is fixed; see embroidery hooping stability.
- Wash and re-measure. Launder the sample, dry it, and compare motif size and coverage with the pre-wash record.
- Sign and archive. Keep a signed sample plus a spec sheet on file for the whole production run.
Stitch Density Specification Fields for Your Purchase Order
| Field | Example value | Purpose |
|---|---|---|
| Density | 8 SPI satin fill | Sets the visual coverage standard |
| Stitch length | 1.4 mm | Controls sheen and stability |
| Underlay | Centre run plus edge walk | Prevents distortion on the base |
| Needle | Size 75/11 sharp | Reduces base damage on fine fabric |
| Thread | 120D/2 trilobal polyester | Locks colour and lustre |
| Backing | Cut-away 60 g stabiliser | Supports dense fills |
| Colour tolerance | Delta E 1.0 against approved swatch | Protects colour consistency |
Common Stitch Density Defects and Their Causes
Puckering around dense fills
Puckering almost always means the density is too high for the base, the underlay is too light, or the stabiliser is wrong for the garment weight. Review embroidery backing selection before reducing density further.
Base fabric showing through the motif
Low density, short stitch length, or insufficient coverage on satin fills. Increase density in single increments and re-test rather than jumping straight to a dense fill.
Colour bleeding at dense edges
Very tight densities trap dye and moisture. Combine a density review with the preventive steps in embroidery colour bleeding.
For layered motifs, confirm that appliqué thickness and density are compatible using embroidery appliqué layer thickness.
How Density Affects Thread Consumption and Cost
Density drives material cost more than most buyers expect. Moving a satin fill from 8 to 10 SPI can raise thread consumption by roughly a fifth on that element, and it lengthens machine time in the same direction. Because quotations are usually built per thousand stitches, an unapproved density change quietly rewrites your landed cost. Agree a density range at the sampling stage and ask your supplier to quote against it, so two factories can be compared on exactly the same basis.
Single-Head and Multi-Head Density Trials
A single-head trial is the fastest way to find the correct embroidery stitch density, because you can change one setting per run and compare results immediately. Multi-head production then proves the setting holds across 12, 16, or 24 heads, where tension differences between needles become visible. Always finish with a multi-head confirmation panel: a density that looks perfect from one head can show banding and puckering when the same design runs across the full machine.
Digitising Files and Density Handover
Density lives inside the digitised file, so the file must travel with the order. When you approve a sample, ask for the machine file reference, the total stitch count, and the exact density setting used, then store them alongside the approved swatch. If a reorder runs from an edited file, a motif can gain or lose several hundred stitches, and the coverage shifts subtly in a way a customer notices but a spreadsheet does not. A written handover turns an invisible variable into a controlled one.
Ask too for the thread consumption figure per motif. It lets you sanity-check a quotation and spot a supplier who has quietly reduced density to win on price. Two quotes that differ by fifteen per cent on the same design usually differ in density, stitch count, or thread ticket number, and asking for the file answers the question faster than a debate.
Density Checks During Production Runs
Density should be verified at the machine, not only at final inspection. A quick check every few hundred pieces catches needle wear, thread lot changes, and tension drift before they become a roll of reject fabric. Inspect for three classic symptoms: shrinking motif width, visible base between fill rows, and a stiff, card-like feel across the design. Any of these means the effective embroidery stitch density has changed, even when the file has not.
Record the check on the production log so a future run can be compared against it. When a customer reorders twelve months later, that log is the only way to prove the second batch was built to the same density as the first, which is what keeps a repeat programme stable and your reorder margin predictable.
Frequently Asked Questions
What is a good embroidery stitch density?
For most commercial decorative fabric, 6–8 SPI suits fine and lightweight motifs, while 8–12 SPI is typical for dense satin fills on stable bases. The correct value is the one that passes a physical test on your exact fabric.
Is higher density always better?
No. Excess density perforates the base, stiffens the motif, causes puckering, and raises thread consumption and cost. Density should be the minimum that delivers clean coverage.
How does density change on sequin fabric?
Reduce density, lengthen the stitch slightly, and strengthen the underlay. Sequins are hard and can deflect the needle; see our embroidery stitch density guide for the sequin-specific workflow.
Does density affect the price per yard?
Yes. Higher density increases thread use and machine time, which raises cost directly. Agree a density range with your supplier so quotes stay comparable between factories.
Can density be corrected after bulk production?
No. Density is fixed at digitising and stitching, so the only safe control point is sample approval. Once 200 yards are run, defect density becomes a commercial loss.
Lock Density Into the Spec Sheet Before Bulk
Embroidery stitch density is a measurable, testable number — treat it that way. Define SPI and coverage per motif, test on the production base, record the underlay and backing, and keep the approved sample on file. That discipline protects motif clarity, hand feel, and your margin on every bulk order.
Request Sequin Fabric Samples with density-tested embroidery so you can validate coverage on your own fabric before committing to bulk.
Source direct on Alibaba - request bulk pricing, specifications, and production details in one place.
View Yunfan Textile on AlibabaContact: Morris — morris@yunfantextile.com — WhatsApp: +86 156 3752 5803 / +86 175 1619 6727