Embroidery hooping stability is the ability of a fabric to stay flat, square and correctly tensioned inside the embroidery frame for the whole stitch cycle. Buyers care about embroidery hooping stability because it decides motif alignment, panel size and the final drape of the finished piece. A hoop that is too loose lets the fabric move, and a hoop that is too tight leaves permanent hoop burn. This guide explains how to measure it, test it and write it into a B2B order.
Key Takeaways
- Hooping stability is about tension balance, not maximum tightness.
- Backing type and adhesive choice change how stable a hoop behaves.
- Hoop burn and motif drift are the two most common failures.
- Test hooping on production backing, never on a plain scrap.
- Record hoop size, tension and backing in the approval sheet.
- Ask for a stitched test panel with every new order.
What Is Embroidery Hooping Stability?
Embroidery hooping stability is a measure of how much a fabric shifts inside the frame while the needle works. Moreover, it covers three separate behaviours: how well the fabric grips the ring, how evenly the tension is spread and how the fabric returns after the hoop is released. A stable hoop holds the fabric firmly enough to resist needle pull, yet softly enough to avoid marking.
Stability is measured in practice, not in numbers alone. For example, a simple push test at four points of the frame shows whether tension is balanced. In addition, a stitch-out on the same backing shows whether the design drifts. Consequently, the test combines a manual check with a visual result.
Why Embroidery Hooping Stability Matters in Bulk Programs
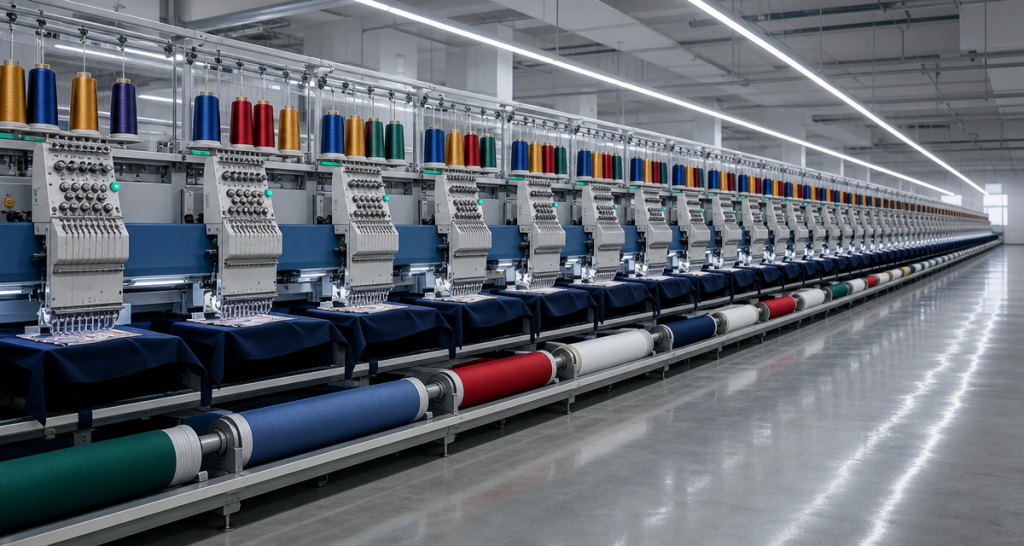
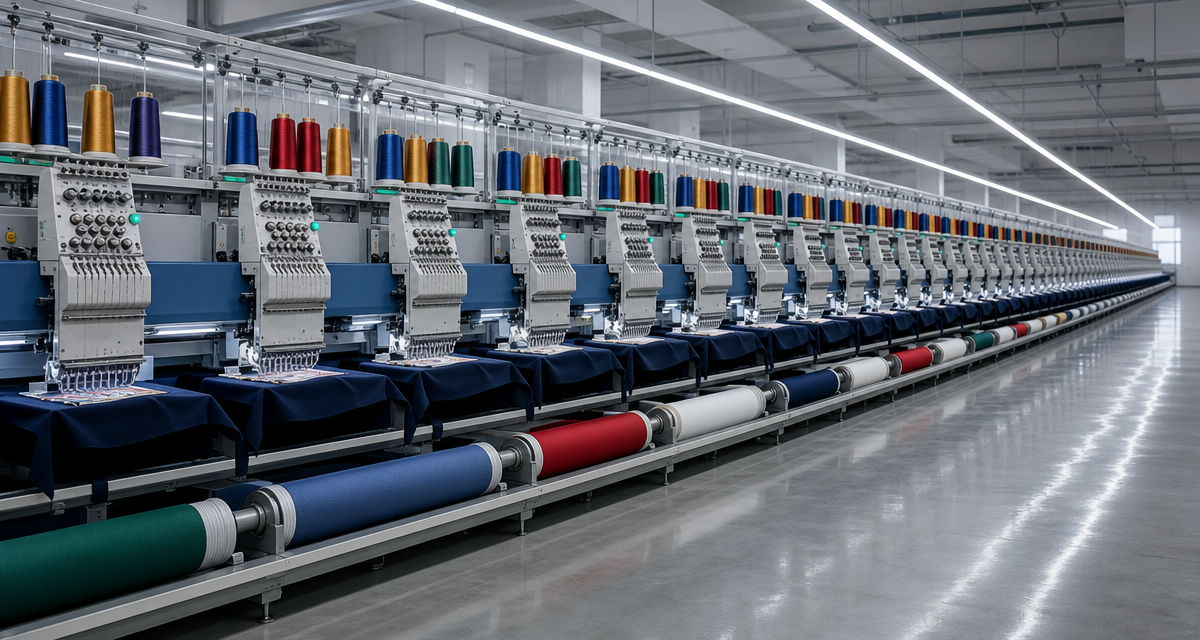
On a multi-head machine, every head runs the same file at the same time. Therefore, one unstable hoop can shift the pattern on one garment while the others stay perfect. That single piece breaks the visual consistency of a batch, which matters most on border designs and all-over patterns.
Hooping also affects panel size. A fabric that stretches inside the frame relaxes after removal, so the stitched area ends up smaller than planned. As a result, joining panels becomes harder and waste rises. Meanwhile, hoop burn marks show up after washing, when the goods are already packed. Both problems trace back to the same setting.
Hooping Methods Compared
| Method | Stability | Best for | Watch point |
|---|---|---|---|
| Manual ring hooping | Depends on operator | Small runs and samples | Uneven tension between operators |
| Adhesive backing hooping | High | Fine fabrics and dense motifs | Adhesive residue on the base cloth |
| Floating with tack-down stitch | Moderate | Delicate or heat-sensitive fabrics | Movement at the panel edge |
| Magnetic hoop | High and repeatable | Repeat orders on the same style | Frame cost and plate fit |
| Frame with side clamps | High | Heavy decorated panels | Clamp pressure marks |
The right method follows the fabric, not the machine. However, the table gives a buyer a fast way to ask what the supplier plans to run. Related settings appear in our embroidery backing selection guide.
How to Test and Approve Embroidery Hooping Stability
- Cut test panels from three positions in the roll and label each one.
- Hoop each panel with the production backing and the production adhesive.
- Push the fabric at the four compass points and record how much it moves.
- Stitch the full design file at production speed on each panel.
- Release the hoop and let the panel rest for one hour before measuring.
- Measure motif width, height and distance from the panel edge against the approved artwork.
- Wash one panel and re-measure, then sign and date the approved panel.
After that, compare the three panels with each other, not only with the artwork. In practice, the spread between panels matters more than the average, because a batch claims rises from the worst piece. If one panel drifts, repeat the test with a different backing before you change the machine settings.
Purchasing Checklist: Embroidery Hooping Stability Fields
- Hoop method and hoop size for each motif
- Backing type, weight and brand reference
- Adhesive type and release temperature
- Target fabric tension, recorded per operator
- Stitch file reference and stitch count
- Maximum allowed motif drift in millimetres
- Edge distance from panel to motif
- Hoop burn acceptance standard
- Wash test method for the stitched panel
- Approved panel reference and date
Moreover, keep the approved panel with the order file. It settles any discussion about drift later. Motif placement agreements belong in the same file, as described in our motif placement approval guide.
Common Hooping Defects and How to Fix Them
Hoop burn appears as a faint pressed ring around the motif. Therefore, reduce the ring pressure rather than the stitch speed. Motif drift, in contrast, usually means the backing lost grip, so change the adhesive or add a tack-down stitch. Meanwhile, puckering around a dense motif points to too much tension in the fabric and too little support underneath.
Needle marks along the motif edge suggest the fabric moved between two colour changes. Consequently, split the file differently or add a holding stitch. In addition, a panel that measures short after stitching means the fabric stretched inside the frame. That is a hooping stability problem, not a cutting problem, and it links to the checks in our stitch density guide.
Where Hooping Stability Shows Up in Production
The first sign appears at the machine. Operators correct tension by feel, and a stable setting on one shift can drift on the next shift. Therefore, write a numeric reference for the hoop and check it at the start of every shift. A simple gauge block or a marked ring position removes the guesswork.
The second sign appears at final inspection, where panels are laid side by side on a table. Motif drift is easiest to see in a row of ten pieces. Consequently, inspect in a group rather than one piece at a time. The third sign appears after washing, when hoop burn and relaxation become visible together.
FAQ: Embroidery Hooping Stability
How tight should an embroidery hoop be?
Tight enough that the fabric sounds firm when tapped, and loose enough that it springs back without a visible mark. Record the setting that passes the wash test.
Does backing thickness change hooping stability?
Yes. A thicker backing absorbs more needle force and holds the fabric better. However, it can also add bulk, so test the drape as well as the stitch.
Can hoop burn be removed?
Light hoop burn often relaxes after steaming or washing. Deep compression marks do not recover, so prevention is the only reliable control.
Does hooping stability differ by fabric type?
It does. Stretch mesh, sequin panels and heavy decorative cloths each need a different backing, adhesive and tension window.
Choosing Backing and Hoop for Different Fabric Families
A sheer decorative fabric needs light support, because a heavy backing shows through after stitching. Therefore, pair it with a tear-away backing and a gentle hoop. A dense sequin panel behaves in the opposite way. It needs strong support so the needle does not push sequins into the mesh. In that case, use a cut-away backing and a firmer hoop.
Stretch mesh sits between the two. It moves easily, so adhesive backing usually gives the best embroidery hooping stability. Meanwhile, heavy home-textile panels often run best on side clamps, because the fabric weight pulls downward during the stitch cycle. In contrast, small fashion panels on a multi-head machine work well in a magnetic hoop.
In addition, consider the thread. A heavier decorative thread pulls harder on the fabric and raises the stability requirement. Consequently, a thread change mid-season can force a new hooping test, even when the fabric stays the same.
Writing Embroidery Hooping Stability Into the Order File
Start with one line that names the hoop method, the hoop size and the backing reference. Second, add the numeric tension setting and the gauge position. Third, state the maximum allowed motif drift. Fourth, list the hoop burn standard with a photo. Fifth, require an approved panel with every new order.
Then link the clause to the stitched panel that passed the wash test. For example, add a line that reads: hooping performance must match the panel approved on the sample sheet. Because a machine setting can drift between shifts, also require a shift-start check with a marked gauge. That single habit keeps a long run consistent.
Finally, agree the remedy if a batch fails. In practice, the cleanest answer is a re-stitch of the affected pieces plus a re-test of the setting. If you would like help building that clause into your specification, our team can review your motif file and recommend a hooping setup for your fabric family.
Conclusion: Test the Hoop, Then Lock the Setting
Embroidery hooping stability decides whether a batch looks consistent. Therefore, test it on production backing, record the winning setting and repeat that setting on every order. Then drift and hoop burn stop appearing after washing.
Source embroidery fabric with confirmed hooping behaviour
Compare base cloth, backing options and stitch-ready decoration in one place.
Request Sequin Fabric Samples
Send your motif file, backing preference and panel size, and we will prepare a sample set for review.
Yunfan Textile B2B Contact
Contact: Morris
Email: morris@yunfantextile.com
WhatsApp: +86 156 3752 5803
WhatsApp: +86 175 1619 6727