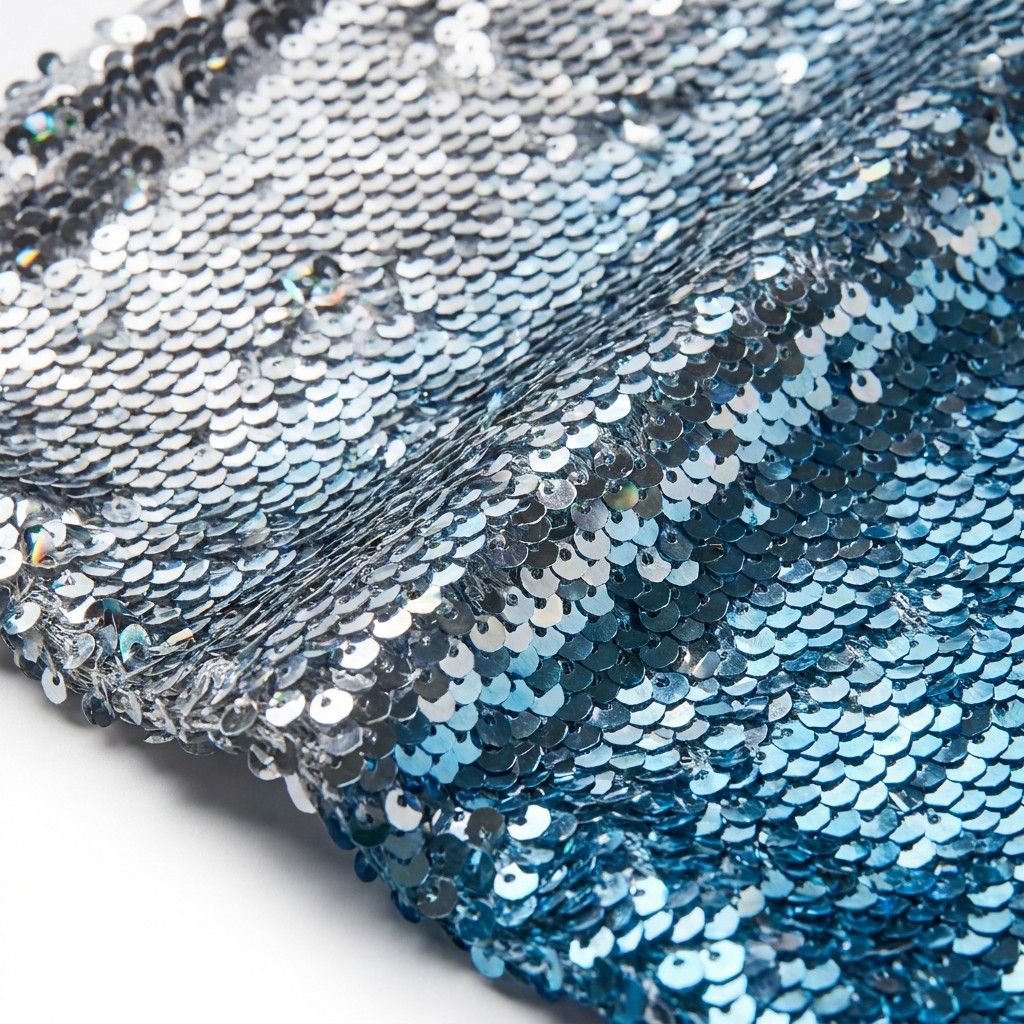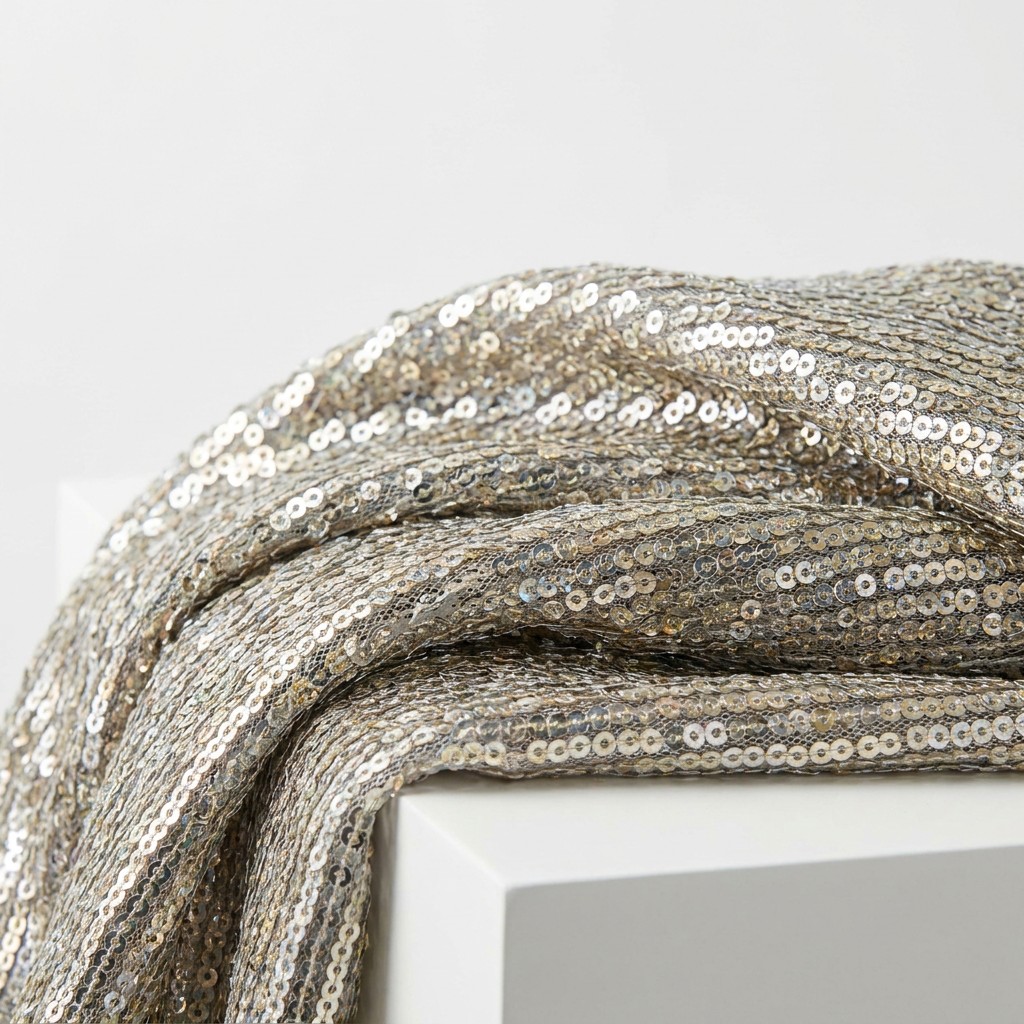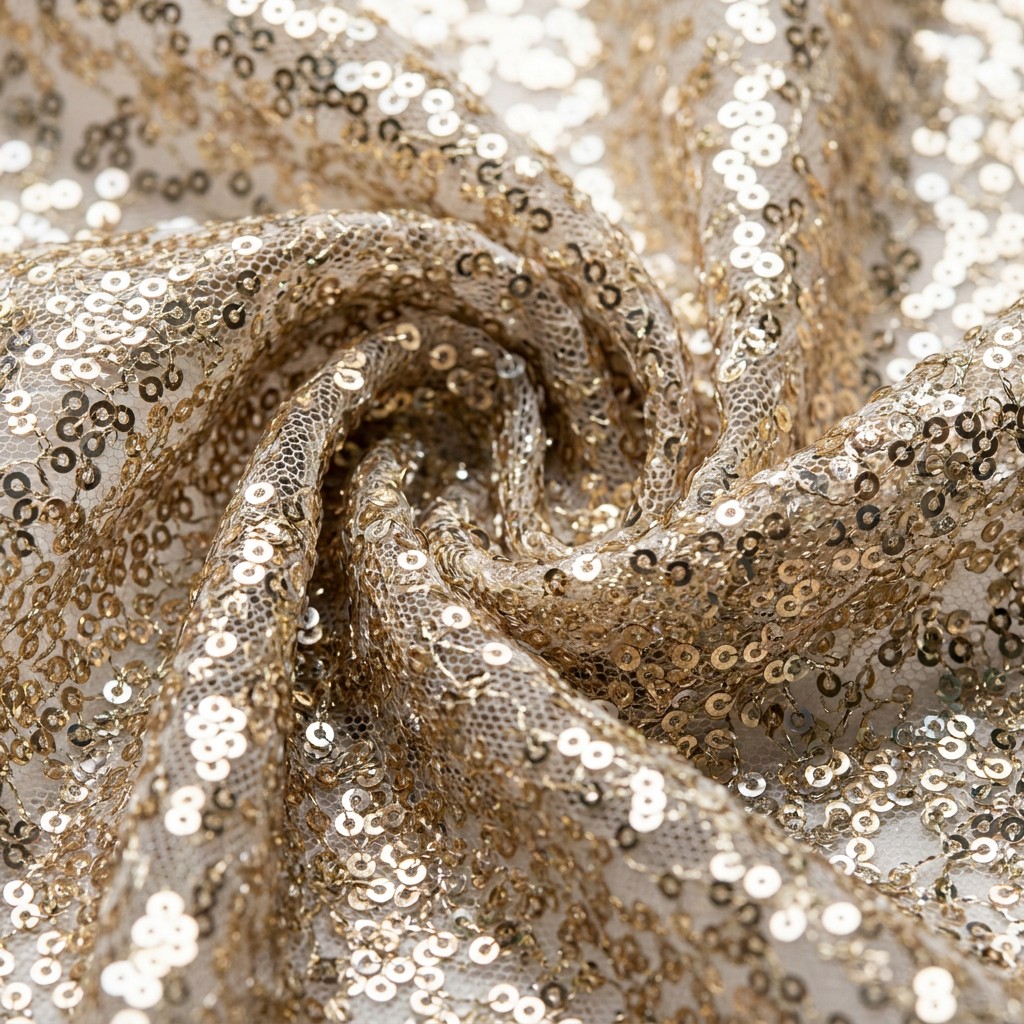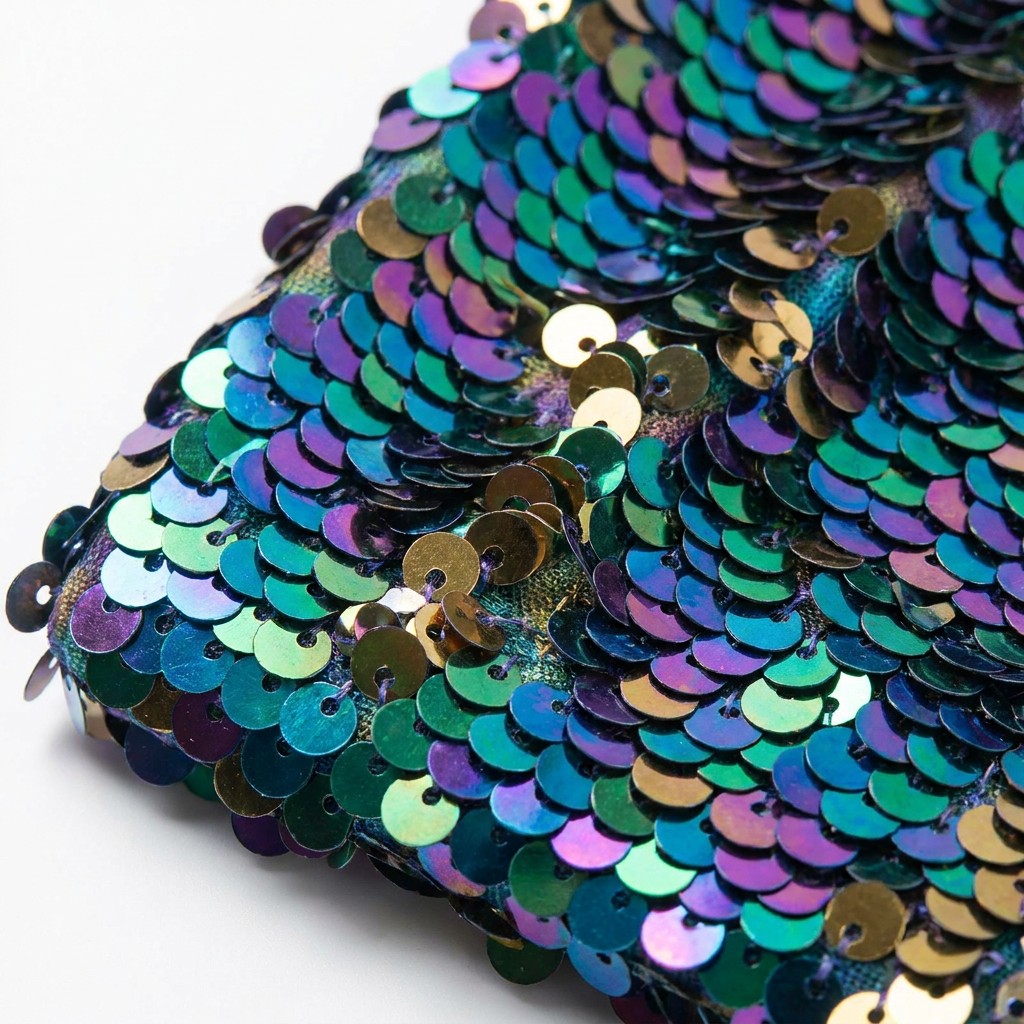
Quick answer: Embroidery stitch density is the number of stitches packed into a fixed area, usually measured as stitches per centimetre. Set it by deciding the coverage you need first, then testing three samples at low, medium and high density on the exact base cloth you will buy. Approve the sample whose coverage, hand feel and run time all match your garment or trim target.
Key Takeaways
- Embroidery stitch density controls coverage, hand feel, run time and cost — all four move together.
- Density that is too low leaves gaps and loose threads; density that is too high puckers the base cloth and slows production.
- The same density setting behaves differently on mesh, chiffon and satin, so always test on the final base.
- Record density on the spec sheet as stitches per centimetre, not as a description such as “dense look”.
- Ask for a digital preview before stitching physical samples, then confirm the setting on a sewn panel.
What Embroidery Stitch Density Means
Embroidery stitch density is the count of needle penetrations delivered into a defined area of fabric, expressed as stitches per centimetre or as stitches per inch. It sits alongside stitch type and thread weight as a core setting in any digitised design file.
Density is not the same as design size or thread colour. It is the packing factor. Raise it and the motif covers more of the base cloth with more thread. Lower it and the motif becomes lighter, faster to run and more transparent between stitches.
How to Set Embroidery Stitch Density
Work from the end use backwards. Decide what the motif must do, then test it.
- Define the coverage target. Decide whether the base cloth should remain visible between stitches or disappear.
- Choose a starting density range. Ask your supplier which range they use for that stitch type and base cloth.
- Stitch three test panels. Run low, medium and high density on the same base cloth with the same thread.
- Check the surface. Look for gaps at low density and puckering or buckling at high density.
- Check the hand. Fold each panel. Excess thread stiffens the cloth and changes how a garment falls.
- Confirm run time and price. Higher density means more needle movements and a longer production cycle.
- Lock the setting. Write the approved figure into the spec sheet and attach the panel to the sample record.
Density Reference Table
| Density level | Typical effect on the cloth | Best suited to | Watch for |
|---|---|---|---|
| Low | Open coverage, base cloth clearly visible | Delicate overlays and sheer layering | Loose threads and skipped coverage |
| Medium | Balanced coverage with a soft hand | Everyday trims and borders | Uneven coverage where motifs overlap |
| High | Almost solid coverage, firmer hand | Statement motifs and logo work | Puckering, needle heat and slower output |
| Very high | Raised, sculpted surface | Padded and 3D effects | Thread breaks and base distortion |
Treat the table as a starting point, not a rule. The same figure that looks balanced on chiffon can look sparse on mesh and heavy on satin.
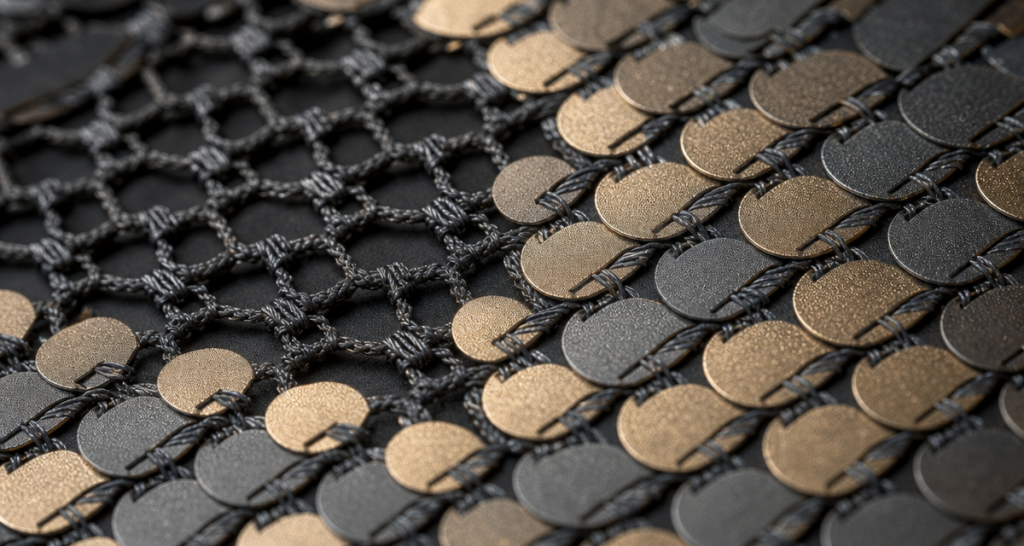
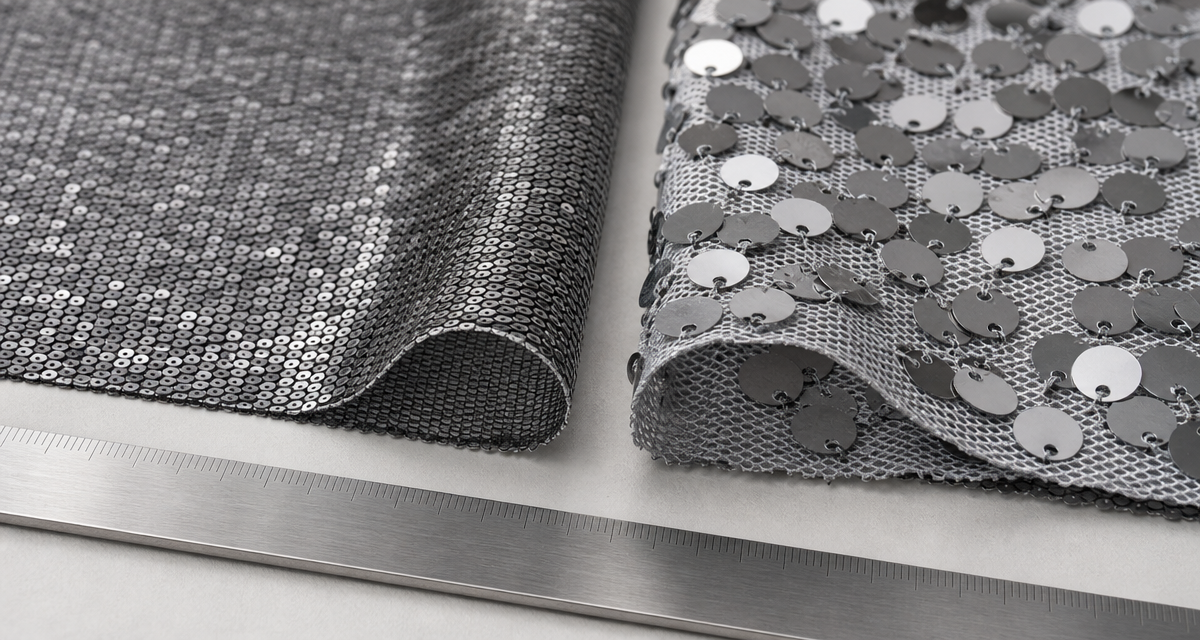
How Density Interacts With Sequin and Mesh
Sequin and mesh constructions add two variables that plain cloth does not have.
Mesh openness
Open mesh lets stitches drop through the holes, so effective coverage falls. Designers often need a higher setting on mesh than on a tight weave to reach the same visual weight.
Sequin seating
Where sequins sit close to an embroidered border, dense stitching can push the sequins out of line or distort the row. Test the combination rather than the embroidery alone. Our guide to choosing base fabric for sequin and embroidery applications explains how to compare base cloths before you lock a density setting.
Border alignment
Density affects how a border sits on the cloth edge. If the motif must run to the edge, review the repeat and the border position early. The workflow in our article on reviewing embroidery pattern repeat before bulk production keeps that review on schedule.
Checklist: What to Send the Factory
- Digitised design file and stitch type.
- Base cloth name, weight and construction.
- Target density in stitches per centimetre.
- Thread type, count and colour reference.
- Motif size and placement measurements.
- Approved test panel or reference photograph.
- Required hand feel, described against the approved panel.
Supplying all seven items in one message removes the guesswork that causes most density disputes. It also shortens the sample round. For a wider view of how embroidery fabric is sourced, see our guide to sourcing embroidered fabric for fashion collections.
Build your next embroidered collection with a factory partner
Compare embroidery densities, base cloths and sequin combinations on real production samples.
Embroidery Stitch Density, Run Time and Cost per Unit
Density is one of the few settings that changes cost without changing the artwork. Understanding why helps buyers trade coverage against price with clear eyes.
Needle movements
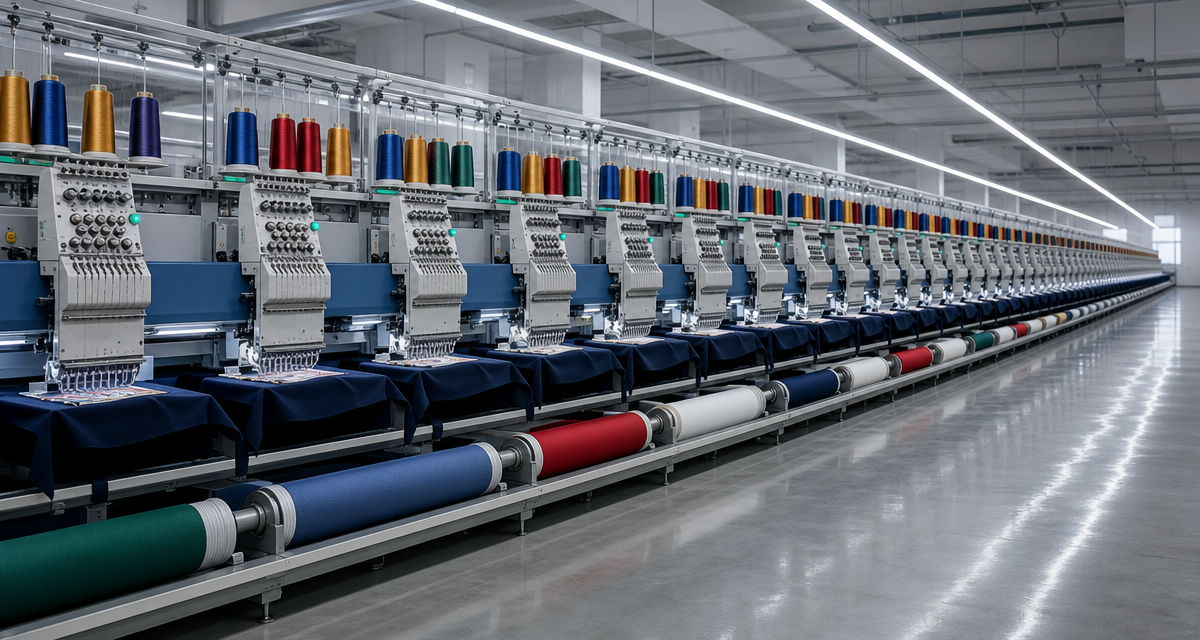
Every extra stitch is another needle movement. Multiply that by the motif area, the panel width and the total order length, and a modest density increase becomes a significant increase in time across a bulk run.
Thread consumption
Denser motifs use more thread per square metre. Thread is a consumable item, so it appears directly in the quotation rather than being absorbed quietly into overheads.
Machine time and scheduling
Dense work occupies a machine for longer. Where several styles share the same production window, a heavier density on one style can affect when the others run.
Rejection risk
Very high density raises the chance of thread breaks, needle heat and distortion of the base cloth. Rework caused by those defects usually costs more than the density increase that caused them. Keeping your inspection points visible in advance, as set out in our pre-shipment inspection checklist for sequin fabric, keeps that risk manageable.
How to negotiate density with a supplier
- Send the design file with a target density and an acceptable range.
- Ask for stitched panels at both ends of that range.
- Compare coverage and hand on the identical base cloth.
- Choose the lowest density that still meets the coverage target.
- Write the agreed figure into the specification sheet.
What to do when the budget is fixed
Lower the density slightly, reduce the motif area, or move to a lighter thread. All three reduce cost, and all three change the surface, so test each option on a panel before you agree to it. Buyers who present these options early usually get a faster answer than buyers who simply ask for a discount.
Frequently Asked Questions
What is a good embroidery stitch density?
There is no single figure. A workable density is the one that gives the coverage you need without puckering the base cloth or stiffening the hand. Start from the base cloth and test three levels.
Does higher stitch density always look better?
No. Past a certain point, extra stitches pile onto the same area and stiffen the cloth. The surface can also become uneven where motifs overlap.
Why does the same design look sparser on my bulk order?
Check thread count, base cloth and density first. A lighter thread or a more open base cloth will reduce coverage even when the file is unchanged.
Can density be changed after the design is digitised?
Yes. Density is a settable parameter in the design file, and it can usually be adjusted without redrawing the motif. Confirm the change on a sewn panel before approving bulk.
How does density affect the price per unit?
More stitches mean more needle movements, more thread and more machine time. Density is therefore a direct cost input, and it should be reviewed alongside the wider supplier quote comparison.
Request Sequin Fabric Samples
Request Sequin Fabric Samples with stitched density panels on the base cloth you plan to use. Orders start from 200 yards, and sample sets can include several density levels so you can compare coverage side by side.
Send your design file, base cloth and target coverage to Morris at morris@yunfantextile.com. For a quick reply, reach us on WhatsApp: +86 156 3752 5803 or +86 175 1619 6727. Include a photograph of the look you want, and we will match the stitch type and density to it.
Conclusion
Embroidery stitch density is a settable number, not a matter of opinion. Fix the base cloth, test three levels, approve the panel that balances coverage and hand, then write the figure into the spec sheet. That single line prevents the gap between the sample the buyer approves and the bulk the factory runs.