Embroidery applique thickness is the total build height of the applied pieces, the backing and the stitches that hold them together. Buyers track embroidery applique thickness because it changes bulk, drape, stitch coverage and wash behaviour on the finished panel. A build that is too thin shows the base cloth through the motif, while a build that is too thick stiffens the panel and stresses the needle. This guide explains how to specify, test and approve applique thickness before bulk production.
Key Takeaways
- Applique thickness is a total build height, not the fabric weight alone.
- Layer count, backing weight and stitch density all add height.
- Thick builds need longer stitch penetration and a larger needle.
- Measure thickness on a finished motif, not on loose material.
- Record the build in millimetres with a tolerance on the approval sheet.
- Wash one test piece before approving any build.
What Is Embroidery Applique Thickness?
Embroidery applique thickness is the measured height of a finished motif from the base cloth surface to the top of the applique. Moreover, it includes the applique fabric, any interlining, the stabiliser and the satin stitch that covers the edge. For this reason, the number is always higher than the thickness of the applique fabric on its own.
Thickness is measured on a stitched sample, not on a flat piece of material. For example, a 0.4 mm applique fabric can produce a 1.2 mm motif once interlining and edge stitching are added. Consequently, the specification should state the target on the finished motif and name the measuring method.
Why Embroidery Applique Thickness Matters for Buyers
Thickness drives three commercial outcomes. First, it sets hand feel. A panel that is too thick feels stiff and loses the soft drape that buyers paid for. Second, it sets stitch behaviour. A thick build needs longer needle penetration, so the stitch file and the needle must change with it.
Third, it sets wash performance. A heavy build traps water and dries slowly, and the applique edge can lift after the first wash. As a result, the cost of a wrong thickness appears after delivery, when the goods are already finished. Meanwhile, a build that is too thin lets the base cloth show through the motif, which reads as a quality fault.
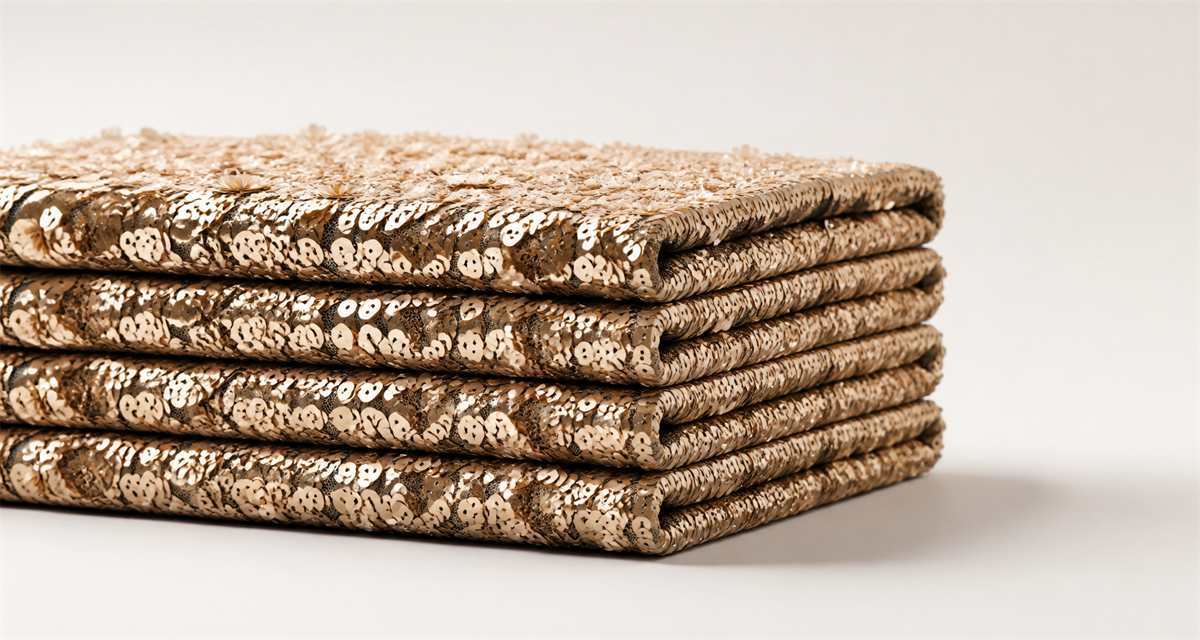
What Adds to Applique Thickness
| Element | Typical contribution | Effect on the build |
|---|---|---|
| Applique fabric | Largest single factor | Sets the main body of the motif |
| Fusible interlining | Medium | Adds body and stops edge fraying |
| Stabiliser backing | Low to medium | Supports the stitch, removed or left in place |
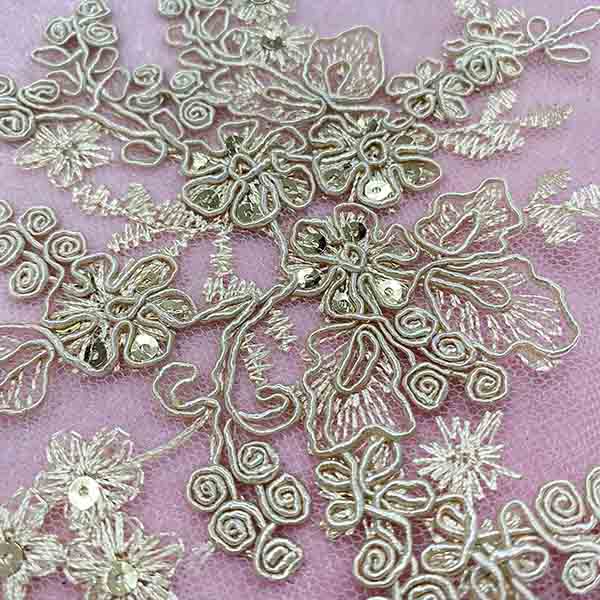
| Satin edge stitch | Medium | Covers the raw edge and adds height |
| Additional top layer | Medium | Creates layered or shadow effects |
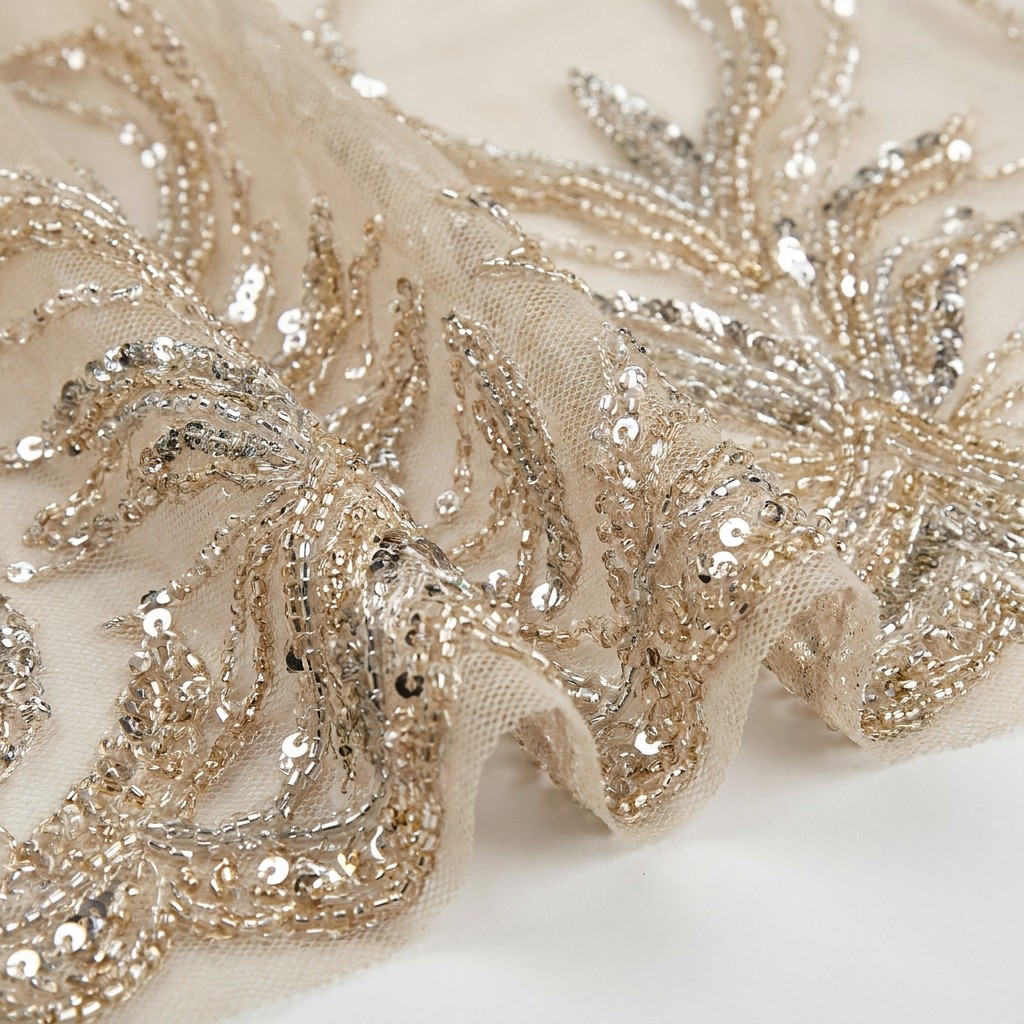
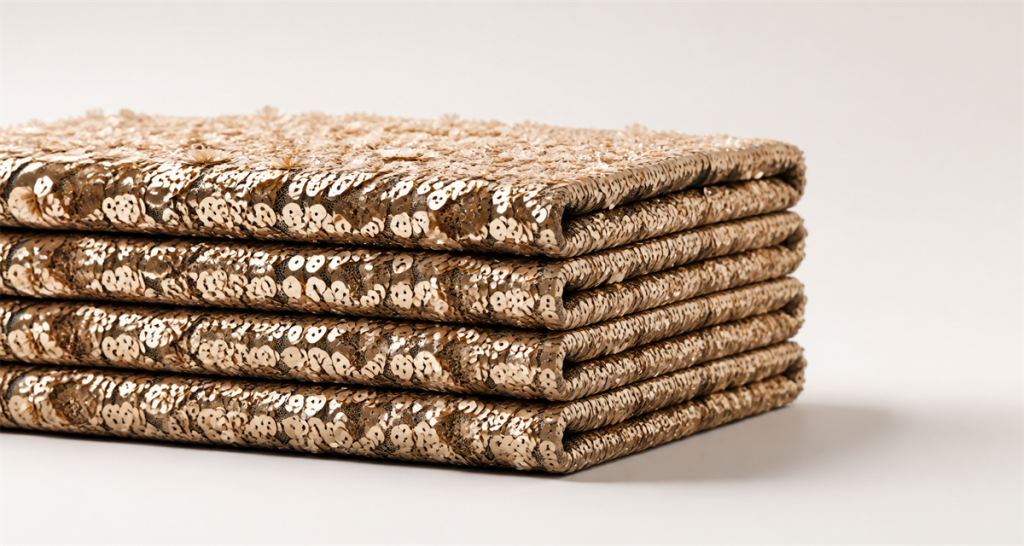
| Sequins or beads | Variable | Adds the most height per area |
The table shows why two suppliers can quote the same applique fabric and still deliver different thickness. However, the difference comes from backing, interlining and edge treatment. Related choices appear in our embroidery backing selection guide.
How to Test and Approve Embroidery Applique Thickness
- Ask for a stitched sample of the complete motif, not a loose piece of applique fabric.
- Measure thickness at three points: the motif centre, the edge stitch and a plain area beside the motif.
- Use a gauge with light, repeatable pressure and record the method with the readings.
- Bend the panel over a curved edge and record how the motif behaves.
- Compare the stitched sample against the reference panel for hand feel, colour and coverage.
- Wash one sample with the agreed care method and re-measure the edge after drying.
- Sign, date and store the approved sample with the thickness readings attached.
After that, compare the readings with the artwork requirement. If the build is too thin, add interlining rather than a heavier applique fabric. If it is too thick, reduce a layer or switch to a lighter backing. In practice, small adjustments to the backing change the result far more than a fabric swap.
Purchasing Checklist: Embroidery Applique Thickness
- Target thickness on the finished motif, in millimetres
- Accepted tolerance range
- Applique fabric reference and weight
- Interlining type and weight
- Backing type and removal method
- Stitch file reference for the edge
- Needle size matched to the build
- Layer count and stacking order
- Wash method used for the test
- Approved sample reference and date
Moreover, keep the checklist with the artwork file so the designer and the factory work from one document. Stitch parameters belong in the same file, as explained in our embroidery stitch density guide.
Build Options Compared
| Build | Approx. height | Best for | Trade-off |
|---|---|---|---|
| Single layer, light backing | Low | Fine fashion panels | Coverage can look thin |
| Single layer with interlining | Medium | Most garment applications | Needs careful fusing |
| Double layer | High | Bold border designs | Stiffer hand feel |
| Layered with beads | Highest | Statement and bridal looks | Slow sewing, higher cost |
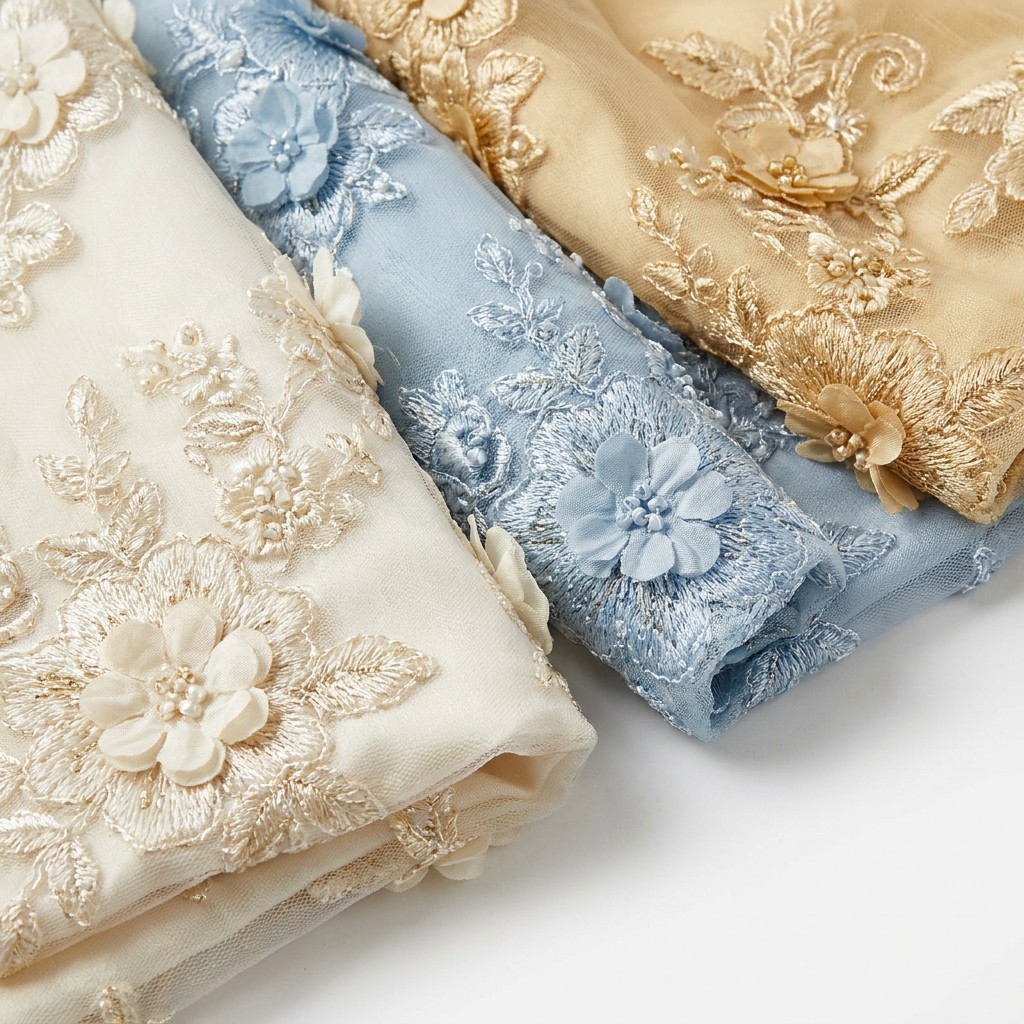
| Padded 3D build | Highest | Raised motifs and sculpture effects | Wash performance must be tested |
Common Applique Thickness Problems and Fixes
Base cloth showing through a motif usually means the build is too thin or the applique colour is too light. Therefore, add a layer or a darker interlining. In contrast, a stiff panel points to too much interlining or an over-heavy backing. Meanwhile, an edge that lifts after washing suggests the edge stitch did not fully cover the raw edge.
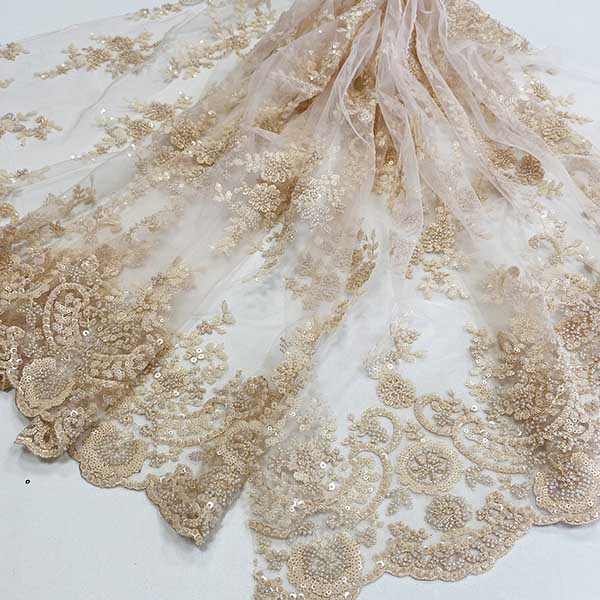
Needle breakage on a thick build is another common signal. Consequently, match the needle to the build rather than to the base cloth alone. In addition, a puckered motif means the backing was too light for the stitch count. Border designs show these problems first, because the build repeats around the whole panel. Our embroidery border design guide covers that pattern type in detail.
Where Applique Thickness Shows Up in Production
The first sign appears at the fusing station, where a thick stack of interlining may not bond through the layers. Therefore, check fusing temperature, pressure and dwell time against the build, not against a general setting. The second sign appears at the machine, when stitch penetration becomes inconsistent across the motif.
The third sign appears at final inspection, where panels are stacked. A heavy build creases along the motif line and shows through the layer above. Consequently, inspect a stack rather than a single panel. The fourth sign appears after the first wash, when edges, layers and hand feel settle into their final state.
FAQ: Embroidery Applique Thickness
How is applique thickness measured?
With a gauge under light, repeatable pressure at the motif centre and at the edge stitch. Always record the method with the readings.
Does applique thickness affect the stitch file?
Yes. A thicker build needs longer stitch penetration and usually a larger needle. Therefore, the file and the build should be approved together.
Can applique thickness be reduced after production?
Rarely. Interlining and edge stitching are already bonded, so a re-cut is usually cheaper than a rework attempt.
Which build suits home textiles?
Most home-textile programs use a single layer with interlining, because it balances coverage with drape. Heavier builds suit statement pieces only.
Writing Embroidery Applique Thickness Into the Order File
Start with one line that states the target build in millimetres and the accepted tolerance. Second, list the layer stack in order, from base cloth upward. Third, name the backing and the interlining with their weights. Fourth, state the needle size matched to the build. Fifth, attach the approved stitched sample and its wash result.
Then link the clause to the care instruction. For example, add a line that reads: the build must keep its height and edge coverage after the agreed wash cycle. Because buyers and factories often measure hand feel differently, a photo of the approved sample removes most of the ambiguity.
Finally, agree the remedy. If a batch misses the thickness window, the cleanest answer is a re-make of the affected pieces plus a re-measurement of the balance. If you would like help turning a build into a measurable clause, our team can review your artwork and recommend a layer stack that matches your target hand feel.
Conclusion: Approve the Build, Not Just the Fabric
Embroidery applique thickness decides how a motif looks, feels and survives washing. Therefore, specify the finished build in millimetres, test it on a stitched sample and store the result with the artwork. Then the designer and the factory stop debating fabric weight and start measuring the same number.
Source embroidery fabric with sample-approved builds
Compare applique fabrics, backings and embroidery styles in one place.
Request Sequin Fabric Samples
Send your artwork, target build height and care requirement, and we will prepare a sample set for review.
Yunfan Textile B2B Contact
Contact: Morris
Email: morris@yunfantextile.com
WhatsApp: +86 156 3752 5803
WhatsApp: +86 175 1619 6727