Quick answer: Embroidery border design is the stitched edge or frame that finishes a decorative fabric, and it decides where a panel can be cut. Specify it by naming the border type, the finished depth, the position on the roll and the repeat length. Then approve a stitched sample that runs the border to the cut edge, because that is the point where most bulk problems appear.
Key Takeaways
- A border defines the usable area of a panel, so it belongs in the width calculation, not only in the design file.
- Scalloped, straight, eyelet and fringed borders each need a different amount of base cloth beyond the stitch line.
- Border depth and repeat length are the two figures that most often go missing from a specification sheet.
- Direction matters. Ask whether the border runs along the selvedge or across the width.
- Approve a stitched border sample on the final base cloth before the order is released.
What Embroidery Border Design Covers
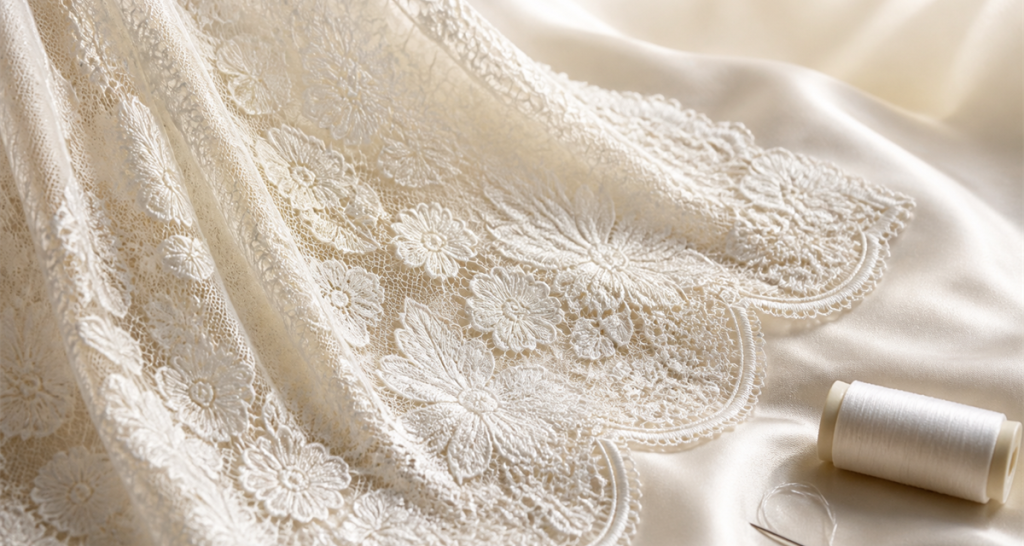
Embroidery border design is the planning of a stitched edge treatment on a decorative fabric: what the border looks like, how deep it runs, where it sits on the roll and how it repeats. It applies to bridal laces, eveningwear overlays, trims and any panel where the stitched edge is part of the finished look.
The design decision and the production decision are the same decision. A border that looks elegant on screen can still be impractical if the motif runs so close to the cut line that the edge frays, or so deep that it eats into the usable width of every metre. Buyers who treat the border as a design detail alone usually meet that problem after the order has shipped.
Common Embroidery Border Design Types
| Border type | Visual effect | Best suited to | Watch for |
|---|---|---|---|
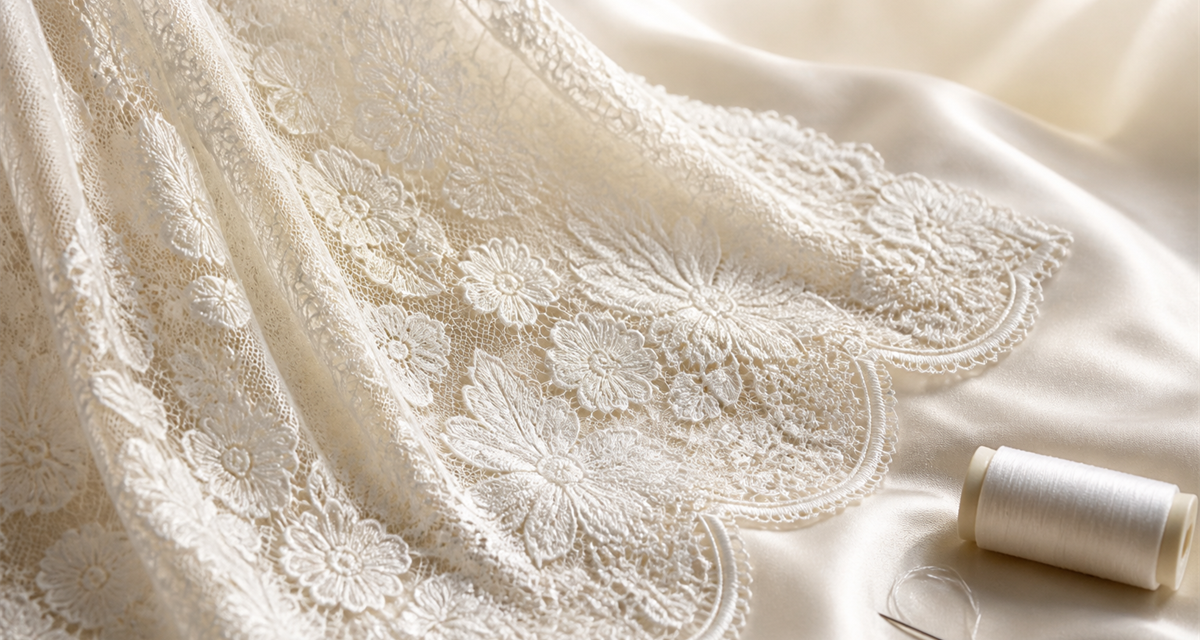
| Scalloped | Rounded, repeated arcs along the edge | Bridal veils, hems, sleeve edges | Scallop depth must clear the cut line |
| Straight frame | A defined line running parallel to the edge | Panels, cushions, structured garments | Alignment drift across a wide roll |
| Eyelet | Open cutwork shapes inside a stitched outline | Light overlays and summer collections | Cut openings need a firm stitch surround |
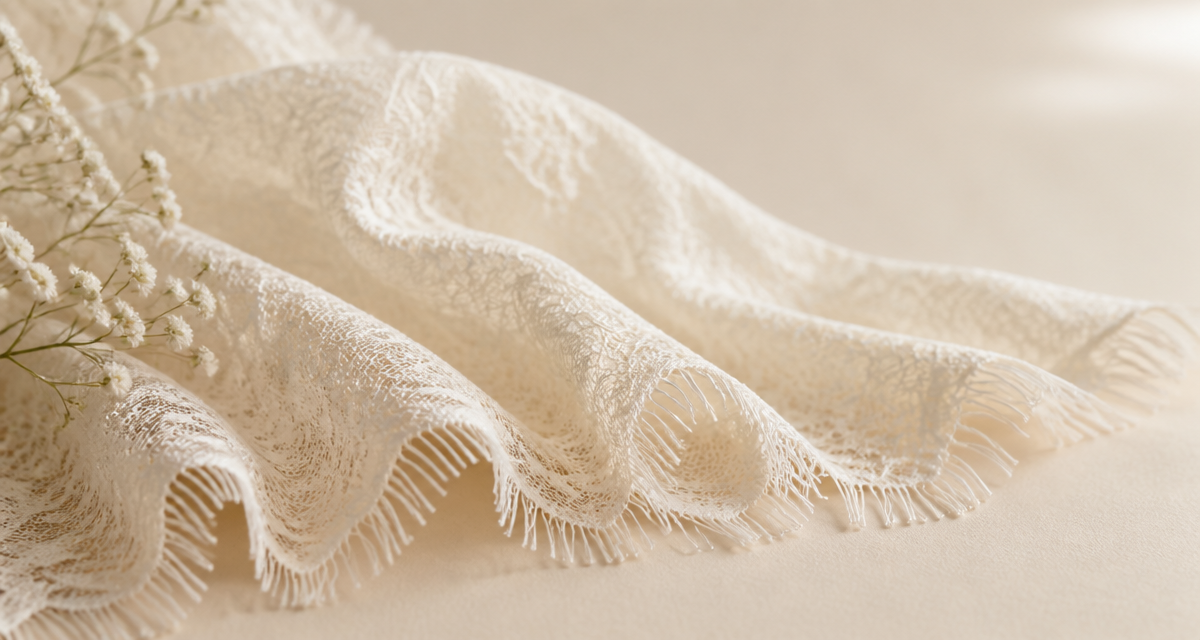
| Fringed or eyelash | Fine threads left free along the edge | Bridal, eveningwear, soft trims | Loose threads tangle in handling and packing |
| Sequin-trimmed | Sequins seated along the border line | Stage, eveningwear and event panels | Sequin seating can shift with border density |
How to Specify an Embroidery Border Design
- Name the border type and stitch. State whether the border is scalloped, straight, eyelet, fringed or sequin-trimmed.
- Give the finished depth. Measure from the stitch line to the outermost point of the border, in millimetres.
- State the position on the roll. Confirm whether the border runs along one selvedge, both selvedges, or across the width.
- Give the repeat length. Record how far apart the motifs sit so the pattern can be matched at the seam.
- Confirm the cut line. Show where the fabric will be cut relative to the border, and how much margin must remain beyond the stitch.
- Approve a stitched sample. Check depth, repeat, direction and edge behaviour on the final base cloth.
Those six items remove almost every ambiguity between a design brief and a production file. A broader version of the same discipline appears in our guide to developing a coordinated fabric collection with a factory partner.
Placement, Repeat and Direction
Placement on the roll
A border along the selvedge is stitched in the same pass as the rest of the design. A border that crosses the width may need a separate operation, which affects both cost and how the repeat can be matched. Confirm placement before pricing.
Repeat and motif alignment
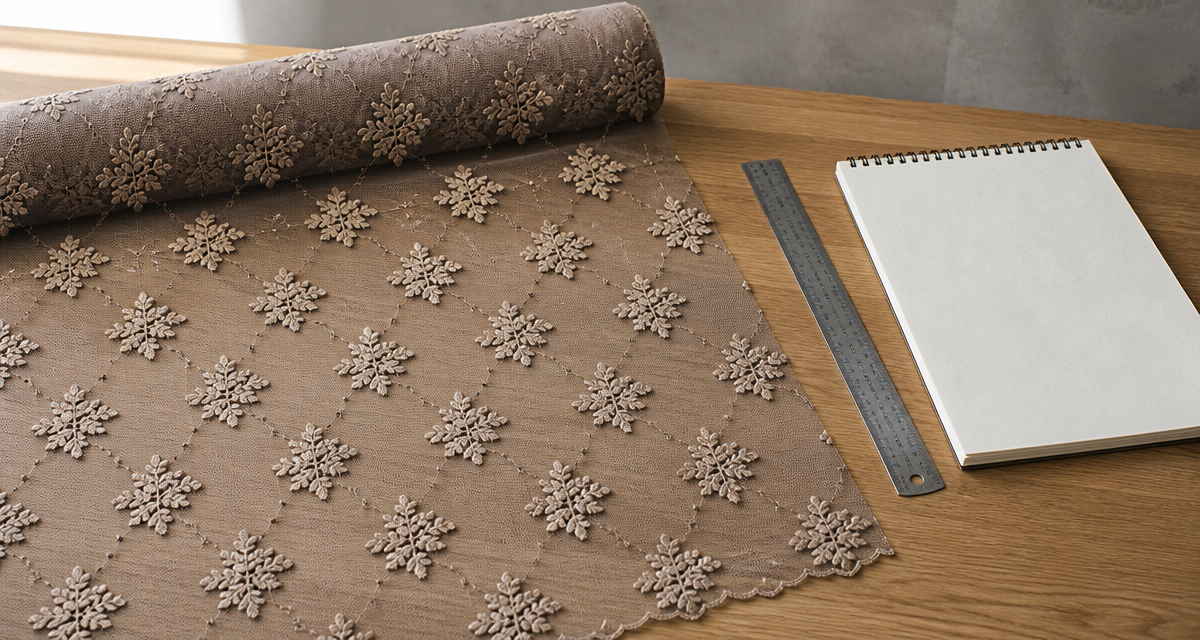
The repeat length decides whether two panels can be joined without breaking the pattern. When the border carries its own repeat, the two rhythms have to be checked together rather than separately. The workflow in our article on reviewing embroidery pattern repeat before bulk production shows how to do that.
Direction and shading
Directional borders read differently depending on which way up the panel is cut. Mark the direction on the specification and on the sample, and state whether one-way cutting is required.
Edge behaviour after cutting
The border must hold its shape once the panel is cut. An eyelet border needs enough stitching around each opening, and a fringed border needs a stable stitch line above the loose threads. Approve the cut sample, not the uncut roll.
Checklist: Border Specification Fields
- Border type and stitch construction.
- Finished border depth in millimetres.
- Position on the roll and number of bordered edges.
- Repeat length and match point.
- Cut line position and margin beyond the stitch.
- Direction requirement and cutting method.
- Thread type, colour reference and sequin specification where relevant.
- Approved stitched sample reference and photograph.
Attach the approved sample to the order file. When the border is part of a custom development, include the same fields in your enquiry, following the structure in our guide to preparing an RFQ for custom sequin fabric.
Border Design and Cutting Efficiency
A border consumes fabric in two ways. It uses base cloth beyond the stitch line, and it can restrict where a pattern can be placed. A deep scalloped border along both selvedges therefore reduces the usable area of every metre, which raises the quantity needed for a given number of panels.
That is why the border belongs in the yield calculation. Measure the clear width between the borders, not simply the total roll width, and use the clear figure when you estimate how much fabric a garment or a panel needs. Our guide to checking fabric width and usable yield for sequin collections sets out the measurement in full, and it pairs well with our article on sourcing embroidered fabric for fashion collections.
Two practical rules follow. First, keep the border depth consistent across the whole order, because a border that varies between rolls makes cutting plans unreliable. Second, decide early whether remnants beyond the border can be used for smaller trims, since that decision recovers cost on every metre.
Develop a custom embroidery border with the factory
Compare border depths, repeats and sequin-trimmed edges on stitched samples before you commit to bulk.
Frequently Asked Questions
What is the standard depth for an embroidery border?
There is no universal depth. The right figure comes from the finished garment: measure the border on a reference product, then confirm that the depth clears your cut line with enough margin for the stitch to hold.
Can a scalloped border be cut after stitching?
Often yes, and that is how the rounded edge is created. The important point is that the stitch outline must sit far enough inside the cut to keep the edge stable, so approve a cut sample before bulk.
How do I match a border across a seam?
Give the repeat length and mark the match point on the specification. Cut panels from the same position in the repeat so the border continues across the join.
Can sequins be combined with an embroidered border?
Yes, and it is a common request for eveningwear and stage panels. Test the combination, because dense border stitching can disturb sequin rows that sit close to the edge.
Does border depth affect the price?
It affects two costs. A deeper border uses more thread and more machine time, and it reduces the clear width of the roll, which changes how much fabric each panel needs.
Request Sequin Fabric Samples
Request Sequin Fabric Samples with stitched border options on your chosen base cloth. Orders start from 200 yards, and sample sets can include several border depths and repeats so you can compare them on the same construction.
Send your border type, depth, repeat and cut line to Morris at morris@yunfantextile.com. For a fast reply, message us on WhatsApp: +86 156 3752 5803 or +86 175 1619 6727. Share a photograph of the edge you want, and we will match the stitch and the base cloth to it.
Conclusion
Embroidery border design is a production decision as much as a design one. Name the border type, fix the depth and repeat, state the position on the roll, and approve a stitched sample that has already been cut. Do that, and the edge that leaves the factory is the edge you signed off, on every roll of the order.