Embroidery underlay stitching is the hidden layer of stitches placed under the visible design, and it is the single largest reason a motif either sits flat and stable or puckers after the first wash. For B2B buyers, the practical answer is to specify the underlay type by application: edge-walk underlay for outlines and small lettering, zigzag underlay for light fabrics, and double or fill underlay for dense motifs on stable woven grounds. Ask for the underlay plan in writing before sampling, because it is far cheaper to change a stitch file than to re-embroider a bulk order.
This guide explains what each underlay does, how density interacts with fabric weight, and which checks catch underlay problems before goods leave the factory.
What Is Embroidery Underlay Stitching?
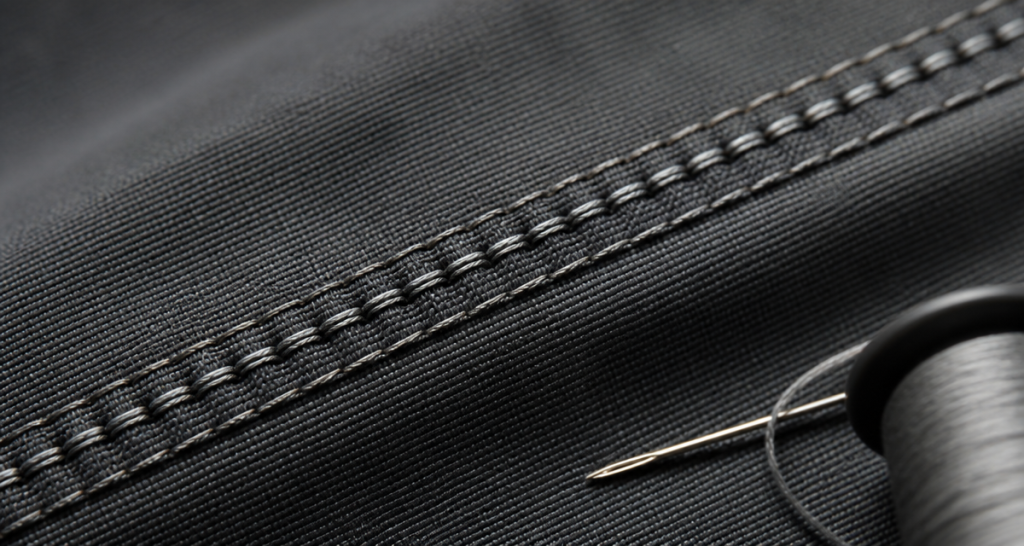
Embroidery underlay stitching is a foundation sequence of stitches digitised to run before the main decorative coverage. It is not visible in the finished motif, but it shapes how that motif behaves. Underlay lifts the design off the fabric surface, stabilises the ground so it does not stretch under dense stitching, and supports the satin or fill columns that follow.
There are four families in common commercial use. Edge-walk runs a single line just inside the motif outline and keeps edges crisp. Zigzag spreads support across the width of a column and is the standard choice for light woven grounds. Fill or double underlay lays overlapping rows beneath a dense area so the top coverage stays opaque. Centre-run places a straight line down the middle of a satin column, which stabilises the column without adding bulk to the edges.
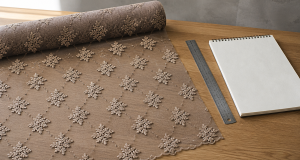
Two factors determine which combination is correct. The first is the fabric. A stable woven ground tolerates less underlay; a fine mesh, tulle or stretch knit needs more support to avoid distortion. The second is the design. Dense, wide or long satin columns need more underlay than fine open line work, and large filled areas need enough support that the ground does not ridge between stitch blocks.
Key Takeaways
- Underlay is specified by application, not by habit; the same design needs different underlay on mesh and on woven ground.
- Too little underlay causes puckering, gaps and sinking stitches; too much causes stiffness, needle deflection and thread breakage.
- Ask for the underlay plan and stitch file parameters in writing before bulk is confirmed.
- Always run a wash and stress test on the exact fabric plus stabiliser plus underlay combination.
- Record underlay type, stitch density and stabiliser reference on the approved sample sheet.
Why Underlay Decides the Final Appearance
Buyers often judge an embroidery sample by colour and coverage, then discover the real problem after the first laundry cycle, when the ground begins to pucker and the motif edges curl. Underlay is the reason. Without adequate support, the top stitches pull the fabric grain together and the ground has nowhere to recover. With excessive support, the motif becomes rigid, and a stiff patch on a flowing garment reads as a cheap finish.
Underlay also affects cost and productivity. More stitches mean more machine time and a higher unit price. A supplier that quotes a very low stitch count is usually removing underlay, not working more efficiently. Comparing quotes on stitch count alone, without asking what underlay those stitches represent, is one of the most common sourcing mistakes in embellished textiles.
Finally, underlay interacts with the base fabric choice. Mesh and tulle are open, light and easily stretched; woven satin and twill are dense and stable. Choosing the ground first, then the underlay, then the top coverage produces a controlled result. Working in the reverse order produces rework. For fabric-side comparisons, our embroidery fabric section covers the main grounds used in commercial production.
How to Specify Embroidery Underlay Stitching
Use this sequence on every new style so the specification is repeatable across orders and factories.
- Identify the base fabric type and weight. Record weave, denier or yarn count, and whether the ground has any stretch.
- Classify the design elements. Separate outlines, satin columns, fills, lettering and applique from one another.
- Assign an underlay family per element. Edge-walk for outlines and small lettering, zigzag for light ground, fill for dense areas, centre-run for narrow columns.
- Set underlay density and pull compensation. Keep density low enough to avoid stiffness and adjust the file for fabric stretch.
- Select stabiliser and topping. Match the backing to the ground and add a soluble topping where raised loops or dense coverage need support.
- Run a sample on the production fabric. Approve on the actual goods, never on a generic test cloth.
- Lock the parameters and document them. Freeze the stitch file, attach it to the purchase order, and record it on the approved sample sheet.
Underlay Type Selection Table
| Underlay Type | Best Application | Fabric Suitability | Risk If Omitted |
|---|---|---|---|
| Edge-walk | Outlines, small lettering, fine detail | Most woven and mesh grounds | Soft, blurred edges |
| Zigzag | Satin columns on light fabric | Mesh, tulle, lightweight knits | Puckering and pull-off |
| Fill / double | Dense filled motifs, large coverage | Stable woven grounds | Ground showing through, ridging |
| Centre-run | Narrow satin columns and borders | All grounds | Column collapse and twisting |
| Combination | Complex multi-element motifs | Mixed construction | Localised distortion |
Use the wrong underlay on a stretch ground and the design pulls the fabric out of shape. Use it correctly and the same design reads cleanly and survives normal wear. The difference is visible in the first metre of sampling, which is exactly when the decision is cheapest to make. Our manufacturing reference explains how these parameters are scheduled on multi-head machines.
Production Checklist and Data Fields
Record the following fields for every approved embroidery style. Attach the completed sheet to the purchase order.
| Field | What to Record |
|---|---|
| Base fabric | Construction, weight or denier, colour, supplier reference |
| Underlay type | Edge-walk, zigzag, fill, centre-run or combination, per element |
| Stitch density | Stitches per centimetre for underlay and top coverage |
| Pull compensation | Percentage applied in the stitch file |
| Stabiliser | Type, weight and removal method |
| Topping | Water-soluble or heat-removable, if used |
| Machine settings | Speed, thread tension, needle size and type |
| Colour sequence | Order of thread changes and shade references |
| Approved sample | Reference number and date of approval |
Two checks are worth adding even when they are not requested by the customer. First, run a launder test on the approved sample and inspect for puckering, edge lift and colour transfer. Second, inspect the reverse side, because underlay problems such as excessive density or thread build-up appear clearly from behind long before they show on the face.
Solving Common Underlay Problems
Puckering around dense motifs usually means insufficient underlay or too much top density for the ground. Reduce top density, add a controlled zigzag layer, and confirm the stabiliser matches the fabric weight.
Motif edges that look soft point to a missing edge-walk underlay. Add a single line just inside the outline and check that pull compensation is set for the fabric direction.
Stiff, board-like panels indicate over-stitching. Reduce underlay passes, lower density in the underlay only, and consider a lighter stabiliser that can be fully removed.
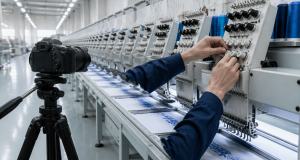
Needle deflection and thread breakage often follow excessive underlay build-up on heavy designs. Check needle size, reduce density, and verify that the underlay does not overlap itself at the sharpest corners. Our quality control notes cover how these faults are graded during inspection.
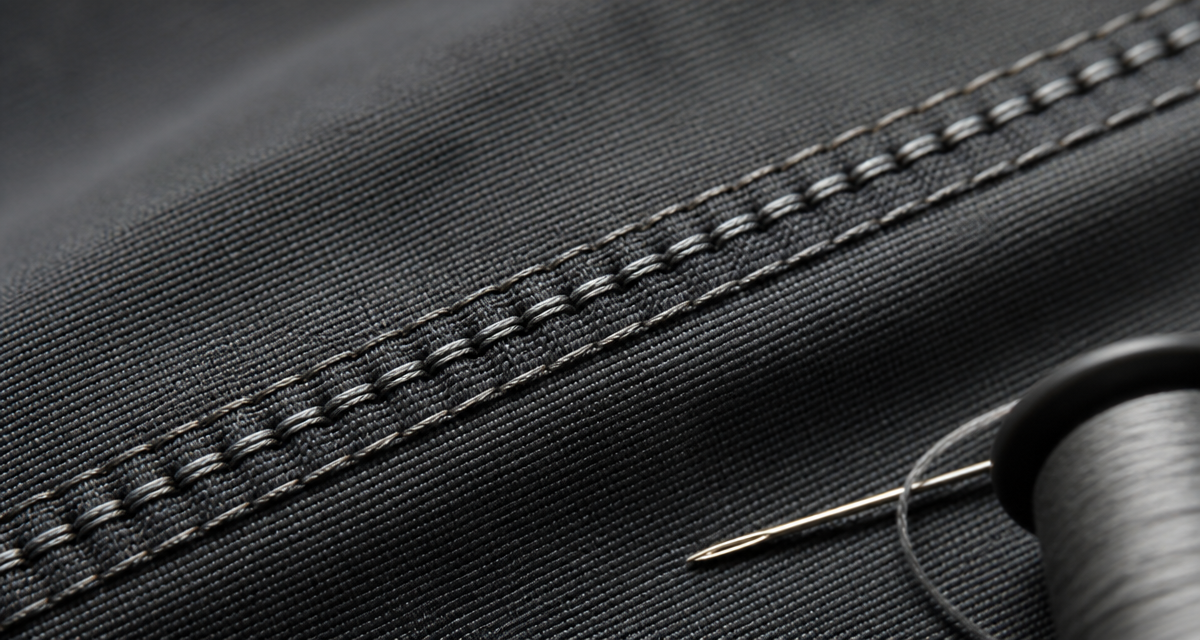
FAQ: Embroidery Underlay Stitching
Is underlay always necessary?
For almost all commercial work, yes. Very light open line work on a stable heavy ground can sometimes run without it, but dense coverage, satin columns and anything on mesh or knit ground will pucker or distort without underlay.
Does more underlay mean better quality?
No. Beyond a point, extra underlay makes the motif stiff, slows production and increases needle stress. Quality comes from matching underlay type and density to the fabric and the design element.
How does underlay differ on sequin fabric?
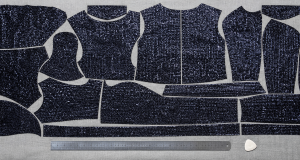
It is usually digitised with a lighter density and a wider zigzag so stitches do not crack or displace sequins. Where sequins sit directly under the motif, an additional stabiliser layer is common to protect the film.
Should underlay be visible on the back of the fabric?
A neat, even underlay structure is normal on the reverse. Sparse, tangled or uneven backing stitches indicate a digitising or tension problem and should be queried before bulk approval.
Can underlay be changed without re-digitising?
Density and sequence can often be adjusted inside the existing file. Changing the underlay type for a specific element usually requires removing and re-running that element in the digitising software.
Conclusion: The Invisible Layer That Sets Quality
Embroidery underlay stitching never appears in a marketing photo, yet it determines whether the motif sits flat in the showroom and still looks correct after ten washes. Specify it by application, freeze the parameters, and verify on the production fabric before bulk.
Want to test underlay options on real grounds? Request Sequin Fabric Samples and tell us your motif and end use, and we will supply matched base cloths and stabiliser guidance.
Contact Morris at morris@yunfantextile.com, or send a message on WhatsApp: +86 156 3752 5803 or +86 175 1619 6727. You can also order sampling through yunfantextile.en.alibaba.com.