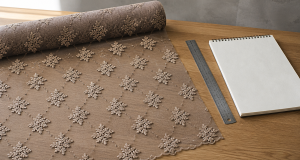
Embroidery thread tension is the balance between the upper thread and the bobbin thread at the moment the stitch is formed. When embroidery thread tension is correct, the upper thread wraps neatly around the bobbin thread and the motif sits flat. When it is wrong, you see loops on the surface, bobbin thread pulled to the top, puckering around dense areas, or broken threads that stop the machine. For a B2B buyer, tension is not a machine detail. It is the difference between a motif that looks premium and one that looks repaired.
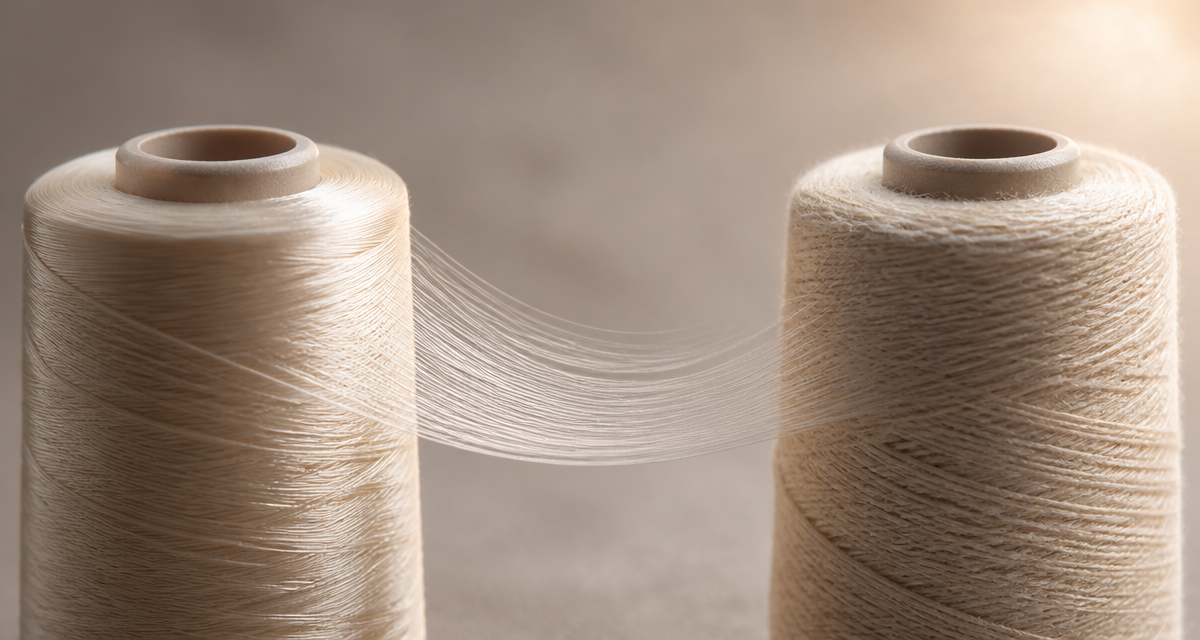
Key Takeaways
- Correct tension shows about two thirds upper thread and one third bobbin thread at the stitch.
- Tension changes when thread, needle, backing, or fabric changes.
- Puckering is usually a density and backing problem as well as a tension problem.
- Approve tension on a physical sample, not from a photograph.
- Record the tension setting, thread lot, and needle type for every bulk run.
What Is Embroidery Thread Tension?
Embroidery thread tension is the amount of resistance applied to the upper thread and the bobbin thread so that they interlock in the middle of the fabric. In practice, the upper thread passes through tension discs, a take-up lever, and a needle. Meanwhile, the bobbin thread sits in the bobbin case under its own spring tension.
When the two forces are balanced, the stitch is stable. If the upper thread is too tight, the bobbin thread is pulled up and shows on the face of the motif. By contrast, when the upper thread is too loose, loops appear on the surface and the design looks blurred.
Tension is also relative, not absolute. The right number on one machine with one thread is wrong with another thread on the same machine. Therefore, tension is always set against the actual materials of the order.
How Thread Tension Changes the Finished Motif
Three outcomes matter to a buyer, and all three are visible on the finished garment.
- Coverage. For example, loose tension spreads the stitches and dulls the motif edge. Tight tension compresses the motif and can expose the backing.
- Hand feel. On the other hand, overtight tension stiffens the embroidered area because the fabric is pulled into the stitch. This is easy to feel on a swatch.
- Durability. As a result, loops on the surface snag easily. In addition, threads with high tension break more often during production, which adds machine downtime and cost.
Because of these effects, tension belongs in the technical pack alongside thread reference and stitch density.
How to Check Embroidery Thread Tension
- Thread the machine with the production thread. Use the exact thread ticket number and colour that will be used in bulk.
- Next, fit the production needle. Needle size and point type change the stitch, so do not test with a spare needle.
- In addition, use the production backing. A different stabiliser changes how the stitch sits and how much the fabric puckers.
- Stitch a standard test motif. Use the same file, density, and sequence as the bulk order.
- Finally, inspect the face and the back. Look for loops on the face and for bobbin thread pulled through to the top.
- Adjust the bobbin first. Set the bobbin tension to a light, even pull, then tune the upper tension to match.
- After that, repeat on the smallest letters. Fine detail fails first, so test the finest element in the design.
- Record the setting. Write the value, the thread lot, and the needle type on the sample record.
Tension Symptoms and What They Mean
| Symptom | Likely cause | Practical fix |
|---|---|---|
| Bobbin thread visible on the face | Upper thread too tight | Reduce upper tension and re-test |
| Loops on the face | Upper thread too loose | Increase upper tension gradually |
| Puckering around dense areas | Density and backing, not tension alone | Add or change backing and reduce density |
| Frequent thread breaks | Tension too high or needle too small | Lower tension and check the needle |
| Uneven stitch length | Poor feed or inconsistent thread pull | Check the thread path and the spool |
| Motif edge looks blurred | Low tension plus soft backing | Firm the backing and reset tension |
Upper Tension, Bobbin Tension, and Backing Compared
| Element | What it controls | How to verify |
|---|---|---|
| Upper thread tension | How far the top thread wraps around the bobbin | Look at the stitch balance on the face |
| Bobbin tension | Resistance of the under thread | Hold the bobbin case and feel a light, even drag |
| Backing or stabiliser | How much the fabric moves during stitching | Compare the same file on two backings |
| Needle size and point | How cleanly the needle enters the fabric | Check for fabric damage at the stitch line |
| Thread type | Elongation, lustre, and break behaviour | Test with the actual production thread |
Notice that only two of the five rows are adjusted on the tension dial. The other three are material choices, which is why tension alone rarely fixes a puckering problem.
Specification and Approval Checklist
- Thread reference: material, ticket number, and colour code
- Thread lot number for the bulk run
- Needle size, point type, and brand
- Backing type, weight, and number of layers
- Stitch count and density per centimetre
- Tension setting recorded on the machine
- Test motif file reference and version
- Face and back photographs attached to the record
- Approved physical sample signed and dated
- Change rule: any material change requires a new test
Tension Problems by Fabric Type
However, fabric changes the tension problem you are most likely to see. On firm woven fabric, the stitch sits on a stable surface, so tension errors show as visible loops. On the other hand, on soft knits the fabric itself stretches, so the same setting can pucker instead.
In addition, on sequin and mesh bases the needle crosses irregular surfaces, so tension must be set slightly loose to avoid breaking sequin threads and pulling the mesh. However, too loose and the sequins cover the loops so the fault is hidden until the garment is inspected under raking light. Therefore, always inspect at an angle, not only straight on.
Our guide to embroidery backing selection explains how to choose the right stabiliser for each base, and the article on embroidery and sequin compatibility covers the mixed-material case in more detail.
How to Approve Tension Before Bulk Production
- Ask for a tension test on the production materials. A test on stock fabric proves very little.
- Compare face and back. A balanced stitch shows roughly two thirds upper thread and one third bobbin thread.
- Check the densest and the finest areas. A motif that passes on large fills can still fail on 4 mm letters.
- Wash or steam one sample. Some tension faults only appear after the fabric relaxes.
- Sign the approved sample. Keep one copy with the supplier and one in your own file.
- Require re-approval after any change. New thread lot, new backing, or a new machine all justify a fresh test.
Pair the tension record with your colour approval process. The guide to embroidery thread shade card approval shows how to keep the thread reference stable, and the article on embroidery motif placement approval covers the positioning checks that run alongside tension.
Frequently Asked Questions
What does correct embroidery thread tension look like?
A balanced stitch shows the upper thread on the face, and only a small amount of bobbin thread should be visible from the back. Roughly two thirds of the stitch should be upper thread.
Why does the bobbin thread show on the top of the motif?
As a rule, that means the upper thread tension is too tight. Reduce it gradually and re-test on the production materials before making a larger change.
Can tension cause puckering?
In practice, tension contributes, but puckering is usually a combination of stitch density, backing choice, and fabric behaviour. Fix density and backing first, then fine-tune tension.
How often should tension be re-checked in production?
Therefore, check at the start of every run and after any thread, needle, or backing change. Operators should also watch the first few pieces of every new batch.
Do I need to test tension on every colour?
For example, only if the thread material or ticket number changes. Colour alone rarely changes tension, but a different thread type almost always does.
Conclusion: Balance Tension Before You Scale Up
Embroidery thread tension is one of the few variables that affects coverage, hand feel, durability, and production cost at the same time. Because of that, it deserves a written standard and an approved physical sample.
Therefore, define the thread, the needle, the backing, and the density. Then test the motif on the production materials. In addition, record the result. Finally, re-test after any change. That routine removes the most common reason an approved design looks different on the bulk shipment.
Get Embroidery Fabric Samples for Your Next Order
Check stitch quality, tension balance, and hand feel on your own motif file and thread reference before you commit to bulk. Yunfan Textile produces embroidered and sequin fabric for B2B buyers worldwide.
Source direct on Alibaba - request bulk pricing, specifications, and production details in one place.
Request Sequin Fabric Samples and share your target GSM, width, sequin size, and colour reference.
Talk to Morris directly:
Email: morris@yunfantextile.com
WhatsApp: +86 156 3752 5803
WhatsApp: +86 175 1619 6727