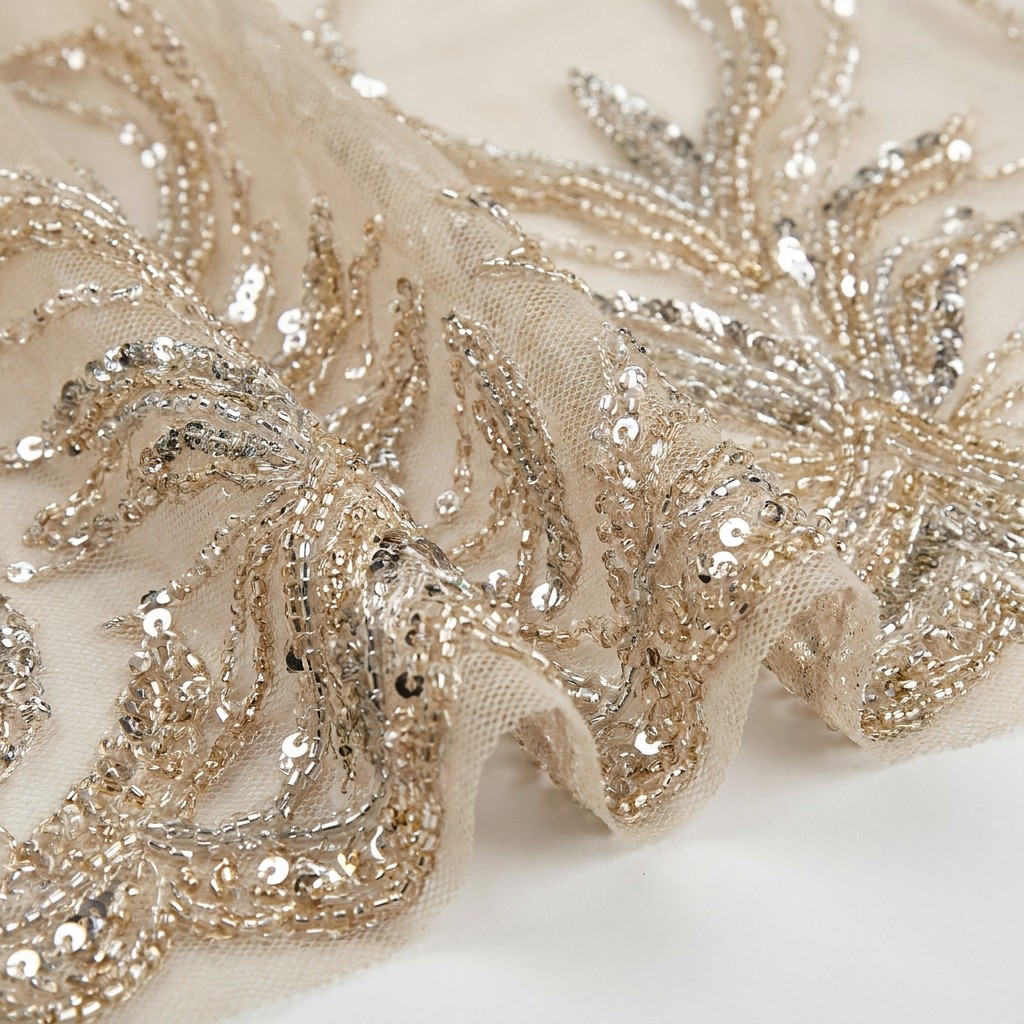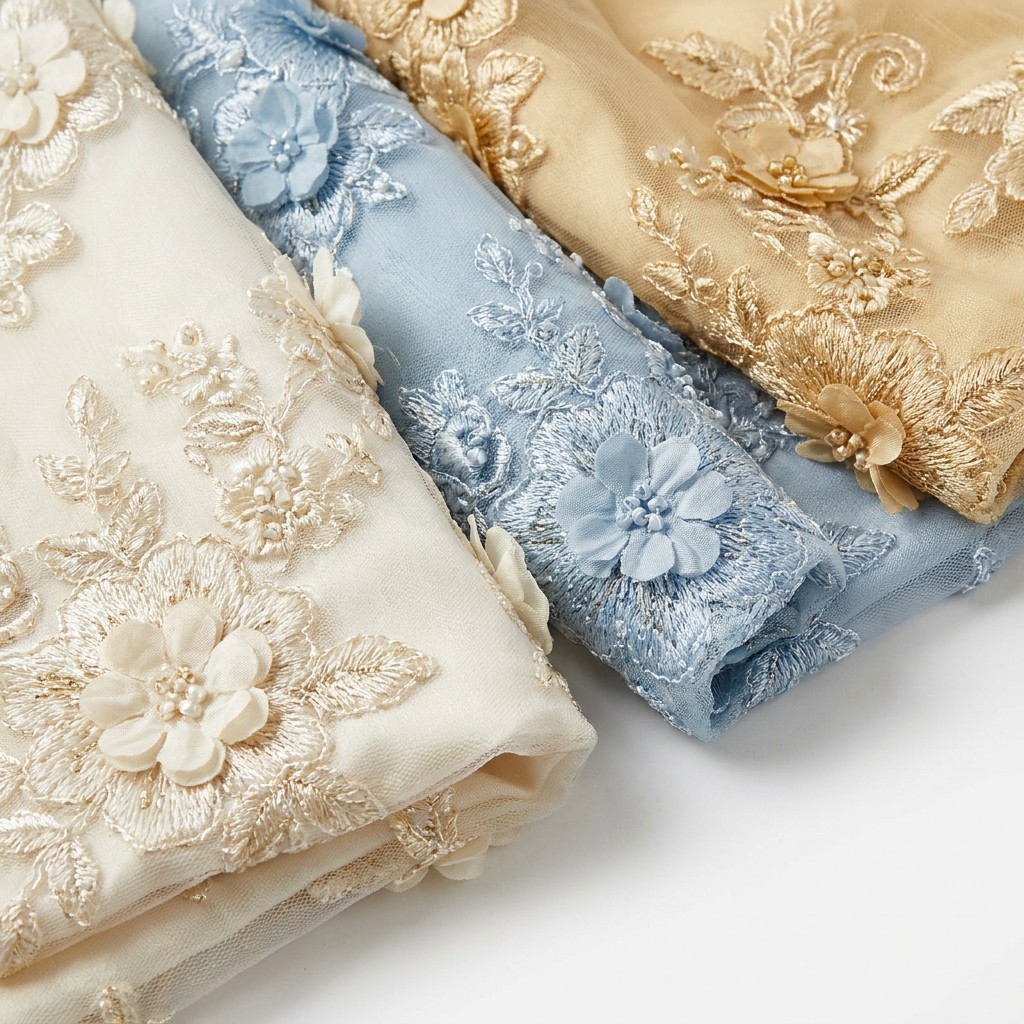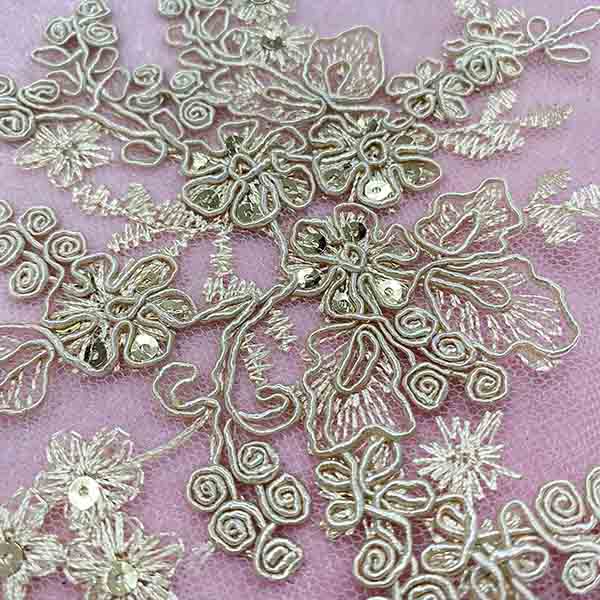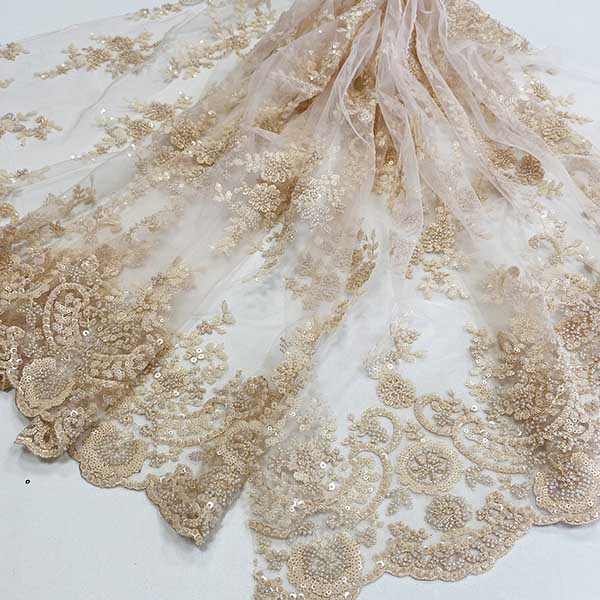
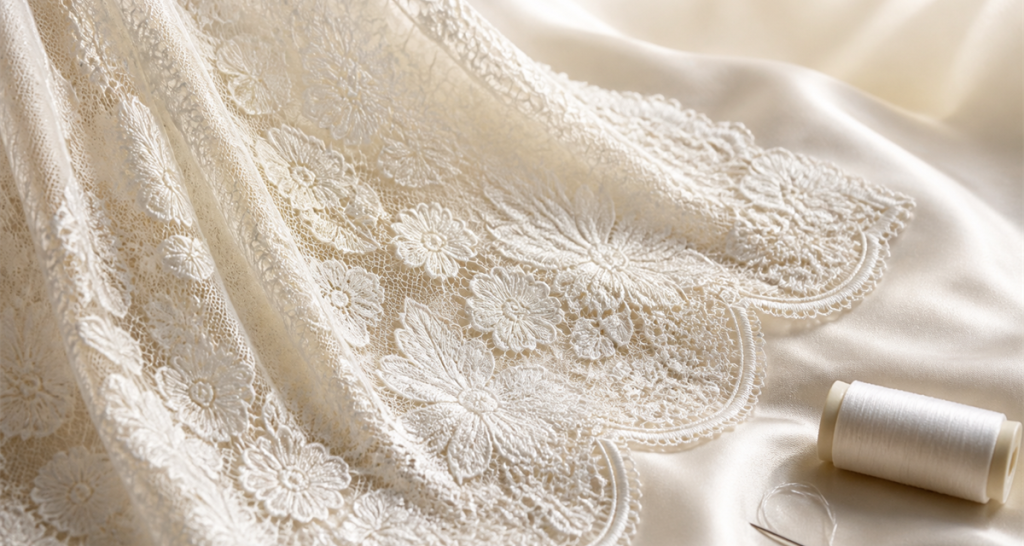
Embroidery fabric usable width is the distance between the innermost points of both selvedges after finishing, and it is always narrower than the nominal roll width on the label. For buyers, the practical rule is to measure at least three points per roll, take the narrowest figure as the true usable width, and build cutting plans on that number with a 2 cm safety allowance. Border quality is checked at the same time: aligned repeats, consistent border depth, and no fraying or skipped stitches within 5 cm of the edge. Approve both on a signed sample before ordering 200 yards.
What Is Embroidery Fabric Usable Width?
Embroidery fabric usable width is the portion of a roll that a cutter can actually use. It excludes the selvedge, any trimmed border margin, and the areas lost to finishing shrinkage or edge distortion.
The distinction matters commercially because fabric is sold by linear measure but consumed by area. If a roll is labelled 130 cm but the true usable width is 124 cm, every panel you plan will deliver less yield than you calculated, and the shortfall lands on your margin rather than the mill's. Embroidery fabric usable width and border quality therefore belong in the purchase order alongside weight and colour, not only in a passing inspection note.
Key Takeaways
- Measure usable width in three places per roll and record the narrowest reading.
- Expect usable width to be 3 to 8 cm narrower than nominal roll width after finishing.
- Set a written tolerance, commonly plus or minus 2 cm on nominal width.
- Check borders for repeat alignment, depth consistency, and fray within the first metre.
- Plan cutting on the narrowest roll, never the average figure.
- Our decorative fabric minimum order quantity is 200 yards per colour.
How to Verify Usable Width and Border Quality: Step-by-Step
- Confirm the nominal width. Read the roll label and compare it with the width stated on the purchase order.
- Lay the fabric flat. Measure on a table without tension, never hanging in the air.
- Measure three points. Check near the start, the middle, and the end of each roll.
- Measure usable width specifically. Take the distance between the inner edges of the left and right selvedge.
- Check border alignment. Confirm scallop or border repeats sit level along the full length.
- Verify border depth. Compare border depth at both ends for consistency.
- Inspect the edge zone. Look for fraying, skipped stitches, or distorted motifs within 5 cm of the edge.
- Record tolerances. Note any roll outside the agreed range and flag it before cutting.
- Approve and archive. Sign the inspection record using our decorative fabric roll inspection method.
Width and Border Specification Fields
| Field | Example value | Why it matters |
|---|---|---|
| Nominal roll width | 130 cm | Baseline for the order |
| Usable width | 124 cm minimum | Real cutting capacity |
| Width tolerance | Plus or minus 2 cm | Defines acceptance limits |
| Border depth | 8 cm both edges | Controls trim planning |
| Repeat alignment | Level along full roll | Prevents mismatched panels |
| Edge condition | No fray within 5 cm | Protects usable area |
| Measurement method | Flat, no tension, 3 points | Makes results comparable |
Border Quality Grades Compared
| Grade | Repeat alignment | Edge condition | Typical use |
|---|---|---|---|
| A — export grade | Level to within 2 mm | No fray, no skips | Bridal, premium eveningwear |
| B — commercial | Level to within 5 mm | Minor fray within 2 cm | Fashion, ready-to-wear |
| C — utility | Visible drift | Fray within 5 cm | Cut-and-sew, linings |
| Reject | Repeats misalign | Skips or holes at edge | Claim against the mill |
Common Usable Width Problems
Label width does not match measured width
This is usually a nominal versus usable confusion. Ask your supplier to state both figures, and compare them with our guidance on decorative fabric width tolerance.
Rolls differ from each other
Batch variation of a few centimetres is common after finishing. Record every roll using the steps in our decorative fabric roll length review and set a tolerance that reflects reality.
Width shrinks after the first wash
Finishing shrinkage can reduce usable width further after laundering. Combine this check with the decorative fabric shrinkage testing protocol before approving the order.
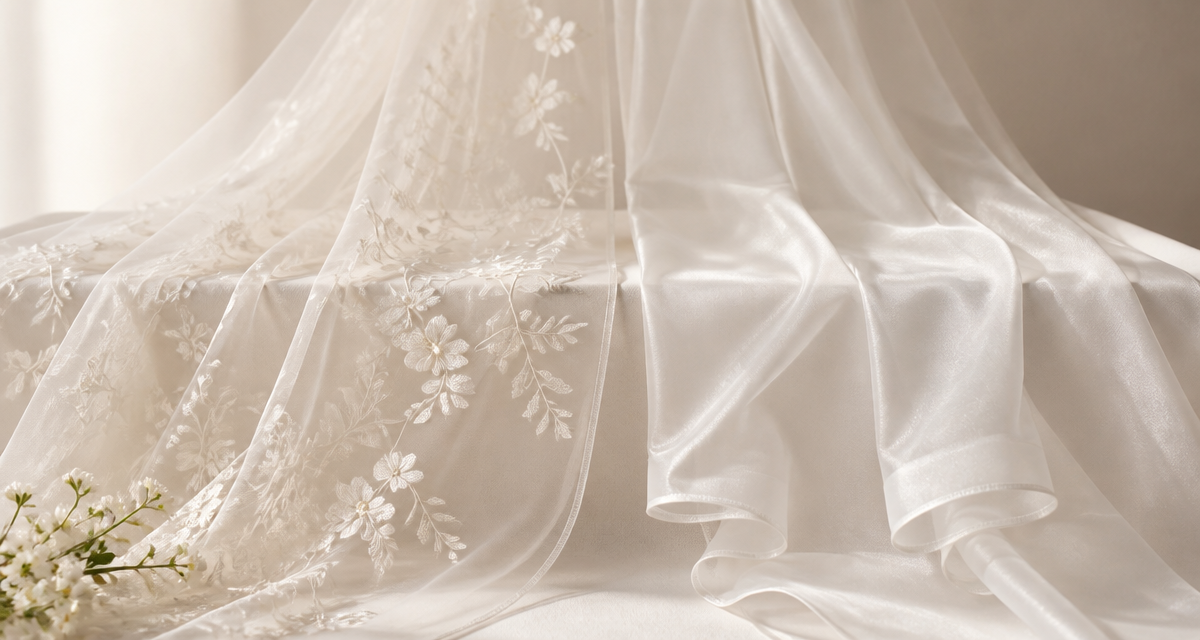
How to Measure Embroidery Fabric Usable Width
Usable width is the distance between the innermost points of both selvedges, measured after finishing and across at least three places per roll. It is always narrower than the nominal roll width printed on the label, because selvedge, shrinkage, and border trimming consume the difference. Measure flat, without tension, on a table rather than in the air, and record the narrowest reading as the true usable width for that roll. Cutting planning should always be built on the narrowest figure, never the average.
Border Quality Checks Before Cutting
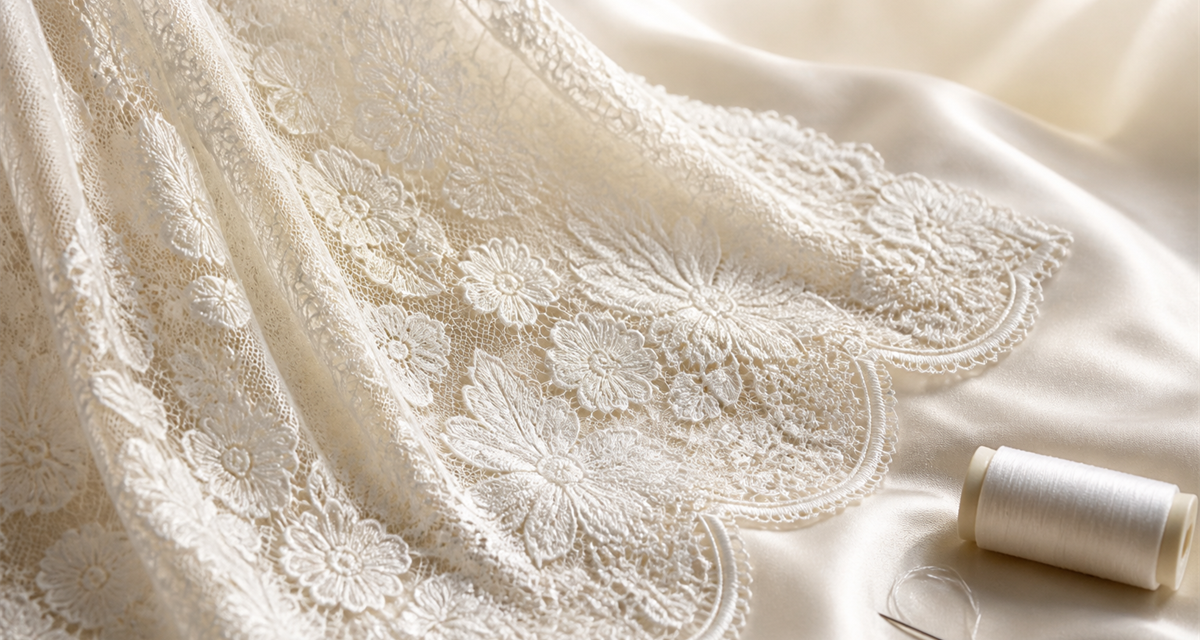
Run three quick checks on every roll: confirm the scallop or border repeats are aligned along the full length, verify border depth is consistent at both ends, and look for fraying, skipped stitches, or distorted motifs within 5 cm of the edge. Border defects are rarely isolated, so a fault found in the first metre usually repeats later in the roll. Flag it before cutting, because edge defects discovered after a lay has been cut become unusable waste in the middle of your production plan.
How Finishing and Dyeing Reduce Usable Width
Width is lost in several places before a roll ever reaches your cutting table. Greige fabric shrinks during dyeing and finishing, selvedge is trimmed or gummed, and embroidered borders may be cut, heat-set, or scalloped, each step removing usable area. A loom-state width of 135 cm can settle at 126 cm once the roll is finished, and the difference is not a defect, it is normal processing.
Understanding where the width goes helps you challenge a figure that looks wrong. If a supplier quotes a finished width almost identical to the greige width, ask which finishing route was used, because some finishes trade width for stability and others do the opposite. Agreeing the finishing route in advance keeps the usable width predictable instead of being a surprise on arrival.
Planning Markers Around Real Width
Marker efficiency should be calculated on the narrowest measured roll, not on the labelled width. A 4 cm difference across a wide marker can cost an entire panel per lay, and that loss repeats on every lay of the order. Run the marker software against the minimum figure, add a small allowance for edge defects, and treat anything above that as upside rather than planning on it.
For bordered embroidery, remember that the border is often the most valuable part of the fabric and the most easily damaged. Cutting too close to a scalloped edge can leave frayed tips that fail inspection, so build a margin into the marker and reject any roll whose edge zone is not clean. Planning on real numbers is what turns a width specification into actual yield.
Frequently Asked Questions
What is the difference between roll width and usable width?
Roll width is the nominal figure printed on the label, measured selvedge to selvedge. Usable width is what a cutter can use after excluding selvedge, trimmed borders, and finishing losses.
How much narrower is usable width?
Typically 3 to 8 cm narrower than nominal, depending on border design. Scalloped and wide borders consume the most.
What tolerance should I accept?
Plus or minus 2 cm on nominal width is a common commercial standard. Anything wider should be negotiated and written into the purchase order before production.
How do I check border quality quickly?
Inspect the first metre of each roll. Border defects such as misaligned repeats or fraying almost always repeat further down the roll, so an early check saves cutting waste.
Does usable width affect cutting planning?
Directly. Always plan on the narrowest measured roll, and confirm marker efficiency against that figure rather than an average, or you will lose panels at the cutting table.
Confirm Width and Borders Before Cutting
Embroidery fabric usable width and border quality are easy to verify and expensive to ignore. Measure three points per roll, take the narrowest figure, agree a tolerance in writing, and grade the borders before the lay is marked. Doing this on a sample protects the entire 200-yard order.
Request Sequin Fabric Samples with a measured width and border report so your cutting plan is built on verified numbers.
Source direct on Alibaba - request bulk pricing, specifications, and production details in one place.
View Yunfan Textile on AlibabaContact: Morris — morris@yunfantextile.com — WhatsApp: +86 156 3752 5803 / +86 175 1619 6727