Embroidery thread breakage is the single largest cause of unplanned downtime on a multi-head embroidery line, and it is almost always traceable to a small number of controllable variables rather than bad luck. Every break stops the head, risks a needle mark on the fabric, and adds hand repair time that no quotation accounts for. For B2B buyers, embroidery thread breakage control means specifying the thread, needle, backing, tension and stitch parameters as a set, and asking your supplier for the breakage rate they run at. This guide explains the causes in the order they usually appear on the machine, the controls that fix them, and the specification fields that keep breakage low across a bulk order.
Key Takeaways
- Thread breakage is a specification issue: thread, needle, backing, tension and density must be approved together.
- Bent or blunt needles and incorrect needle size cause more breaks than thread quality alone.
- Poor hooping and unstable backing let the fabric move, which loads the thread and snaps it.
- Excessive stitch density and high machine speed multiply thread stress on every stitch.
- Heat build-up in the needle and thread path increases friction, especially on dense synthetic-thread designs.
- Ask for a breakage rate per thousand stitches and track it batch by batch - it is a measurable production metric.
What Is Embroidery Thread Breakage?
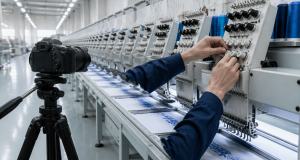
Embroidery thread breakage is the failure of the needle thread, the bobbin thread or both during stitching. On a commercial multi-head machine this can happen thousands of times per shift if the setup is wrong. Each event costs machine time, operator attention and, frequently, a repair to the fabric itself.
Breakage is usually described as a rate - breaks per thousand stitches, or breaks per head per hour - because that is how it can be monitored and improved. A well-run line on suitable materials typically holds a low, stable rate; a line with a fundamental setup problem will show a rate several times higher and will also produce more quality defects alongside it.
It is worth separating breakage from two related faults that are often reported together. Thread fraying weakens the thread before it breaks, and thread shredding indicates mechanical abrasion along the thread path. Both point to different root causes than an outright snap.
Why Thread Breakage Matters in Bulk Embroidery
- Downtime: every break stops the head, and an operator may be responsible for many heads at once.
- Fabric damage: a break can leave a mark, a hole or an unravelling stitch group that has to be repaired by hand.
- Hidden labour: repair and restart time rarely appears in the quoted stitch count but is paid for in the price.
- Quality drift: tension changes and re-threading shift the appearance of the embroidery mid-order.
- Delivery risk: unstable breakage rates make completion times unpredictable on tight schedules.
What Causes Embroidery Thread Breakage
Diagnose in the order the thread travels: cone, guide, tensioner, needle, fabric, bobbin. Most breaks give away their origin by where they happen.
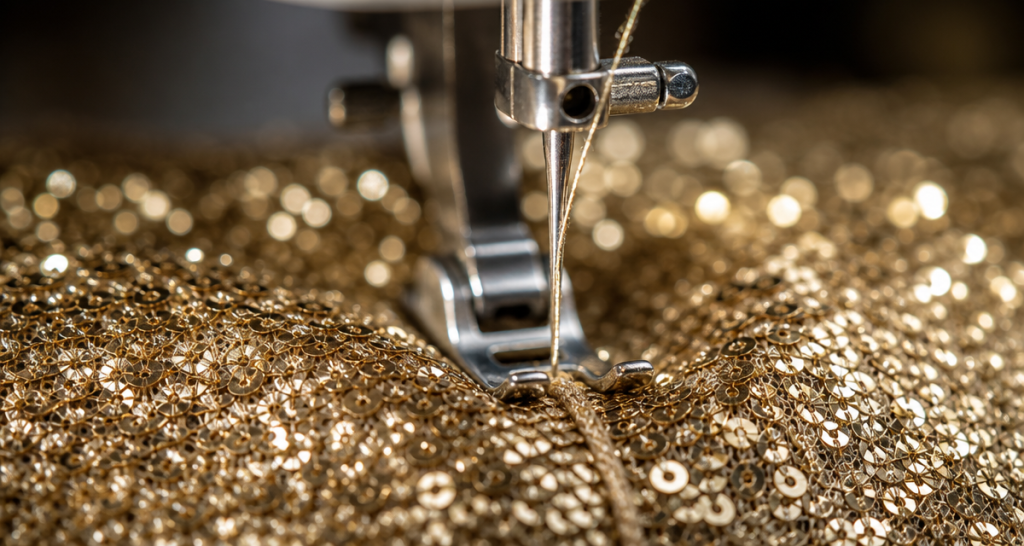
- First, incorrect needle size or type. A needle that is too fine for the thread abrades it in the eye; one that is too heavy punches a hole the fabric cannot support. Needle and fabric interaction is covered in our guide to sequin fabric needle compatibility.
- Second, bent, blunt or worn needles. A needle should be replaced on a fixed schedule, not only when a defect appears.
- Then, wrong thread tension. Tension that is too high pulls the thread to breaking point; too low produces loops and poor coverage. Setup is described in our guide to embroidery thread tension.
- Next, unstable hooping. If the fabric can move in the frame, the thread absorbs the movement and breaks - see embroidery hooping stability.
- After that, inadequate or incorrect backing. Too little support lets the stitch sink; too much makes the needle work harder. Backing choice is covered in embroidery backing selection.
- Also, excessive stitch density. Piling stitches into the same area increases penetration force and thread stress on every pass.
- In addition, machine speed too high. Running above the speed the thread and fabric can tolerate raises friction and heat.
- Moreover, thread path problems. Rough guides, a nicked tension disc or a badly wound cone all abrade the thread before it reaches the needle.
- Furthermore, environmental factors. Dry, warm air reduces thread moisture and elasticity, making the same setup more break-prone in winter than in summer.
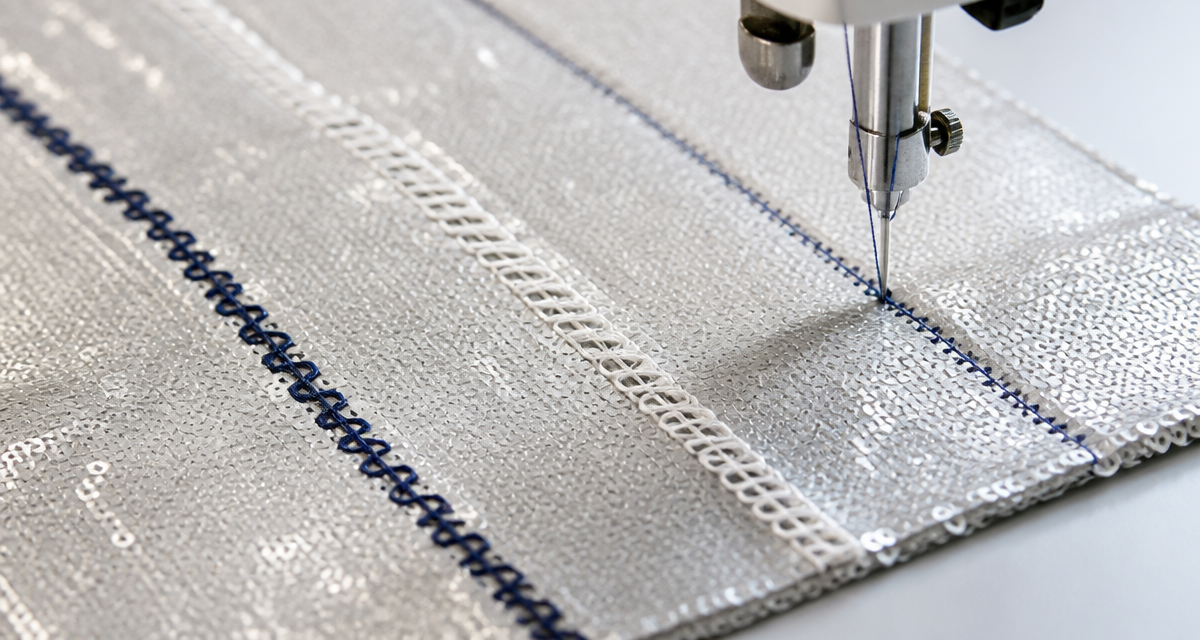
Machine and Material Factors Compared
| Factor | Symptom when wrong | Typical correction | Who controls it |
|---|---|---|---|
| Needle size and type | Fraying at the eye, repeated snaps | Match needle to thread count and fabric weight | Factory setup |
| Needle condition | Sudden rise in breaks on one head | Scheduled replacement, not reactive | Factory maintenance |
| Thread tension | Loops, puckers, breakage mid-motif | Reset upper and bobbin tension per thread | Factory setup |
| Hooping stability | Breaks near the frame edge | Firmer, even hooping with correct backing | Factory process |
| Backing selection | Stitch sinking, holes, needle drag | Match backing weight and type to fabric | Buyer and factory together |
| Stitch density | Dense areas break more than open areas | Adjust digitising for the fabric | Buyer artwork and factory |
| Machine speed | Breaks rise with throughput | Reduce speed for difficult materials | Factory production |
How to Control Thread Breakage: Step by Step
- First, approve the thread and needle together. Specify thread type, count and colour tolerance, and the needle size and point type approved for that combination.
- Second, fix the tension settings. Record upper and bobbin tension per thread and per head, and re-verify at the start of every shift.
- Then, control the backing specification. Agree backing type and weight with the factory so the support matches the fabric being embroidered.
- Next, review the digitised design for density. Reduce unnecessary density and spreading in areas that will be embroidered heavily - density guidance is in our embroidery stitch density guide.
- After that, set a needle replacement schedule. Replace on a defined stitch count or hour interval, and log it.
- Also, run a first-off and record the rate. Measure breaks per thousand stitches on the first full panel and use it as the baseline for the order.
- In addition, monitor during production. Track the rate at intervals during the run so a drift is caught before the whole batch is affected.
- Moreover, verify appearance and structure at inspection. Confirm no repaired motifs, needle marks or under-stitched areas. Bulk quality assessment for embellished embroidery is set out in our guide to assessing bulk embroidery quality and consistency.
Buyer Checklist: Thread Breakage Fields for Your Purchase Order
| Field | Example value | Where to verify |
|---|---|---|
| Thread specification | Type, count, colour tolerance | Thread data sheet |
| Needle specification | Size and point type matched to thread | Production sheet |
| Tension settings | Recorded per head, verified per shift | Machine setup record |
| Backing specification | Agreed type and weight | Material specification |
| Needle replacement | Scheduled interval, logged | Maintenance log |
| Breakage rate | Breaks per thousand stitches, target maximum | Production record |
| First-off approval | Signed panel with recorded rate | Golden sample file |
| Final appearance | No repairs, marks or under-stitched areas | Inspection report |
Common Mistakes That Keep Breakage High
- Blaming the thread first. Needle condition, tension and hooping account for more breaks than thread quality in most factories.
- Changing one variable at a time on the machine. Thread, needle and tension form a system; adjusting one without the others rarely fixes the rate.
- Running a difficult design at full speed. Throughput gained is lost to downtime and repair.
- No replacement schedule. Needles degrade gradually, so the rate creeps up without any single obvious failure.
- Not measuring. Without a recorded breaks-per-thousand-stitches figure, improvement is guesswork.
- Ignoring the environment. Seasonal humidity change alone can shift the breakage rate on an otherwise unchanged line.
FAQ: Embroidery Thread Breakage Control
What is a normal embroidery thread breakage rate?
It depends on the fabric, thread and design, so there is no universal figure. What matters commercially is that your supplier can quote a rate for your specific construction and can demonstrate it on a first-off panel. A supplier who cannot measure the rate cannot improve it.
Does cheaper thread cause more breakage?
Lower-grade thread with inconsistent twist and thickness does break more often, but it is rarely the only cause. In most factories the largest gains come from correcting needle selection, tension and hooping before changing the thread supply.
Why does breakage increase on dense sequin and embellished fabric?
Embellished grounds present variable penetration resistance: the needle crosses glue, film and metallic elements as well as yarn. That irregular load makes correct needle choice, backing support and slightly reduced speed far more important than on a plain ground. It also makes motif and sequin placement decisions part of the breakage solution.
Can thread breakage be reduced after the design is approved?
Yes, usually without changing the artwork. Needle scheduling, tension discipline, backing specification and machine speed are production variables you can tighten on a running order. Structural changes to density should go back through sampling.
Conclusion
Embroidery thread breakage control is a systems problem with a measurable output. Approve thread and needle as a pair, record tension settings, specify the backing, review density, schedule needle replacement and track breaks per thousand stitches from first-off to final inspection. Treated that way, breakage becomes a production metric you can hold a supplier to - rather than an unpredictable cost buried in the embroidery price.
Request Sequin Fabric Samples
Send us your artwork, ground fabric and thread preference and we will prepare an embroidered sample panel with a recorded breakage rate and confirmed machine settings, so you can approve a stable production setup before bulk.
Contact: Morris | Email: morris@yunfantextile.com | WhatsApp: +86 156 3752 5803 | WhatsApp: +86 175 1619 6727
Browse the full factory-direct range on our Alibaba International storefront.