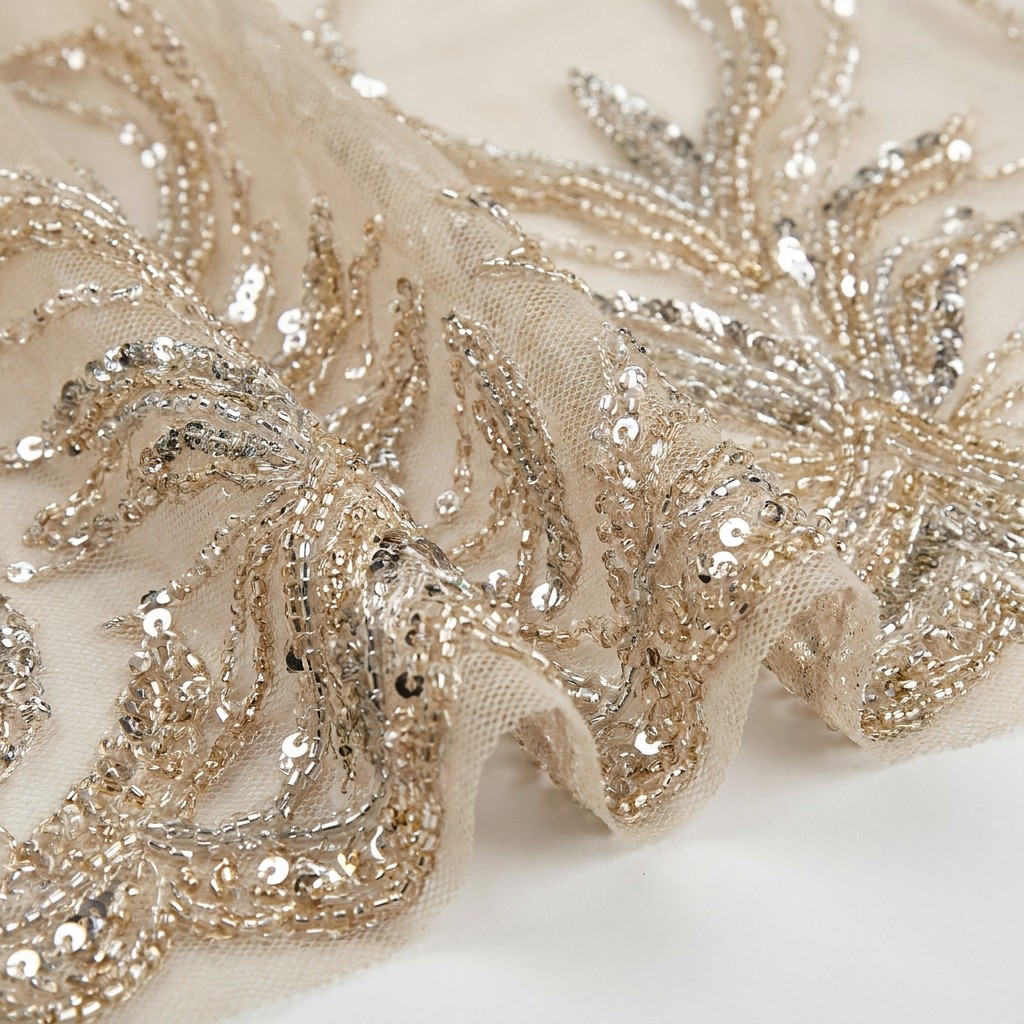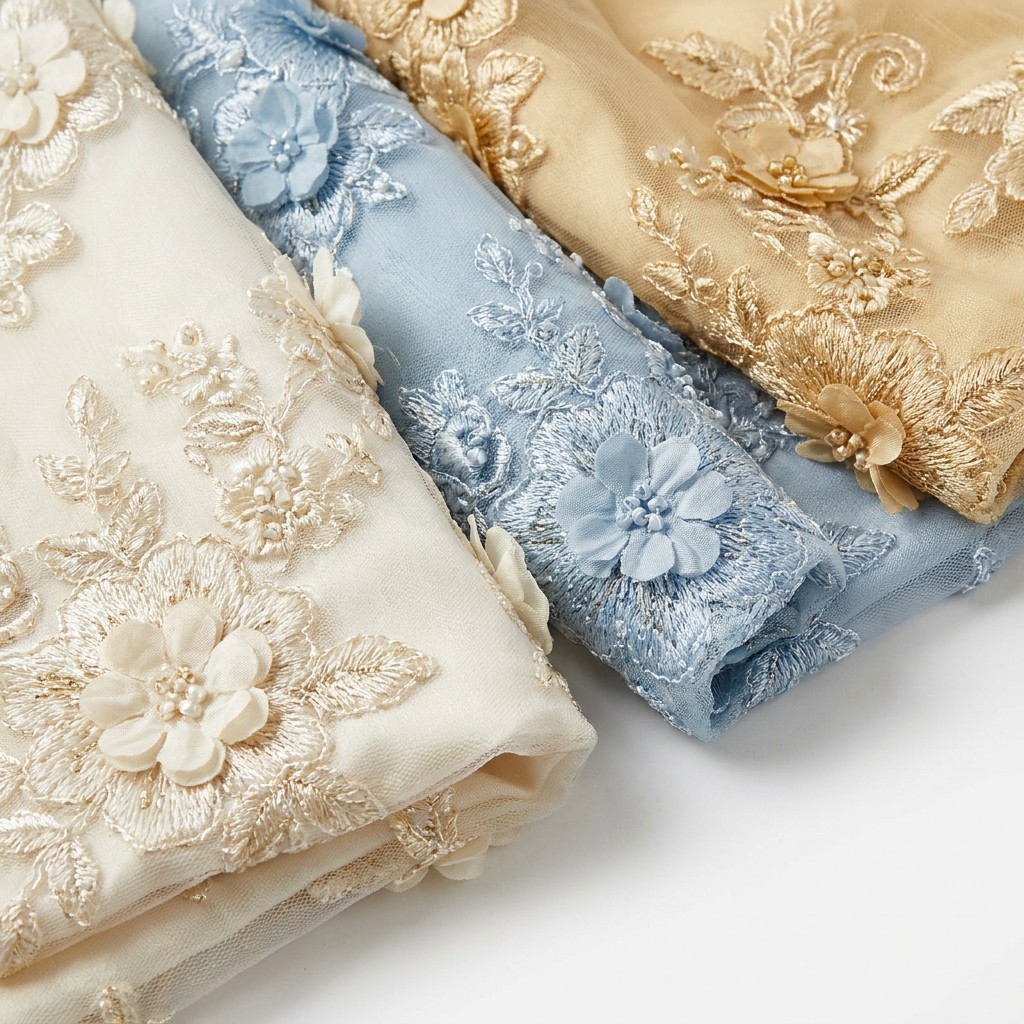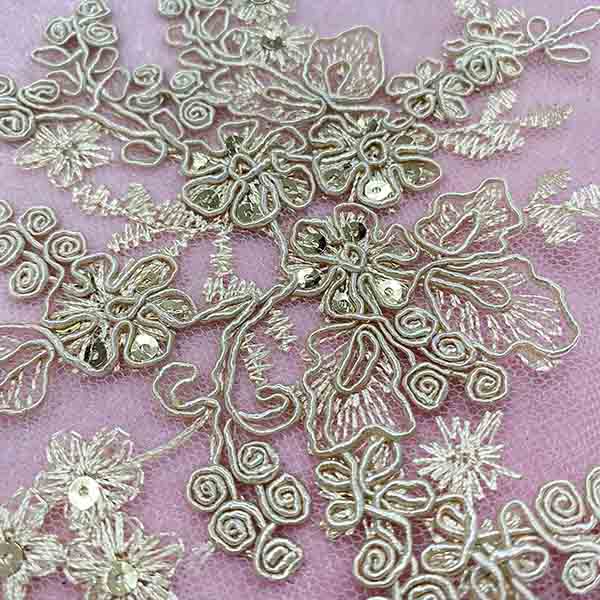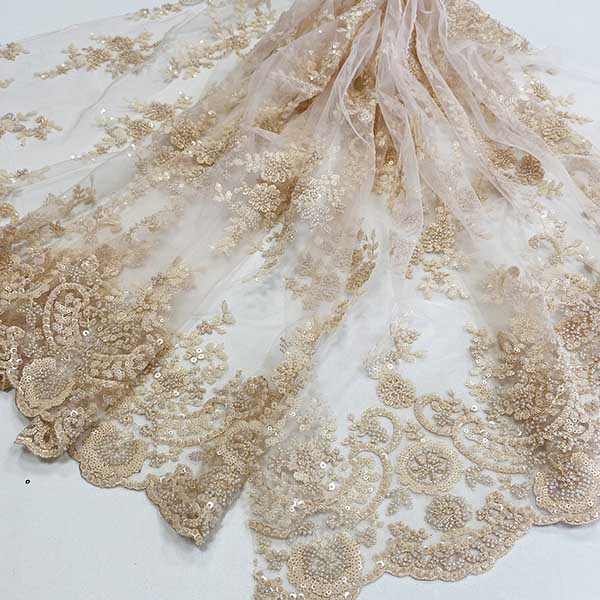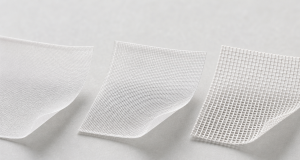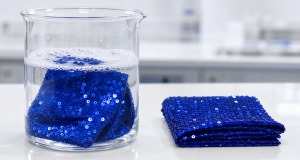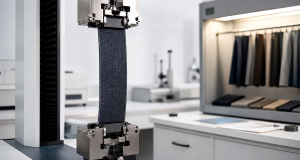
Embroidery fabric edge fray control is the set of choices that keeps a cut edge from shedding yarns, loops, and thread ends during cutting, sewing, and finishing. On embroidered and lace fabrics the raw edge is often open work, so a light pull can release a whole motif. Good embroidery fabric edge fray control therefore starts at the specification stage, not at the sewing machine.
Key Takeaways
- Fray risk depends on the base cloth, the embroidery density, and the cut line.
- Embroidered areas fray less than bare base cloth, so cut near the stitching when possible.
- Seal, bind, or trim the edge with a method that suits the final garment.
- Test fray before bulk cutting, on the actual fabric and the actual cut line.
- Record the approved method so every operator repeats it.
What Is Embroidery Fabric Edge Fray Control?
Embroidery fabric edge fray control is the practice of limiting yarn loss at a cut edge through fabric choice, cutting method, edge finishing, and handling. The goal is an edge that stays neat from the cutting table to the customer.
Fraying happens because cutting severs yarns. Freed yarns slide out of the weave, and on a loose or open construction they can travel a surprising distance. Embroidered fabric has an extra complication: the embroidery threads and the base cloth behave differently, so one area may hold while the neighbouring ground fabric releases.
The practical consequence is visible. A frayed edge on a lace trim shortens the pattern, changes the silhouette, and creates loose fibres that catch on sequins, lining, and skin.
Why Fray Control Matters More on Embroidered Fabric
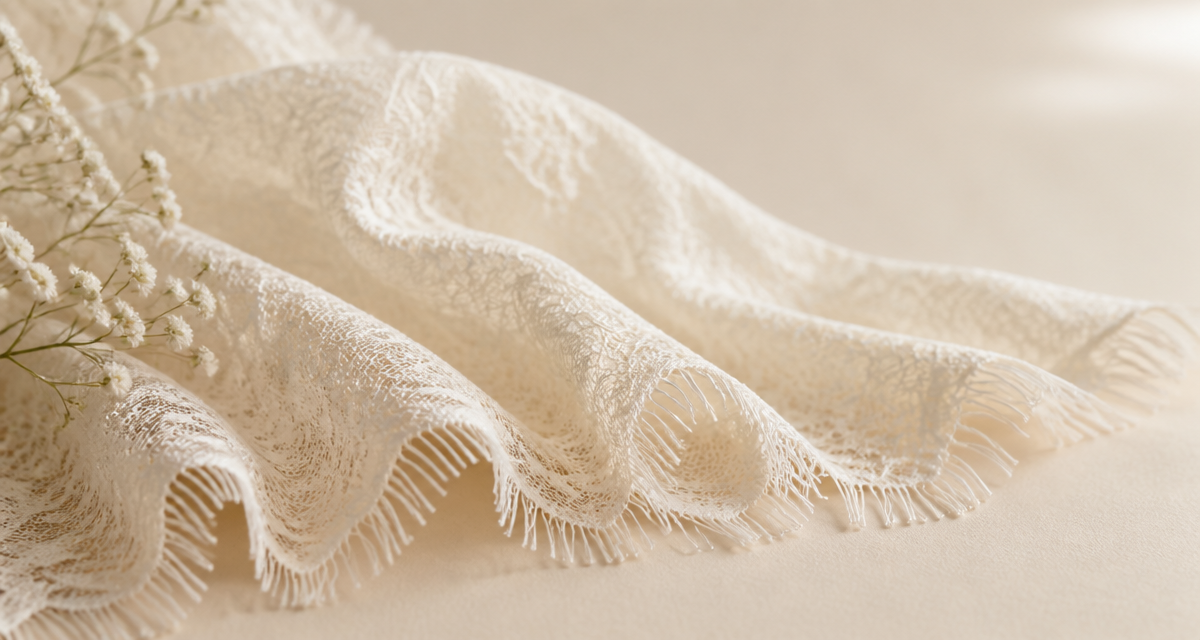
Embroidered fabric is rarely a tight, dense weave. Many designs sit on mesh, organza, tulle, or a lightweight woven ground. Those bases are chosen for drape and lightness, and both qualities usually mean less yarn friction at the edge.
In addition, embroidery adds thickness. The embroidered area is heavier than the ground, so the edge does not wear evenly. Consequently, the fabric can fray in the open areas while the motif stays intact, which produces an uneven, ragged line.
Finally, fraying costs time. Loose threads must be trimmed, trimming damages nearby stitches, and rework pushes the delivery date. Therefore, controlling the edge early is cheaper than repairing it later.
Edge behaviour belongs with the other roll-level checks described in our guide to decorative fabric roll inspection.
How to Test Fray Resistance Before Bulk Cutting
- Cut the true production edge. Use the same cut line, the same angle, and the same tool that production will use.
- Prepare three specimens. Take samples from different areas of the roll so local variation is visible.
- Condition the samples. Let them rest so humidity does not distort the result.
- Apply a light standard pull. Use a gentle, repeatable pull by hand or with a light load.
- Measure how far yarns travel. Record the distance in millimetres from the cut line.
- Repeat after a light abrasion. Rub the edge gently to simulate handling and packing.
- Photograph the result. Attach the photo to the approval record with the roll number.
Fray Control Methods Compared
| Method | Best for | Advantages | Limitations |
|---|---|---|---|
| Cut near embroidery | Dense motifs with clear outlines | No added material or process | Only works where stitching borders the edge |
| Overlock or zigzag finish | Woven and mesh grounds | Fast and widely available | Adds bulk and can be visible on sheer fabric |
| Bound edge | Visible hems and structured garments | Strong and clean | Adds a fabric line to the design |
| Fusible edge tape | Straight edges on stable grounds | Quiet and nearly invisible | Heat can affect the embroidery |
| Sealant or anti-fray liquid | Small trims and delicate shapes | Preserves the cut shape | Stiffens the edge and needs testing |
| Scalloped or sealed trim | Lace with a finished border | The supplier delivers a stable edge | Constrains the design to available patterns |
| Lining and banding | Garments with hidden seams | Hides the raw edge entirely | Adds weight and cost |
Choose the method that fits the finished garment, then confirm it on a physical sample before bulk.
Cut Planning and Handling Rules
| Stage | Rule | Reason |
|---|---|---|
| Marker planning | Place cut lines where embroidery borders the edge | Stitched areas resist fraying |
| Lay-up | Keep layers flat and avoid over-stretching | Stretched fibres release after cutting |
| Cutting | Use a sharp blade and a clean stroke | Blunt tools pull yarns instead of cutting |
| Bundling | Wrap cut pieces so edges are not rubbed | Abrasion loosens fibres in transit |
| Sewing | Finish the edge early in the sequence | Delays fewer operations if a fix is needed |
| Pressing | Test heat on a scrap before pressing the edge | Heat can shrink or mark delicate grounds |
Specification and Inspection Checklist
- Base cloth reference and construction type
- Embroidery density and average motif coverage
- Confirmed cut line position relative to the motif
- Edge finish method and its reference
- Anti-fray treatment, if used, with application notes
- Fray test method and specimen size
- Acceptable fray distance in millimetres
- Roll number and batch reference for the tested samples
- Approved edge sample signed and dated
- Change rule: any base cloth or motif change requires re-testing
How to Brief a Supplier on Edge Fray Control
- Send the finished garment sketch. The supplier needs to know where the edges will be visible.
- State the cut line. Show whether the cut runs through embroidery or through bare ground fabric.
- Ask for the recommended finish. Suppliers often know which edge treatment suits a specific construction.
- Request a cut-edge sample. Ask for a sample cut and finished the way production will do it.
- Test on the real fabric. A test on a similar fabric does not prove the actual order.
- Freeze the method. Write the approved edge finish into the technical pack and reference the sample.
If your design also has a decorative border, review our guide to embroidery border design, which explains how scalloped and framed edges change the cutting plan. The article on embroidery backing selection covers the stabiliser choices that influence how the ground fabric behaves.
Common Edge Fray Problems and Fixes
| Problem | Likely cause | Practical fix |
|---|---|---|
| Loose yarns along a straight edge | Cut line crosses bare ground fabric | Shift the cut so it follows embroidered areas |
| Ragged scalloped edge | Blunt cutting tool pulls instead of cutting | Replace the blade and re-cut the sample |
| Fibres shedding in packing | Bundles rub together in transit | Wrap cut pieces and limit bundle size |
| Edge stiffens after treatment | Too much anti-fray liquid applied | Reduce the amount and re-test on a scrap |
| Fray appears after pressing | Heat relaxes the ground fabric | Lower the temperature and test again |
| Fray only on one roll | Density variation between rolls | Reject the roll or restrict it to hidden panels |
Notice that only two of these six problems are caused by the fabric itself. The rest come from tools, handling, and heat. Because of that, edge fray control is a shared responsibility between the mill, the cutter, and the sewing floor. Write the rules down so each party knows its own part.
Frequently Asked Questions
Which embroidered fabrics fray the most?
Loose, open constructions such as mesh, tulle, and lightweight organza fray more than firm woven grounds, because the yarns have less friction to hold them in place.
Does embroidery reduce fraying?
Yes, in the embroidered areas. Dense stitching locks the surrounding yarns, so a cut line that follows the motif usually frays less than one that crosses bare fabric.
Is anti-fray liquid safe on delicate embroidery?
It can be, but it stiffens the edge. Test it on a scrap of the actual fabric and check the colour and feel after drying before approving it for bulk.
How much fray is acceptable?
Set the limit in millimetres in the specification. A common approach is to allow a very small amount inside a seam allowance and almost none on a visible edge.
Should edge fray control be checked per roll?
Yes. Base cloth and embroidery density can vary slightly between rolls, so confirm the worst-case roll before cutting the full order.
Conclusion: Control the Edge Before Cutting Starts
Embroidery fabric edge fray control is a design decision as much as a production one. Where you place the cut line, how dense the embroidery is, and which finish you choose together decide whether the edge stays neat.
Therefore, test fray on the real fabric, choose a finish that suits the garment, and freeze the method with a signed sample. That habit prevents loose threads, uneven trims, and the rework that follows. Combine it with the checks in sequin fabric pilling resistance if your order mixes embroidery with sequin panels.
Get Embroidery Fabric Samples for Your Next Order
Review edge behaviour, motif density, and hand feel on your own motif file and base cloth before you commit to bulk. Yunfan Textile produces embroidered and sequin fabric for B2B buyers worldwide.
Source direct on Alibaba - request bulk pricing, specifications, and production details in one place.
Request Sequin Fabric Samples and share your target GSM, width, sequin size, and colour reference.
Talk to Morris directly:
Email: morris@yunfantextile.com
WhatsApp: +86 156 3752 5803
WhatsApp: +86 175 1619 6727