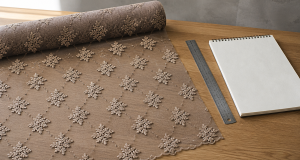

Embroidery jump stitch trimming is the process of cutting the thread that runs between two stitch groups when the machine moves without sewing, so no loose tails or bridging threads remain on the finished panel. This step adds the largest hidden labour cost in bulk embroidery, and it exposes an inexperienced supplier faster than any other. For B2B buyers, embroidery jump stitch trimming should be specified by a measurable standard - maximum residual tail length, a defined trim method, a pull test and a stated inspection frequency - rather than left as an operator habit. This guide explains the mechanics, the methods, the specification fields and the checks that keep trimming consistent across a bulk order.
Key Takeaways
- Jump stitch trimming is a specification item, not a finishing preference - define a maximum tail length in millimetres.
- Untrimmed jumps become visible bridges, snag risks and customer claims after the first wash or wear cycle.
- Automatic trimmers reduce labour but need correct blade condition, thread type and tension to work reliably.
- Thread type, stitch density and backing choice change how cleanly a jump trims.
- You must cost manual trimming into the quotation; if a price omits it, the supplier usually skips it.
- Verify with a defined sampling plan and a pull test, not by eye on one panel.
What Is Embroidery Jump Stitch Trimming?
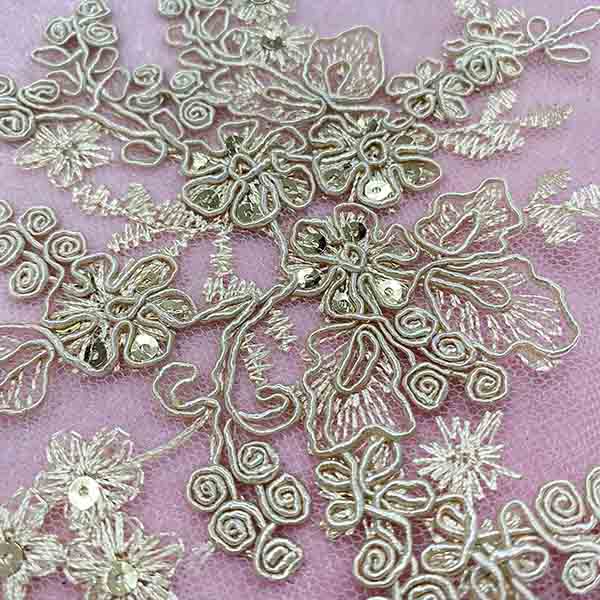
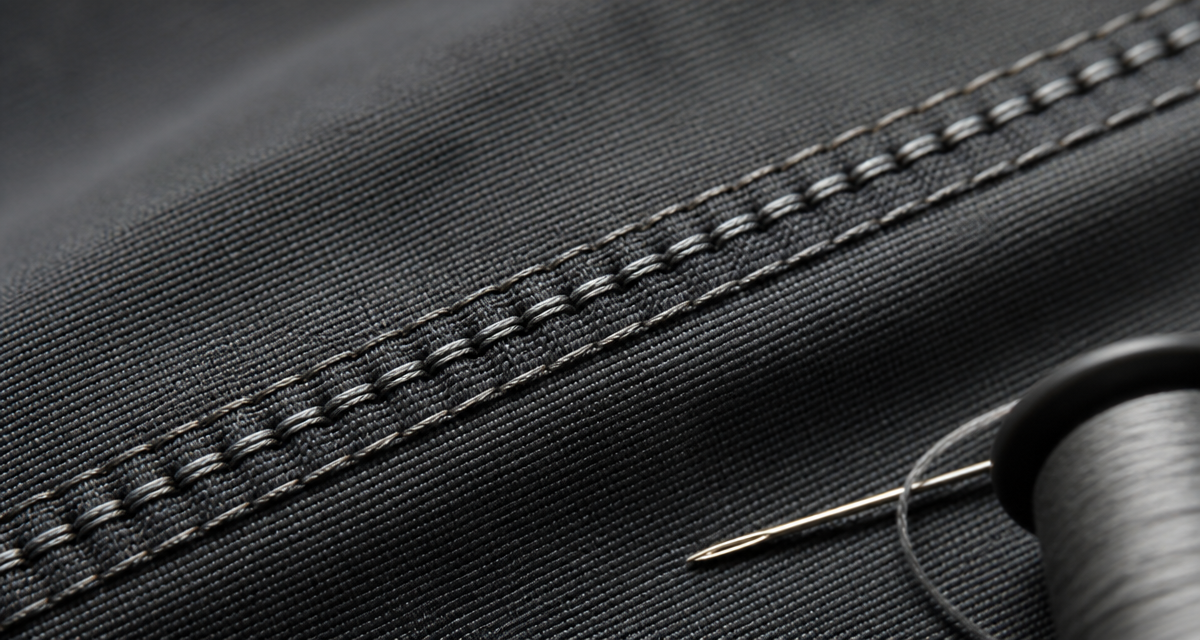
An embroidery machine does not lift the needle out of the fabric between motifs. When it travels from one stitch group to the next it makes a jump - a long stitch that is not part of the design. If the machine is not told to trim, that jump stays connected and shows as a floating thread across the panel. Jump stitch trimming is the removal of those connecting threads, either automatically by a trimmer built into the machine head or manually with fine snips after the panel leaves the machine.
In commercial production, three layers normally handle trimming. The machine cuts the jumps at defined points, an operator or trimmer removes what remains, and a final inspection confirms that no tail exceeds the agreed length. All three layers matter, because a good automatic trim cannot rescue a badly digitised design, and a careful trimmer cannot keep pace with a machine running at full speed.
Why Jump Stitch Trimming Matters in Bulk Embroidery
The commercial case for tight trimming has three parts: appearance, durability and cost.
- Appearance: a bridge thread across a motif shows immediately on a plain ground and destroys the perceived quality of an otherwise perfect panel.
- Durability: loose tails catch on jewellery, zips and hook-and-loop fastenings, and a snagged tail can pull a whole stitch group loose - the same mechanism behind snagging risk on embellished fabric.
- Cost: trimming is measurable labour. A design with many short jumps can add minutes per panel, which at bulk volume becomes the difference between a profitable and an unprofitable order.
- Claims: customer returns for untrimmed threads are avoidable and highly visible, which makes them disproportionately damaging to a supplier relationship.
What Causes Poor Trimming Quality
- First, design digitising. Designs that jump between small, scattered motifs create far more trim points than designs built as connected runs. Digitising decisions made at the start determine trimming labour at the end.
- Second, blade condition and type. A worn trimmer blade crushes rather than cuts, leaving a frayed stub that later works loose.
- Then, thread tension. Incorrect tension changes how the thread sits in the cut channel and can leave a visible loop - our guide to embroidery thread tension covers tension control.
- Next, thread type and count. Some trilobal and metallic threads resist clean cutting and need a different blade or a lower machine speed.
- After that, stitch density and underlay. Dense, heavily layered designs hide tails but also trap them, making manual access harder.
- Also, backing choice. A soft, fibrous backing allows the cut end to migrate back to the surface, which is why backing selection is part of the trimming specification.
Trimming Methods Compared
| Method | How it works | Speed | Risk | Best for |
|---|---|---|---|---|
| Automatic trimmer on head | Built-in blade cuts jumps at programmed points | Very fast | Residual stub if blade is worn | High-volume production |
| Manual trimming | Operator snips remaining tails with fine scissors | Slow, labour intensive | Human inconsistency | Complex or delicate motifs |
| Heat cutting | Hot blade fuses thermoplastic thread ends | Fast | Cannot be used on all fibres; scorch risk | Synthetic-thread technical work |
| Ultrasonic cutting | High-frequency vibration seals the cut | Fast | Higher tooling cost | Sealed-edge technical textiles |
| Post-wash finishing | You wash the panel so remaining tails relax, then re-trim them | Adds a process step | Water and shade risk | Garment-dyed and washed products |
How to Specify and Verify Trimming: Step by Step
- First, define the acceptance standard. Agree a maximum residual tail length, commonly 1 to 2 mm on the face, and state whether your trimmer must also trim the reverse.
- Second, approve the digitised design before the run. Review the number of jump points in the file - fewer, connected runs mean less trimming and a cleaner result.
- Then, agree the trim method. State whether you expect automatic trimming, manual trimming or a combination, and at which process stage.
- Next, set the machine parameters. Record trimmer blade type, thread tension, speed and any thread-specific adjustments in the production sheet.
- After that, run a first-off panel. Inspect the first panel against the standard and photograph it as the reference for the order.
- Also, sample during production. Pull a defined number of panels per hour or per batch, using the AQL sampling plan agreed with your supplier.
- In addition, pull test the motifs. Gently tug each trim area to confirm no tail pulls a stitch group loose.
- Moreover, confirm at final inspection. Add trimming to the pre-shipment inspection checklist for embroidered and sequin fabric and check it before the cartons close.
Buyer Checklist: Trimming Fields for Your Purchase Order
| Field | Example value | Where to verify |
|---|---|---|
| Maximum tail length, face | 2 mm | Golden sample and inspection |
| Maximum tail length, reverse | 3 mm | Inspection |
| Trim method | Automatic trim plus manual touch-up | Production sheet |
| Trim stage | In-line and final trim before packing | Process flow |
| Sampling plan | Agreed AQL, defined inspection frequency | Inspection report |
| Golden sample | Signed and dated first-off panel | Reference file |
| Pull test | No stitch group pulled loose | Inspection record |
Common Mistakes That Leave Loose Threads
- No numeric standard. Without a maximum tail length, every inspector applies a different judgement.
- Quoting trimming as free. Trimming costs labour; if the quotation ignores it, the factory will skip it under schedule pressure.
- Ignoring the reverse. Tails on the back of a panel become visible on linings and sheer overlays.
- Skipping the first-off approval. The first panel sets the standard for the run; approve it in writing and keep it.
- Assuming wash will fix it. A wash cycle can raise loose tails rather than remove them, especially on textured grounds.
FAQ: Embroidery Jump Stitch Trimming
What is an acceptable jump stitch tail length?
For most apparel and home textile work, 1 to 2 mm on the face is a practical standard, with a slightly longer allowance on the reverse when the panel has a lining. What matters more than the exact figure is that you write it down and apply it consistently across the whole order.
Can automatic trimmers handle every design?
No. Automatic trimming works best on designs with clearly separated, well-digitised motifs and threads the blade cuts cleanly. Very dense or very delicate work, and some metallic threads, still need manual touch-up after the machine trim.
Does jump stitch trimming affect price?
Yes, directly. Trimming time scales with the number of jump points in the design, so a design with hundreds of short jumps costs meaningfully more to finish than one built from connected runs. Ask your supplier to show the trimming step separately in the cost breakdown.
Do you check trimming before or after washing?
Both, for washed products. Trimming happens after embroidery, then the wash can relax or raise threads, so you need a second trim and check after the wash stage. If you garment wash your product, state the post-wash trim in the specification. Our guide to sourcing embroidered fabric for fashion collections sets out where this fits in the wider production flow.
Conclusion
Embroidery jump stitch trimming is where good digitising, correct machine settings and disciplined inspection meet. Set a maximum tail length, agree the trim method and stage, approve a first-off panel, sample through the run and confirm before packing. That turns a hidden labour variable into a controlled, predictable part of your bulk embroidery order - and removes one of the most visible reasons customers reject a shipment.
Request Sequin Fabric Samples
Send us your artwork, ground fabric and target tail length and we will prepare a first-off embroidered panel with defined trimming so you can approve the standard before bulk. Ask for the sample pack and we will include a trimming reference sheet.
Contact: Morris | Email: morris@yunfantextile.com | WhatsApp: +86 156 3752 5803 | WhatsApp: +86 175 1619 6727
Browse the full factory-direct range on our Alibaba International storefront.