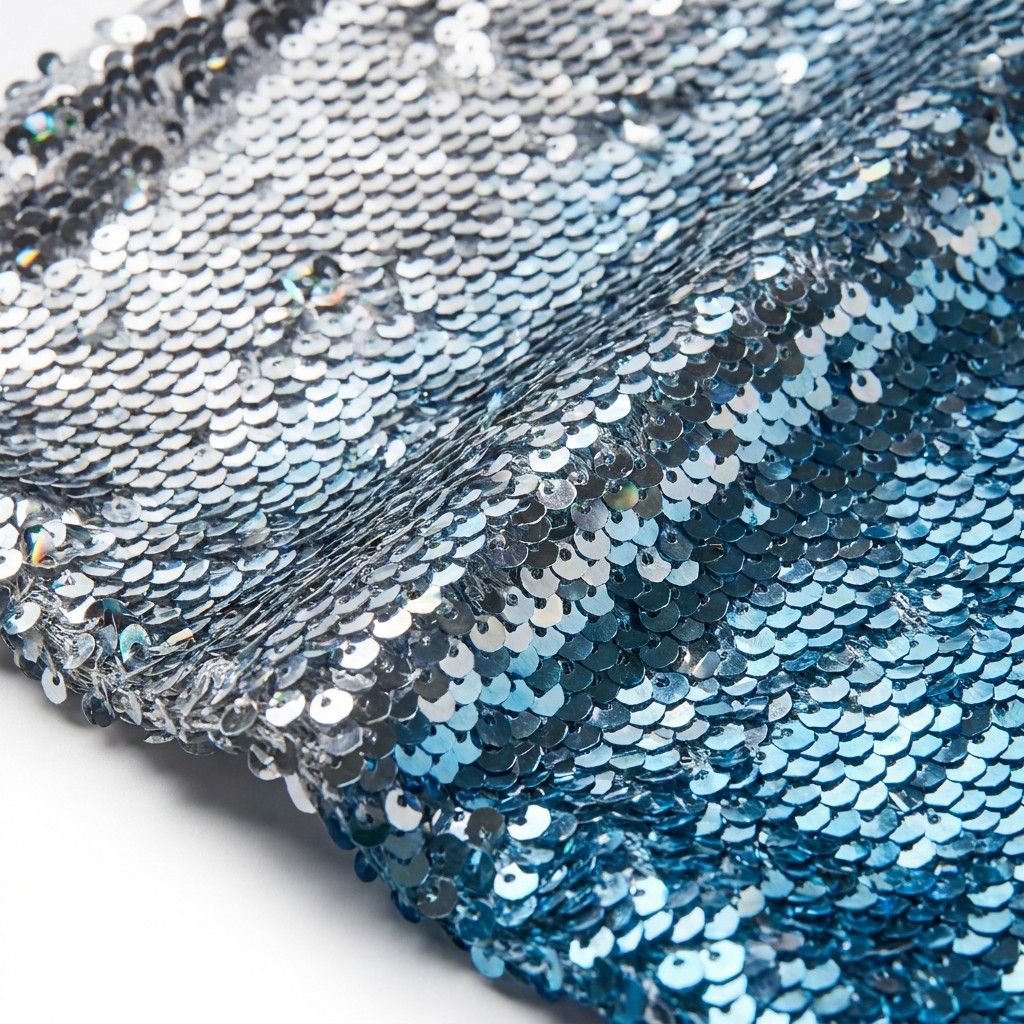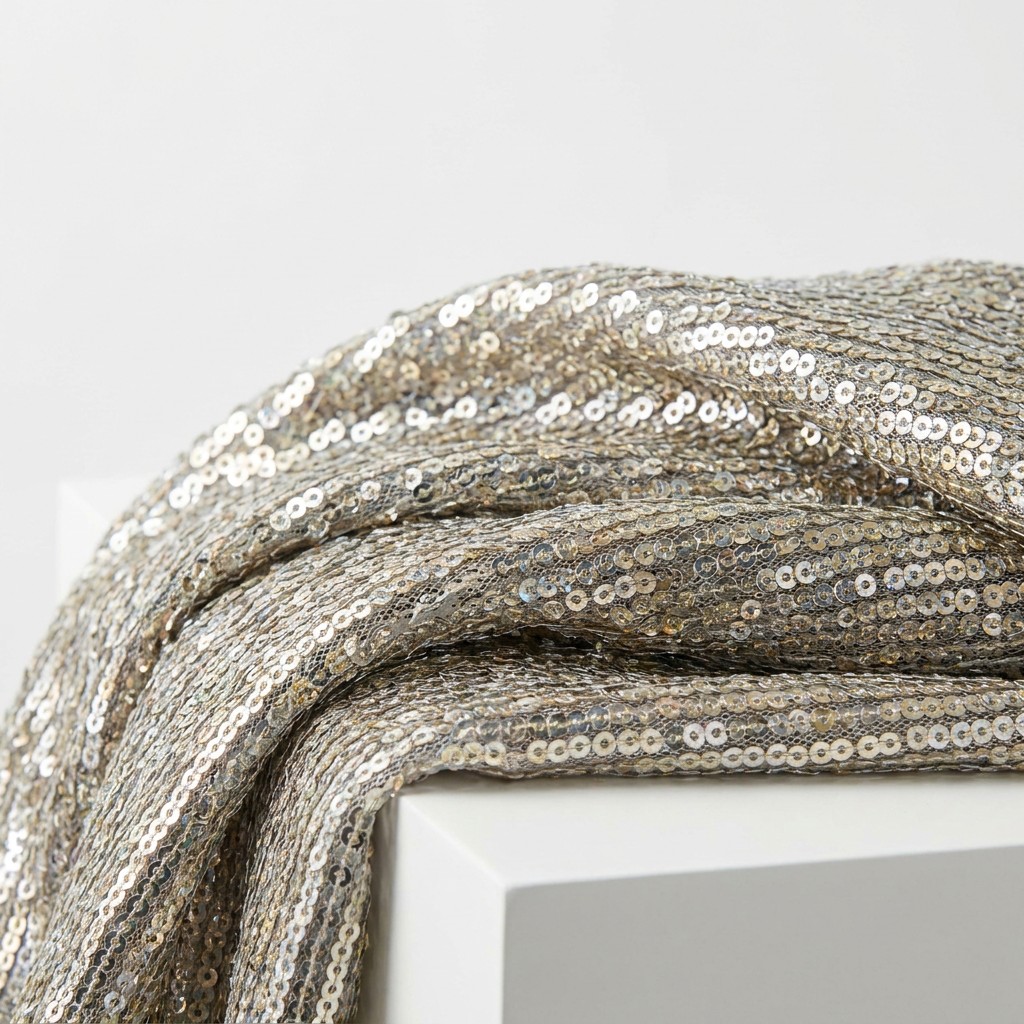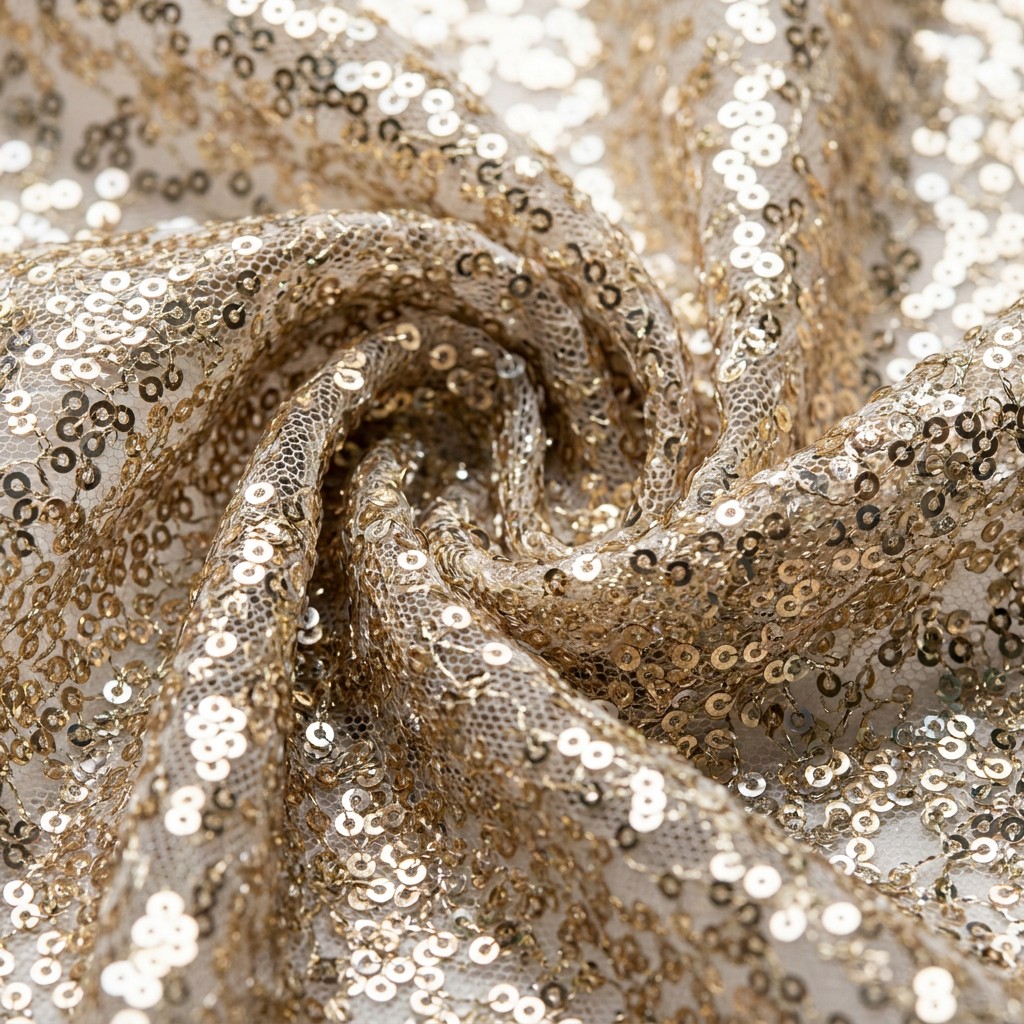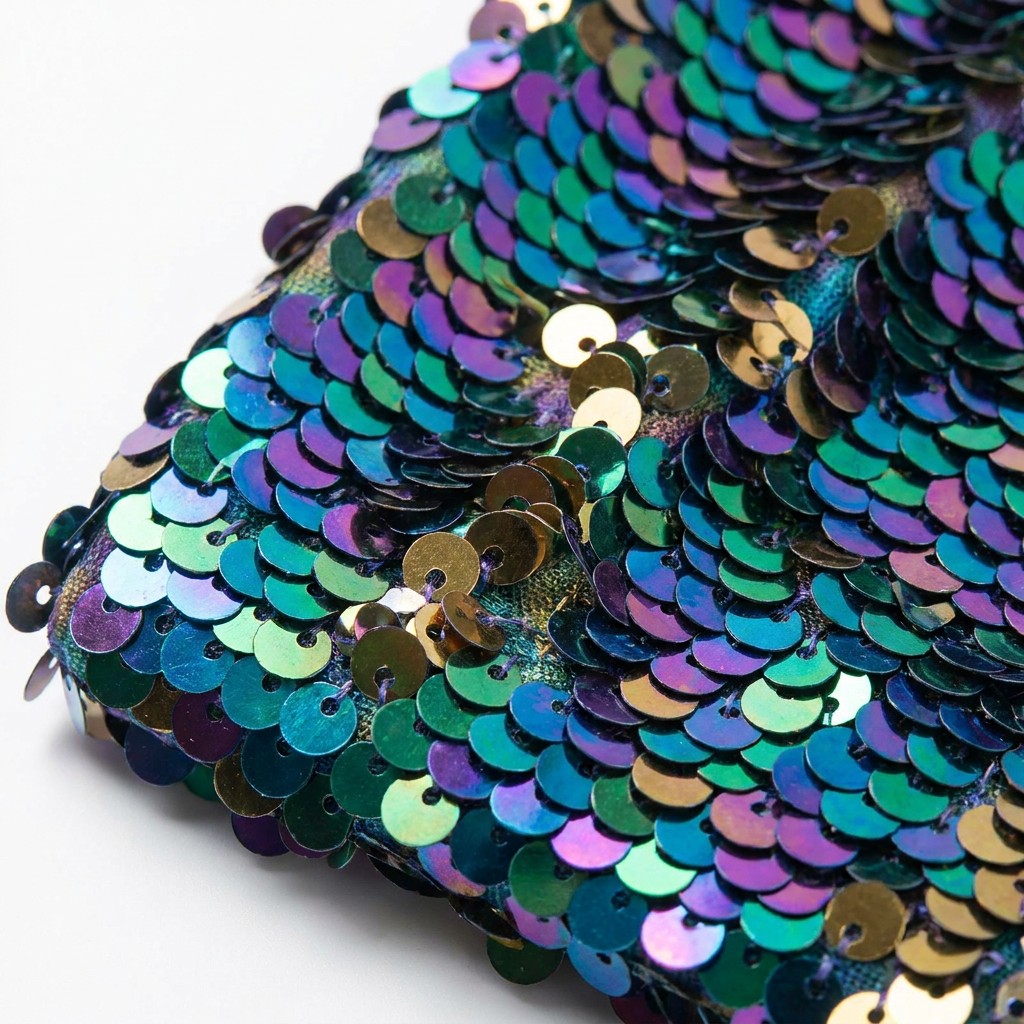
Sequin fabric snagging is one of the most common complaints in garment production. It is almost always cheaper to prevent than to repair. In practice, a yarn loop or a sequin thread catches on a needle, a presser foot or a zipper. Therefore, this guide shows where the risk comes from and which checks reduce it before a full production run.
However, no single needle or machine setting works for every sequin fabric. The base textile, the sequin size and the attachment method all change how the fabric behaves. Therefore, the reliable route is a structured trial. Identify the snag sources, build checks into sample approval, and only then release the style to bulk cutting.
Where Sequin Fabric Snagging Risk Comes From
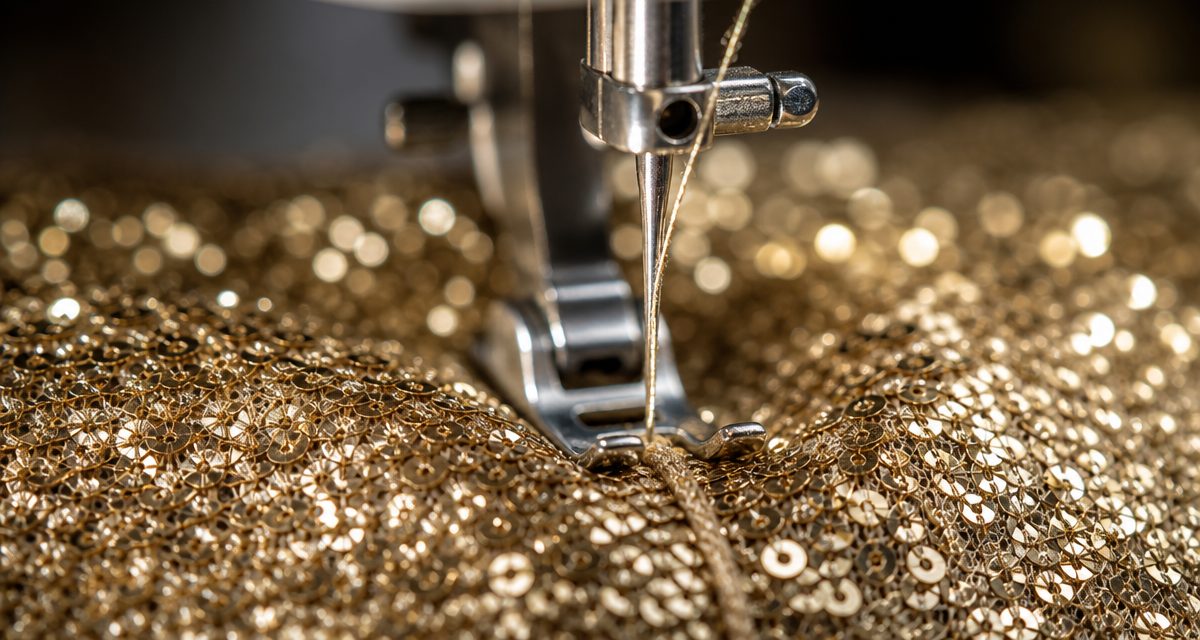
Snagging on sequin fabric rarely has a single cause. In most production complaints, the pull starts where a needle, a metal part or another surface touches the fabric repeatedly. The most common sources are:
- Loose or damaged sequins. A sequin with a weak attachment can lift and catch the thread of the next seam.
- Sharp edges of sequins. Cut or cracked sequin edges can grab yarns during sewing and rubbing.
- Machine parts. A rough presser foot, needle plate or zipper foot can drag across the sequin surface.
- Seam and edge design. Seams that force multiple sequin layers to rub together create repeated contact points.
- Handling between operations. Dragging cut panels across a table or stacking them roughly lets sequins catch on each other.
- Trims and closures. Zippers, hooks, beads and even other garments in the same carton can pull yarns during packing and transit.
For example, a sequin gown with a full skirt and a metal zipper can show snagging along the zipper area. The sewing itself may be clean, yet the zipper teeth touch the sequins every time the garment moves. Next, consider every point where the finished garment contacts itself or another surface. Those points are where your checks belong.
Pre-Production Checks: Sequin Attachment and Base Fabric
Before you plan the sewing process, examine the fabric itself on a full-width sample. The way sequins attach to the base fabric decides how much abuse the surface can take. Run these checks with the quality team and record the results on the sample report:
Sequin attachment check
Look at how well each sequin holds. Run a fingertip across the surface in both directions and check whether sequins lift, slide or flip easily. Gently test a few sequins at the edge of the sample and confirm that the attachment threads hold. Then inspect the reverse side, because loose threads on the back can pull through and snag the face.
Base fabric and edge check
Check the base textile for open weaves or floating yarns that a sequin edge can catch. Then check the selvedges and the cut edges of the sample. Loose sequins at the edges of the roll are normal, but trim them before cutting. For a structured approach, see our sequin fabric inspection points for bridal and stagewear orders.
Sewing Checks You Must Validate on a Prototype
Validate every sewing parameter on a prototype made from the actual production fabric. Those parameters include the needle, the thread, the presser foot, the seam allowance and the finishing. However, only a trial reveals the right combination, so document what you tested and approved instead of copying numbers. The approved prototype then becomes the reference for the production floor.
Needle, thread and machine settings
Ask the factory to trial several needle types and sizes on the actual sequin fabric. Record which one produces clean stitches without cutting yarns or breaking sequins. No single needle suits every sequin fabric, so write the tested type and size into the sample approval record. In practice, the first sign of a wrong combination is skipped stitches, damaged sequins or yarn pulls.
Presser foot, needle plate and feed
Standard metal parts can scratch or catch the sequin surface. Test the fabric with the actual presser foot and needle plate planned for production. Then look for drag marks, lifted sequins or thread pulls. If the trial damages the surface, ask the factory to try alternative parts or a protective layer until the test is clean.
Seam design and seam allowance
Ask the factory to show how it handles the seam allowance where sequins are present. Options include removing sequins from the allowance, covering the seam or finishing with a binding. Each option changes how much the layers rub together. In addition, verify the seam on a sample with lining. The lining seam can hide the source of pulls on the outer layer.
Lining and interlining
When you combine sequin fabric with a lining, test the complete assembly. A rough lining edge or a stiff interlining can press against the sequin surface from the inside. That pressure can cause snagging during wear, even when the outer seam looks perfect. Therefore, approve the whole sandwich — shell, interlining and lining — not just the outer layer.
Cutting, Handling and Storage Between Operations
Much snagging damage happens after the seam is finished, during handling between operations. Train the floor team on these simple rules:
- Cut on a clean surface. Keep the cutting table free of pins, tools and rough edges that can catch the fabric.
- Lift, do not drag. Move cut panels by lifting them; dragging across a table lets sequins scrape against the surface.
- Separate layers. Use paper or a protective sheet between stacked sequin panels so the sequins do not grind against each other.
- Check the tools. Keep scissors and knives sharp; a blunt blade pulls yarns instead of cutting them cleanly.
- Limit folding. Fold sequin fabric as little as possible, and always with the sequin face protected.
- Protect during transport. When panels move between departments, cover the sequin face so zippers or other trims cannot touch it.
Repair, Rework and Packaging Checks
Even with good checks, a snag can appear during rework. When you open a seam for alteration, inspect the needle holes and the pulled yarns before you re-sew it. Decide in advance how to repair a pulled yarn, for example by working it back with a needle. Also decide who may approve that repair.
In addition, agree on the acceptable level of surface damage. A tiny pull that is invisible at one meter may still fail on a stage garment, which inspectors examine closely.
Packaging is the last handling step, and it is a frequent source of damage. Wrap the garment with the sequin face protected. Keep metal trims and zippers away from sequin areas, and use tissue or soft paper between garments. If you need guidance on consistent quality across orders, see how we handle sequin fabric quality consistency in repeat orders.
Sequin Fabric Snagging Checklist for Sample Approval
Use this checklist as the gate between prototype and bulk production. Require the factory to sign off every item, and ask your quality contact to countersign it:
- Full-width sample from the production route inspected on both faces
- Sequin attachment tested by hand in both directions, no lifting
- Needle type and size recorded on the approved sample record
- Presser foot and needle plate trialled with no drag marks on the sequin face
- Seam design and seam allowance validated, including sequin removal if planned
- Complete assembly with lining and interlining tested
- Handling rules written into the production plan, including panel transport
- Repair method for pulled yarns agreed and demonstrated
- Packaging method confirmed with the sequin face protected
Next, compare this checklist with the actual bulk goods when they arrive. Use the same surface checks described in our guide to comparing sequin fabric supplier quotes. That way, the approved quality is not lost between the sample room and the delivery.
Sequin Fabric Snagging FAQ
Why does sequin fabric snag more than other decorative fabrics?
Sequin fabric combines a base textile with thousands of small rigid discs. Threads hold each disc in place. Every sequin edge is a potential catching point, and a needle or a metal part can pull the threads loose.
Can snagging be fixed after the garment is finished?
You can ease some small pulls back carefully with a needle, and you can secure a loose yarn on the reverse side. However, you usually cannot restore broken yarns or damaged sequins invisibly. Therefore, treat repairs as a last resort. Let the approval checks above do the prevention work earlier in the process.
Who should approve the sewing parameters for sequin fabric?
The factory should run the trials and document the tested parameters. Your quality or technical contact should then approve the prototype before bulk production starts.
B2B Bulk Orders & Wholesale Pricing
Explore Our Full Sequin & Decorative Fabric Range
Visit Our Alibaba Store →Request Sequin Fabric Samples
Send us your garment type, the production plan and the snagging checks you want to run. We will then arrange samples from the production route. That way, your factory can validate the sewing parameters before bulk cutting starts.
Wendy Jessie
+86 156 3752 5803
+86 175 1619 6727
morris@yunfantextile.com
morris@yunfantextile.com