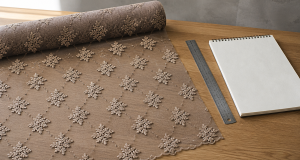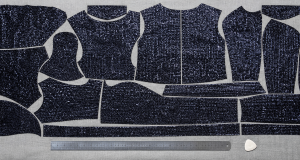
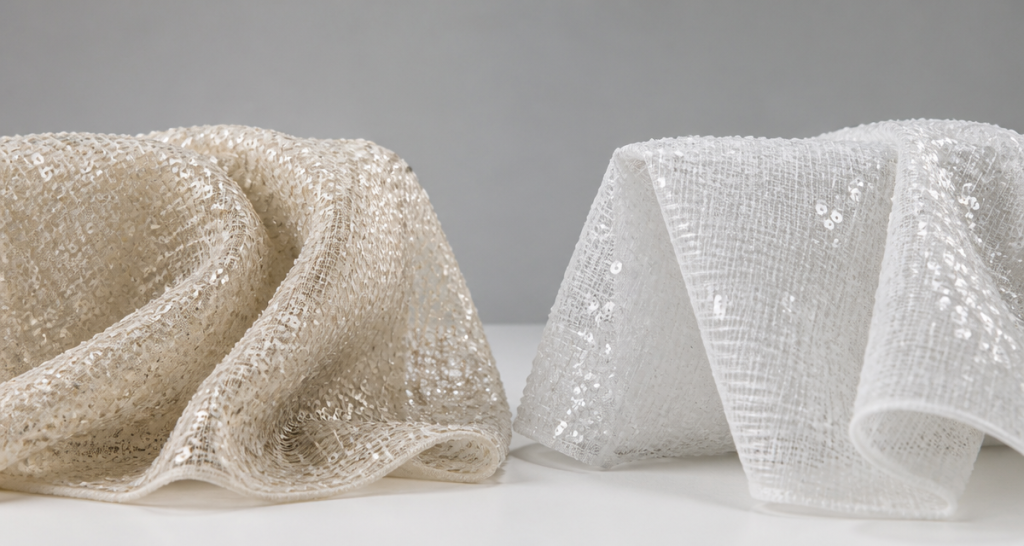
Chiffon embroidery density is the number of stitches packed into each square centimetre of a lightweight base cloth. Buyers control it because chiffon is thin and stretches, so dense stitching raises puckering and distortion. A balanced density keeps the motif sharp without pulling the base. This guide explains density limits, backing choices, and the fields to approve before bulk embroidery.
Key Takeaways
- Chiffon needs lower stitch density than a stable woven base.
- Dense stitching pulls the base and creates puckering.
- Underlay and backing spread the load across the motif.
- Hooping tension changes the final flatness of the panel.
- Test density on the real base cloth, not on a stand-in.
- Record the approved density and backing in the order spec.
What Is Chiffon Embroidery Density?
Chiffon embroidery density is the concentration of stitches in a given area, usually measured in stitches per square centimetre. A high density gives a solid, raised motif. However, chiffon is light and mobile, so the same density that works on a firm fabric can crush this base.
Density interacts with stitch type and thread weight. In addition, a dense fill pulls more than a light running stitch. Therefore, density must be planned together with the motif style, not on its own.
Why Density Control Matters for Chiffon Panels
Puckering is the main risk. When stitches are too dense, the base cloth gathers around the motif and never lies flat again. Moreover, the ripple is hard to press out, because pressing a sheer base can distort it further.
Breakage follows. In addition, a dense motif needs more thread passes, so the needle heats and the thread snaps more often. As a result, dense designs slow the line and raise rework on sheer fabric.
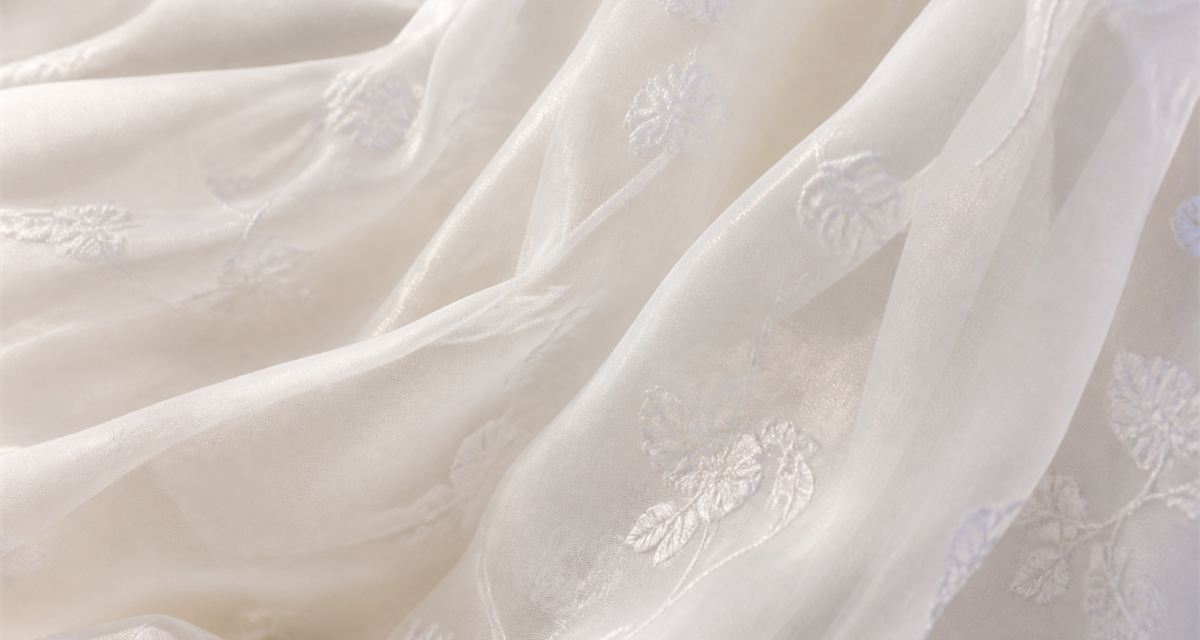
How to Control Chiffon Embroidery Density: Step-by-Step
Plan the density before the sample, and test it on the real base.
- Set a density target for the base cloth, not for a heavier fabric.
- Choose an underlay that spreads the first stitches across the motif.
- Select a backing that matches the chiffon weight and the end use.
- Hoop the fabric with even, light tension to avoid stretch.
- Stitch a test motif, then measure the flatness around the edges.
- Reduce density in steps until the base stays flat.
- Record the approved density, backing, and hooping tension.
Comparison Table: Density Risk by Base and Motif
Use this table to set your first trial, then confirm on production runs.
| Condition | Puckering risk | Main cause | Control focus |
|---|---|---|---|
| Heavy fill on chiffon | High | Too many stitches | Lower density |
| Light running stitch | Low | Low pull | Keep current setting |
| Dense motif with thin backing | High | Weak support | Add a stronger backing |
| Dense motif with stable backing | Medium | Base stretch | Even hooping |
Procurement Checklist: Density and Backing Fields
- Base cloth reference and weight.
- Target stitches per square centimetre.
- Underlay type and coverage.
- Backing type and removal method.
- Hooping tension range.
- Approved motif sample reference.
- Flatness check after stitching.
How Buyers Verify Density with a Supplier
Ask the factory to stitch the motif on the exact base cloth you ordered, then send the sample flat and unstretched. Then compare it against your own reference. In addition, request the density figure in writing so every run matches.
For related reading, see our guides on embroidery fabric puckering control and embroidery hooping stability. You can also review embroidery stitch density standards before you set the spec.
Common Chiffon Embroidery Density Mistakes
Copying a density from a heavier fabric is the first mistake. A setting that looks solid on a woven base can crush a light chiffon. Therefore, plan the density for the base cloth you actually use.
Skipping the underlay is another common error. Without an underlay, the first stitches sink into the fabric and pull the base. In addition, the motif loses its edge and the surface ripples.
Hooping too tightly is a third mistake. Extra stretch disappears after stitching, and the motif then puckers as the fabric relaxes. Consequently, hoop with light, even tension.
Finally, many buyers test on a stand-in fabric to save time. Yet chiffon weights differ by dye lot, so a test on another cloth can mislead the whole run.
Chiffon Embroidery Density: Cost, Sampling, and Lead-Time Factors
Density faults cost time and material. A puckered motif often needs re-stitching, and a crushed panel may be rejected outright.
Sampling protects the order. When the factory stitches the motif on the exact base cloth, the buyer can approve the density and the backing before bulk embroidery.
| Cost factor | Effect on price | Buyer action |
|---|---|---|
| Re-stitched puckered motifs | High | Approve a stitched sample |
| Extra backing material | Medium | Match backing to base |
| Slower stitching speed | Medium | Plan realistic machine time |
| Rejected sheer panels | High | Check flatness after stitching |
How to Run a Density Trial Before Bulk
A density trial removes most of the risk, and it is quick to repeat.
- Set a density target for the chiffon base, not for a heavy fabric.
- Choose an underlay that spreads the first stitches.
- Select a backing that matches the chiffon weight.
- Hoop the fabric with light, even tension.
- Stitch a test motif at production speed.
- Measure flatness around the motif edges.
- Approve the density, backing, and hooping tension.
Machine Room Conditions and Order Documentation
A steady machine room keeps sheer fabric stable. Heat and humidity change how chiffon stretches, so keep the area comfortable and clean. In addition, support the fabric so it does not drag.
- Base cloth reference and weight
- Target stitches per square centimetre
- Underlay type and coverage
- Backing type and removal method
- Hooping tension range
- Approved motif sample reference
Standard orders start at 200 yards per color, and the density sample should be approved before bulk embroidery starts.
Working with a Supplier on Density Control
Ask the factory to record the density figure and the backing used, then attach a flat sample to the order file. Then every repeat run can match the approved result.
In addition, agree a re-test rule for a new base cloth lot. Because chiffon varies, a quick motif test protects the whole order.
With a recorded density and a flat sample, sheer motifs stay sharp and the panel keeps its soft drape.
How to Compare Two Supplier Density Reports
Two factories can report the same density figure yet deliver a very different surface. Therefore, ask both to stitch the motif on the same base cloth, with the same backing, and at the same machine speed. In addition, request the flat sample, not only the number.
A clear report names the base cloth weight, the stitches per square centimetre, and the hooping tension used. Moreover, it states whether the sample was pressed before measurement, because pressing can hide early puckering. As a result, you can compare like with like.
When the samples differ, check the base cloth first, then the backing. A lighter chiffon lot stretches more, so the same density can pucker on one lot and stay flat on another. Consequently, set a density range for each base weight.
Finally, keep the two samples side by side under the same light. Small ripples that look acceptable alone can look obvious next to a flat reference.
Final Flatness Check Before Shipment
A last check protects the order. Stitch one motif from each base cloth lot, then let it rest flat before you inspect it.
- Base cloth weight on the report
- Stitches per square centimetre
- Backing type and removal method
- Hooping tension used
- Approved flat motif sample reference
Source direct on Alibaba - request bulk pricing, specifications, and production details in one place.
View Yunfan Textile on AlibabaFAQ
What is a safe embroidery density for chiffon?
There is no single number. Start lower than you would on a stable woven base, then raise it only while the cloth stays flat.
Why does my chiffon pucker after embroidery?
Density is too high, or the backing and hooping tension are too weak. The base gathers around the motif.
Does backing stop puckering?
A matched backing reduces puckering, but it cannot fix an over-dense motif. Balance both.
Can puckering be removed after stitching?
Rarely on sheer fabric. Pressing can distort chiffon, so prevent puckering at the density stage.
Conclusion: Match the Density to the Base
Chiffon embroidery density and puckering control go together. Therefore, set a lower density for light base cloths, use a matched backing, and hoop evenly. Then fine motifs stay flat, and sheer panels keep their drape.
Request Sequin Fabric Samples
Send your fabric type, target GSM, color reference, and order volume. Our team will prepare a sample set for review before you commit to bulk.
Yunfan Textile B2B Contact
Contact: Morris
Email: morris@yunfantextile.com
WhatsApp: +86 156 3752 5803
WhatsApp: +86 175 1619 6727