Embroidery fabric puckering is the rippling or ridging that appears around a stitched motif, and it is almost always a stabilisation problem rather than a machine fault. The procurement answer is to fix three variables before bulk: backing type and weight, design density, and the stretch behaviour of the ground fabric. If those three are matched, a dense motif sits flat. If any one is wrong, no amount of ironing or re-pressing will hold the fabric flat after the first wash or the first dry-clean cycle.
This guide explains what causes puckering, how to choose a stabiliser correctly, and which checks catch the problem before the goods ship.
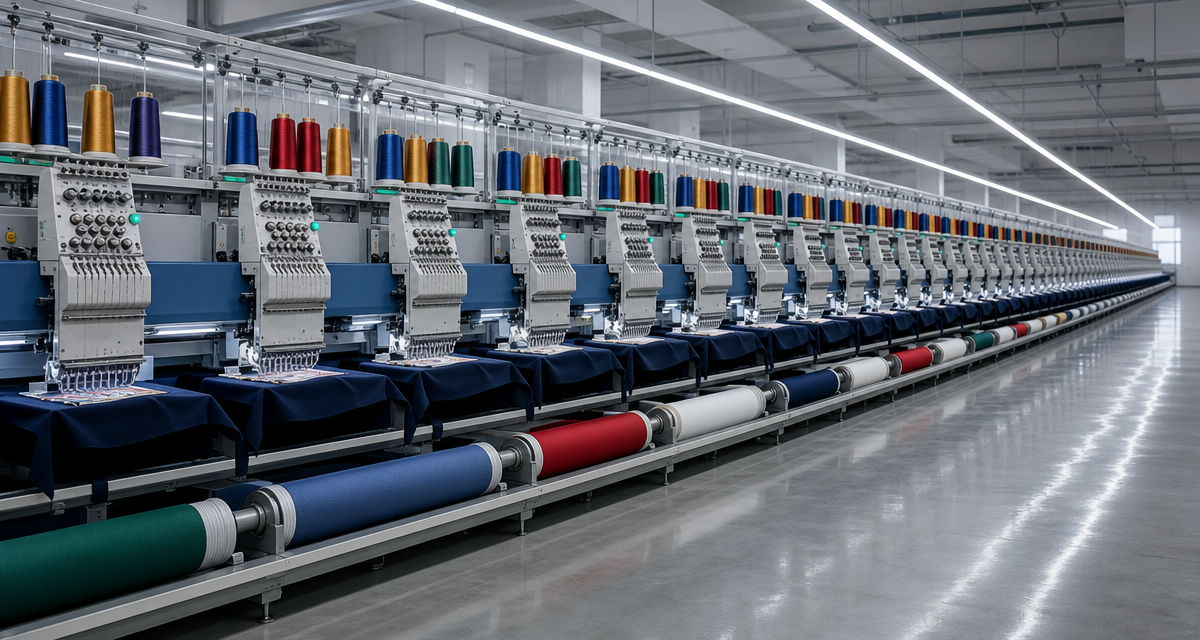
What Is Embroidery Fabric Puckering?
Embroidery fabric puckering is a three-dimensional distortion of the fabric surface caused by the interaction between stitch density, thread tension and the ground cloth. Every stitch pulls the fabric slightly toward the needle. When the pull is stronger than the fabric can resist, the excess fabric has nowhere to go, so it rises into ridges around the motif.
Puckering shows up in three forms. Edge pucker ripples along the outline of a motif. Field pucker distorts the area inside a dense fill. Wash pucker appears only after laundering, when the backing shrinks or dissolves differently from the fabric. Buyers should name the type they are rejecting, because each points to a different correction on the production line.
Key Takeaways
- Puckering is a stabilisation problem first and a machine problem second.
- Match backing weight to motif density, not to habit.
- Reduce stitch density before you increase thread tension.
- Pre-shrink or test the ground fabric, because shrinkage after washing is a common cause.
- Inspect under raking light, since flat lighting hides small ridges.
What Causes Embroidery Fabric Puckering
Six conditions account for nearly every puckering complaint we see on bulk orders.
1. Insufficient or mismatched backing
Backing carries the stitch load. Too light a backing lets the fabric move under the needle, so the motif pulls the ground into ridges. Too heavy a backing creates a stiff disc that separates from a soft fabric instead of moving with it. Match the backing to the fabric weight and the stitch count.
2. Excessive stitch density
Each additional stitch adds tension to the same area of fabric. Densities above roughly 0.4 mm spacing pack thread into a small space, and the cumulative pull exceeds what the ground can absorb. Reduce density in steps and re-check the result before changing anything else.
3. Thread tension that is too high
High top tension pulls the fabric up toward the needle plate with every stitch. A correctly balanced stitch shows a small amount of bobbin thread on the reverse. If the reverse is clean and tight everywhere, the top tension is probably too high.
4. Fabric shrinkage after finishing
Natural and regenerated fibres can shrink during dyeing, washing or heat setting. If the fabric shrinks and the embroidery does not, the motif stays rigid while the ground contracts, and the difference becomes pucker. Pre-shrink or specify a shrinkage range in the order.
5. Poor hooping and fabric movement
Loose hooping allows the fabric to shift with each needle stroke. Over-tight hooping stretches the ground so it springs back after release, which also produces ridges. Aim for a firm, even tension that returns to flat when the hoop is removed.
6. Needle and thread mismatch
A needle that is too fine for the thread abrades it and increases drag. A needle that is too coarse opens a hole larger than the thread can fill. Both cases create visible distortion around the stitch line.
How to Control Puckering: Step-by-Step
- Test on the production fabric. Never approve a backing on a substitute cloth.
- Cut three test panels. Use identical fabric and three different backing weights.
- Stitch the real motif. Use the final file, not a simplified version.
- Inspect under raking light. Tilt the panel and look along the surface for ridges.
- Press and re-inspect. Pressing should remove temporary distortion but not permanent pucker.
- Wash one panel. Follow the care label, then re-inspect for wash pucker.
- Lock the winning combination. Record backing type, weight and density in the specification sheet.
- Verify bulk samples. Re-check the same parameters on the first production rolls.
Backing Selection Compared
| Backing type | Best for | Puckering risk | Watch-out |
|---|---|---|---|
| Cut-away stabiliser | Dense motifs on woven grounds | Low | Stiff hand after finishing |
| Tear-away stabiliser | Light motifs, casual decoration | Medium | Tears fibre on delicate cloth |
| Wash-away film | Sheer and mesh fabrics | Medium | Cost and drying time |
| Water-soluble topping | Pile and textured fabrics | Low | Must be rinsed out fully |
| No backing | Very light motifs on stable cloth | High | Ridging on any dense area |
A useful rule is to increase backing weight as stitch count rises. Buyers who treat backing as a fixed line item rather than a variable usually discover the cost of that shortcut in rejected lots. Our embroidery fabric range is quoted with the backing recommendation already attached.
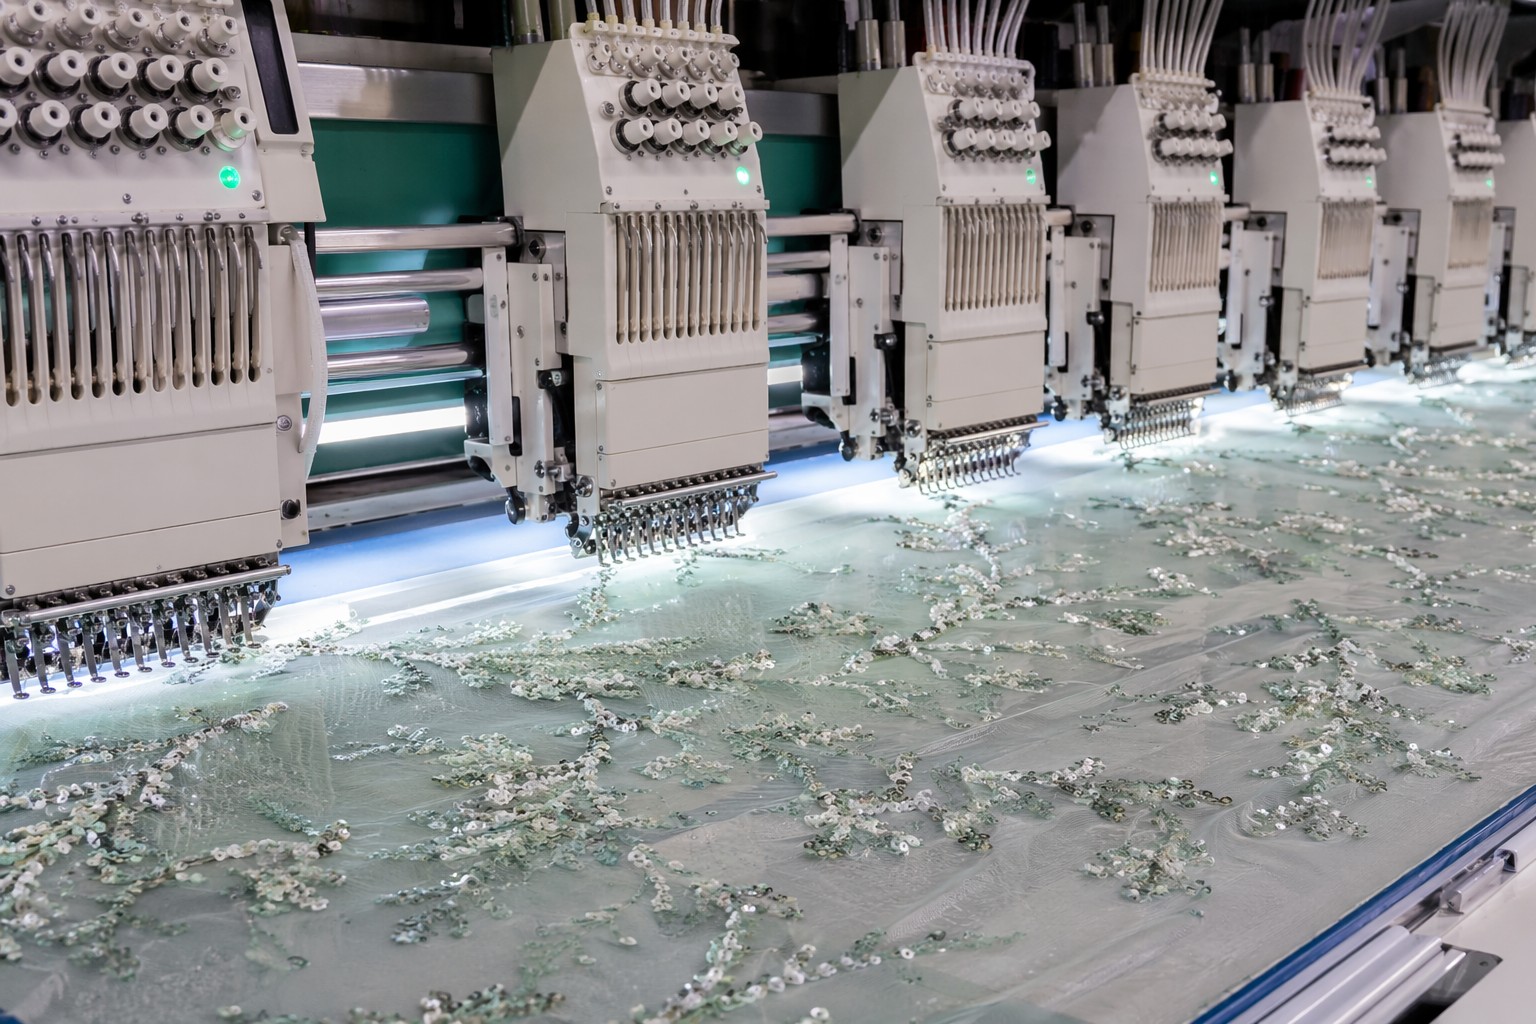
Order Fields That Prevent Puckering Disputes
| Field | Example value | Why it matters |
|---|---|---|
| Backing type and weight | Cut-away, 60 g | Carries the stitch load |
| Stitch density | Minimum 0.45 mm spacing | Limits cumulative pull |
| Ground shrinkage | Under 3 percent after care | Prevents wash pucker |
| Hoop tension | Firm and even, returns flat | Stops fabric movement |
| Acceptance criteria | No visible ridge under raking light | Makes inspection objective |
FAQ
Can puckering be fixed after it happens?
Temporary ridges may relax after pressing. Permanent pucker from excessive density or missing backing cannot be corrected economically, because the distortion is built into the stitch structure.
Does a thicker backing always reduce puckering?
No. Oversized backing stiffens the motif and can create a different defect, where the embroidered area behaves as a separate plate. Match backing to stitch density rather than maximising it.
Why does puckering appear only after washing?
The ground fabric usually shrinks more than the embroidery. Testing one washed panel per lot is the cheapest way to catch this before the whole order is affected.
Is puckering worse on lighter fabrics?
Yes. Light woven and sheer fabrics have less resistance to stitch pull, so they need proportionally more support and lower density.
Should I lower density or lower tension first?
Lower density first. Tension changes affect every stitch on the machine, while density changes affect only the problem motif, so the risk of side effects is smaller.
7. Design pathing and stitch sequence
Digitising order matters. A file that stitches outer edges first and then fills inward traps the fabric in the middle of the motif and forces ridges outward. A file that sequences stitches from the centre outward, and that runs long satin columns in two passes instead of one, distributes tension more evenly across the ground. Ask for the stitch sequence notes whenever a motif is dense or the base is light, because sequence changes cost nothing to agree and a great deal to correct later.
Raking-Light Inspection Standard
Most puckering escapes inspection because it cannot be seen under flat overhead light. Set a standard any operator can apply without training: hold the panel at roughly 30 degrees to a single directional light source, look along the surface from the side, and compare the stitched area with the unstitched border.
Record the result as pass or fail against a defined limit. For apparel and bridal work, the usual limit is no visible ridge under raking light while the panel is relaxed. For decorative panels viewed from a distance, a small amount of texture is often acceptable, and writing that difference into the order avoids unnecessary rejections. The same method catches the defects that travel alongside pucker, such as needle marks, thread shadowing and thin spots in dense fills, so one inspection step covers several risks at once.
Conclusion: Fix Stabilisation Before You Touch the Machine
Embroidery fabric puckering is predictable. Match the backing to the motif, keep density inside a tested range, and confirm shrinkage on the production cloth. Then inspect under raking light, because the defects that survive a flat-light check are the ones your customer will photograph and return. Our quality control routine applies that same light standard to every lot, and our custom embroidery team can review your file before sampling.
Want to test backing options on your own motif? Request Sequin Fabric Samples and send us your artwork and fabric weight, and we will return matched panels with the backing used on each.
Source direct on Alibaba - request bulk pricing, specifications, and production details in one place.
Contact Morris at morris@yunfantextile.com, or message on WhatsApp: +86 156 3752 5803 or +86 175 1619 6727.