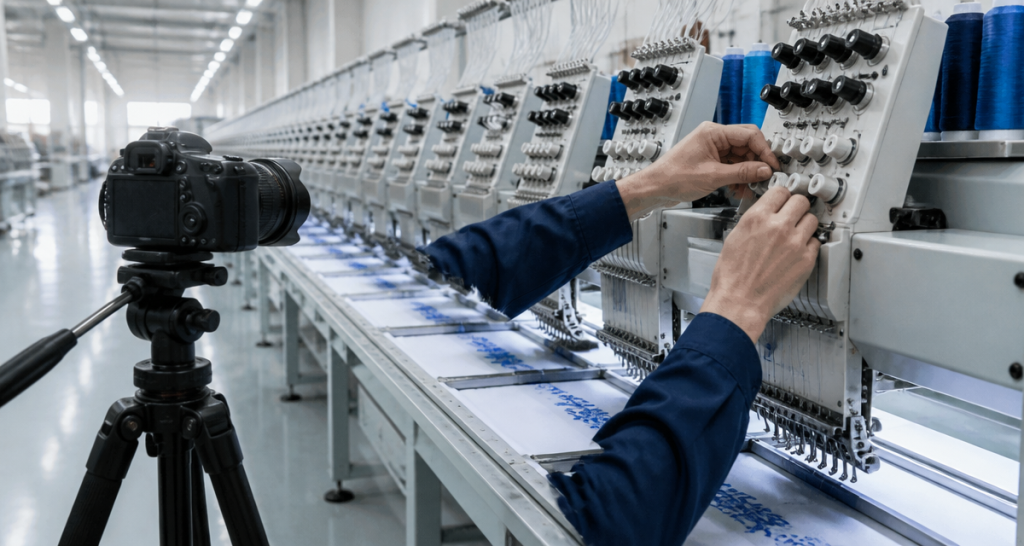
Embroidery machine calibration is the process of aligning every head, needle and tension setting so each one produces the same stitch on the same fabric. For B2B buyers, the practical answer is to require a calibration check before bulk, and to verify it with a first-article sample from each head. On a multi-head machine, one drifting head can spoil part of every run. Therefore, calibration is a production control, not a maintenance detail.
Key Takeaways
- Calibration keeps all heads of a multi-head machine producing one identical stitch.
- Needle position, thread tension and trim length are the core settings.
- A single drifting head spoils part of every run, so verify each head.
- Calibrate against a reference design, not an empty frame.
- Log the settings so a repeat order starts from a known point.
- Re-check after a service, a needle change or a thread change.
What Is Embroidery Machine Calibration?
Embroidery machine calibration is the measurement and adjustment of the machine so its output matches a reference. Moreover, it covers several settings at once. Needle position, thread tension, presser foot height and trim length all affect the final stitch.
On a single-head machine, calibration is straightforward. On a multi-head machine, the challenge grows, because every head must match the others. Therefore, calibration compares heads against each other as well as against the standard.
Calibration is not the same as maintenance. Maintenance keeps a machine running. Calibration keeps a machine correct. In practice, you need both, and they should be logged separately.
Why Embroidery Machine Calibration Matters for B2B Buyers
Calibration protects consistency across a bulk order. When heads match, the whole lot looks the same. When one head drifts, the same design shows different density, a different hand feel or a visible line.
There is also a cost angle. An out-of-tune head raises thread breaks and needle breaks. Meanwhile, it adds seconds to each cycle across thousands of stitches. As a result, small errors become large losses over a full order.
Finally, calibration protects the fabric. Correct tension avoids puckering and distortion on delicate decorative cloth. Therefore, a calibration record is direct evidence that the supplier controls quality, not just output.
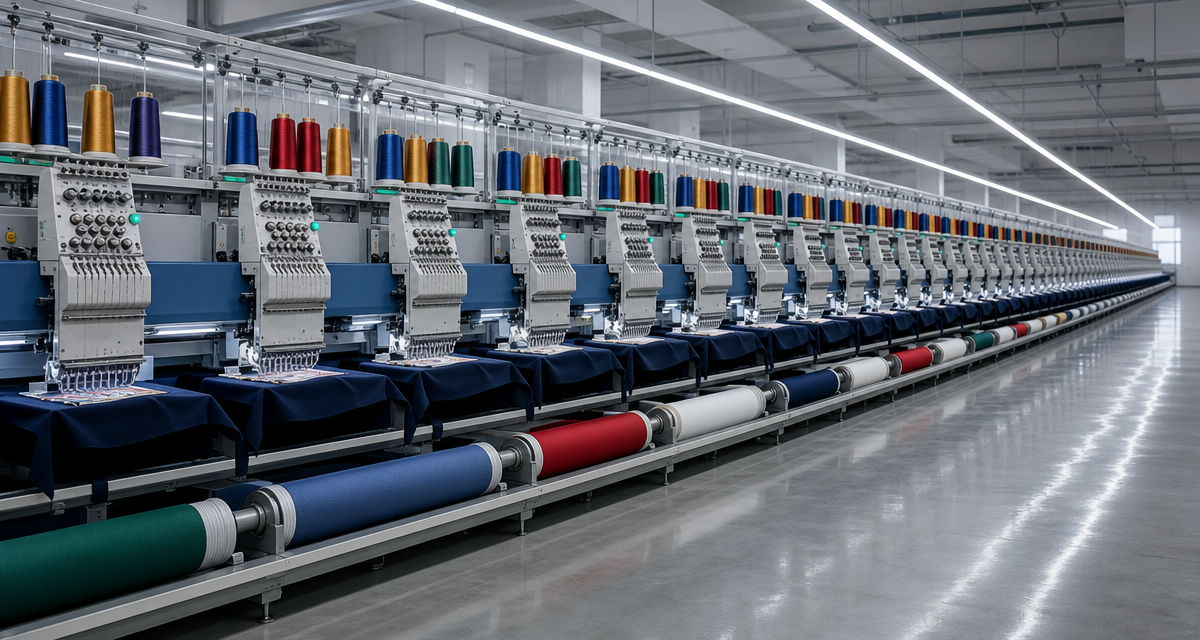
How to Run an Embroidery Machine Calibration Check
Use a fixed sequence and repeat it on every machine before a new order.
- Load a reference design with known density and a fixed thread.
- Check needle position on each head against the design centre.
- Set thread tension on every needle and test the balance.
- Confirm presser foot height and trim length on each head.
- Run the reference design on all heads in one cycle.
- Compare every head output with the first head as the reference.
- Adjust any head that differs and re-run the check.
- Log the final settings and keep the first-article sample.
After that, repeat the check after a service, a needle change or a thread change. However, if the fabric or thread changes, treat it as a new calibration baseline.
Purchasing Checklist: Calibration Fields to Confirm
- Machine model and number of heads
- Reference design and stitch count
- Thread type and ticket number
- Needle size and needle type
- Thread tension setting per needle
- Presser foot height
- Trim length and trim mode
- First-article sample from each head
- Calibration log date and operator
- Re-calibration trigger after service or change
Moreover, keep this list in the specification sheet and repeat it on every order. It connects closely to the density settings covered in our guide to embroidery stitch density standards.
Comparing Calibration Approaches
| Approach | Coverage | Effort | Best for |
|---|---|---|---|
| Visual check only | Low | Lowest | Routine spot checks |
| Reference design run | High | Moderate | Every bulk order |
| Per-head stitch comparison | Very high | Higher | Dense and high-value designs |
| Tension gauge check | Moderate | Moderate | After thread changes |
The table above is a guide, not a rule. Therefore, choose the level that matches the value of the order.
Common Calibration Problems and How to Fix Them
Head-to-head drift is the most common issue. One head slowly falls out of tune and produces a denser or looser motif. Consequently, compare every head against the reference after each service.
Puckering is the second sign. It often comes from tension that is too tight on one needle. Meanwhile, thread breaks point to a tension that is too loose or a needle that is worn. In addition, skipped stitches suggest a needle position that has moved.
Finally, look at the log. If settings are never recorded, the team cannot tell what changed. Therefore, keep a simple log with the date, the operator and the final values. Our note on embroidery fabric puckering control covers the fabric side in detail.
FAQ: Embroidery Machine Calibration
How often should an embroidery machine be calibrated?
Calibrate before every new bulk order, and re-check after any service, needle change or thread change. For steady runs, add a periodic check during the order.
What should a calibration record include?
Record the machine, the date, the operator, the reference design, the thread and needle, the final settings, and a first-article sample from each head.
Why do heads drift apart over time?
Vibration, wear and small thread differences move the settings. Consequently, one head can fall out of tune while the others stay correct, so compare all heads each time.
Can calibration improve hand feel?
Yes. Correct tension and presser foot height reduce puckering, so the embroidered area lies flatter and feels softer. Therefore, calibration supports the finished hand feel, not just the look.
Conclusion: Make Calibration a Buying Requirement
Embroidery machine calibration is the quiet control behind consistent bulk output. Therefore, require a reference-design check before production, verify every head, and keep the settings in a log. Then repeat the check after any change. This single habit keeps a multi-head run looking like one machine, not several.
How to Write Calibration into the Specification
Calibration is a process, not a component, so it belongs in the order notes. Moreover, it should name the check, the sample and the record. Therefore, write it once and reuse it for every order on that design.
Start with the reference design and its stitch count. Then add the thread, the needle and the tension rule. After that, add the first-article sample from each head. Finally, add the log rule and the re-check trigger.
Also, keep a first-article sample with the order. In practice, label it with the machine and the date. As a result, a repeat order has a physical target to match.
Working with a Supplier on Calibration
Calibration questions reveal how a factory manages its floor. However, they should stay practical. Therefore, ask about the reference design and the log, not about brand names.
Next, ask how heads are compared. Meanwhile, ask who signs off the first article and when the check is repeated. This shows that output is controlled, not assumed.
Finally, agree on the handover. Ask for the first-article sample and the settings with the shipment. Then keep them for the next order. Consequently, the next run starts from a known point.
Does calibration slow down production?
It takes a short time at the start, but it saves more time later. Fewer thread breaks and fewer rejects mean the run finishes with less rework. Therefore, treat it as an investment, not a delay.
Can a new needle change the calibration?
Yes. A different needle size or type can change the stitch, so re-check the reference design after the change. In practice, record the needle details in the log.
Reliable embroidery starts with a documented calibration routine at every shift change. Operators should verify needle-bar timing, thread-tension settings and hook-to-needle clearance against the machine manual, then run a stitch-out on the exact ground fabric and backing used in bulk. Hoop and frame alignment must be checked so the design sits square to the selvage, and a tension reading should be recorded for each needle on multi-head units. Any head that drifts more than the agreed tolerance is flagged for adjustment before the run continues, protecting stitch density and registration across the whole production batch.
Buyers can reinforce this with a simple acceptance test: request a calibration log and a matching physical sample from the first, middle and final meter of the run, then compare them side by side under the same lighting. Consistent tension, registration and stitch count across those three samples show that the machine stayed in specification from start to finish, while visible drift or puckering is an early warning that calibration slipped. Building this record into the purchase order gives a procurement team objective evidence of process control rather than a verbal assurance, and it makes any future quality claim straightforward to substantiate.
Source direct on Alibaba - request bulk pricing, specifications, and production details in one place.
View Yunfan Textile on AlibabaRequest Sequin Fabric Samples
Send us your design, thread specification and order quantity, and we will prepare a sample set for review. Our MOQ is 200 yards.
Yunfan Textile B2B Contact
Contact: Morris
Email: morris@yunfantextile.com
WhatsApp: +86 156 3752 5803
WhatsApp: +86 175 1619 6727